Damp proofing walls: the six methods that actually work — and which one your wall needs
There are only six ways to damp proof a wall, each matched to one way water gets in. Which method your wall needs — and the mistake of picking by product instead of by problem.

ON THIS PAGE
- Start with one question: where is the water coming from?
- Method 1 — Integral waterproofing (best done before the wall exists)
- Method 2 — A damp-proof course against rising damp
- Method 3 — Waterproof the outside face
- Method 4 — A barrier coat on a seepage-hit wall
- Method 5 — Tank the wet areas
- Method 6 — Ventilation, for the damp that isn't a leak
- The honest summary
- New construction
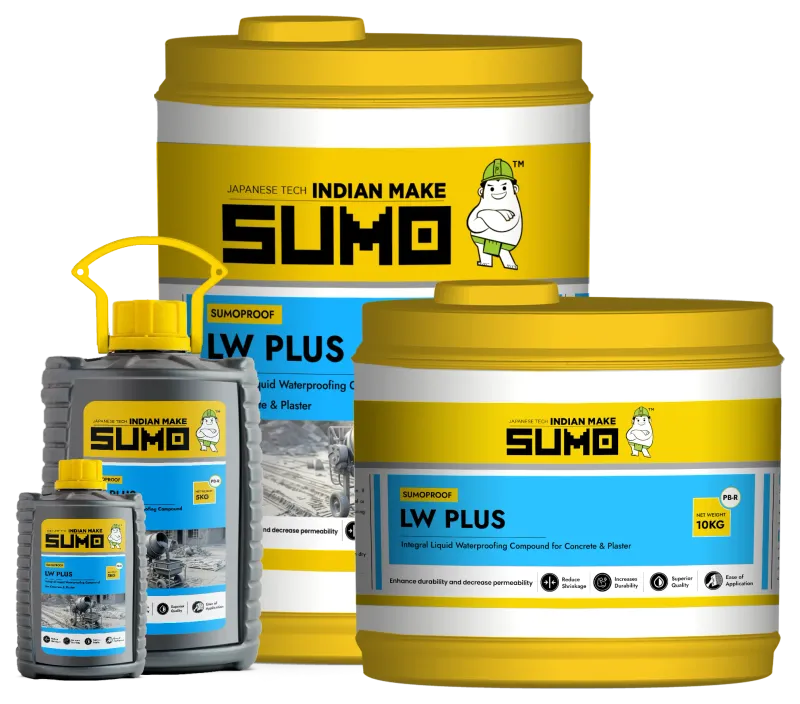
- LW Plus · 200 ml/50 kg cement
- Exterior face
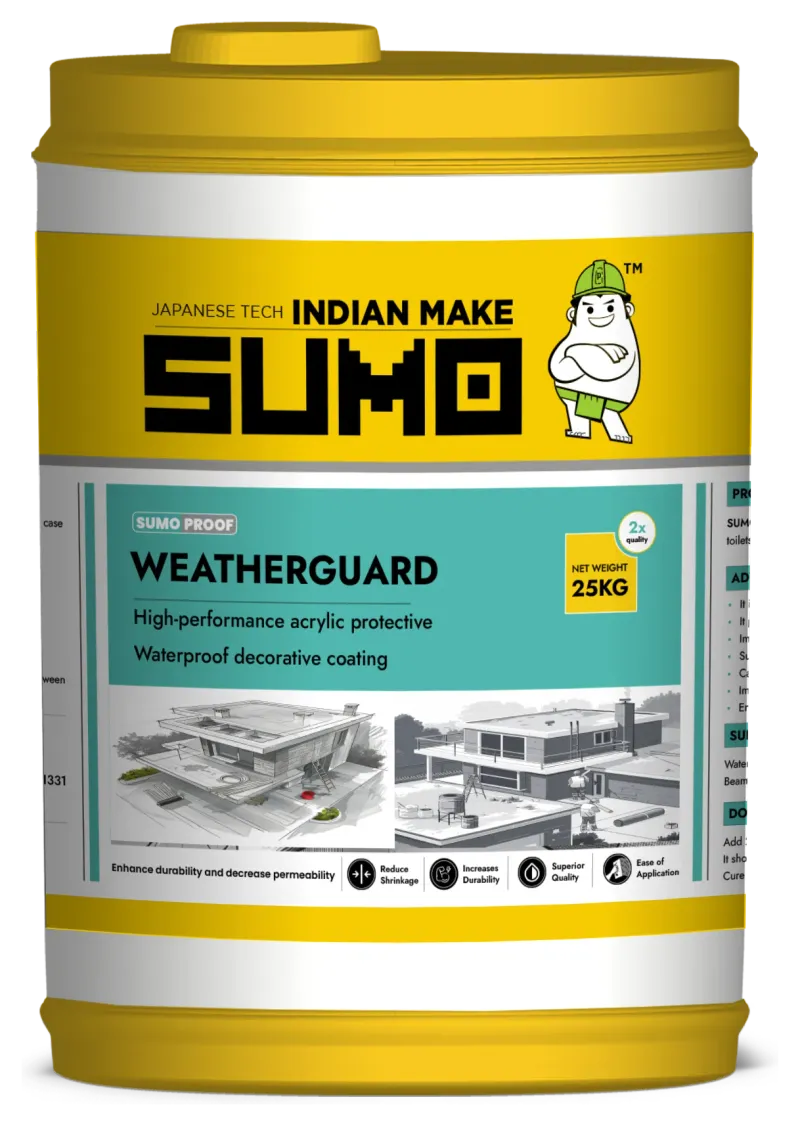
- Weatherguard · 30–35 sq.ft/kg · 3 coats
- Invisible repellent
- WR Guard · 4.5–9 m²/L by porosity
- Seepage barrier
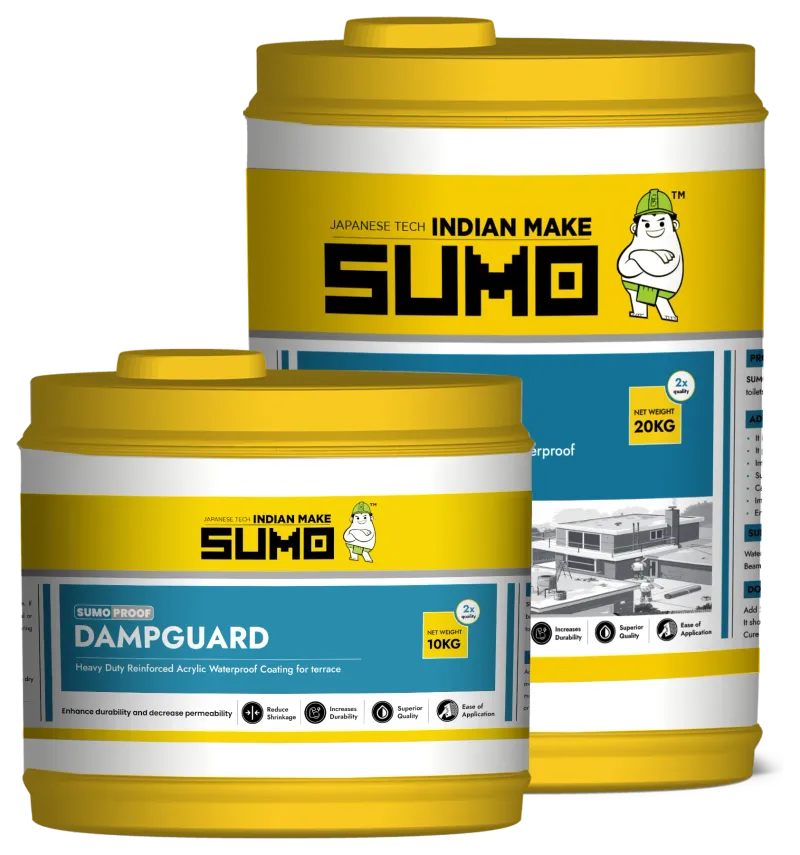
- Dampguard · 300% elong · 2 coats
- Wet-area tanking
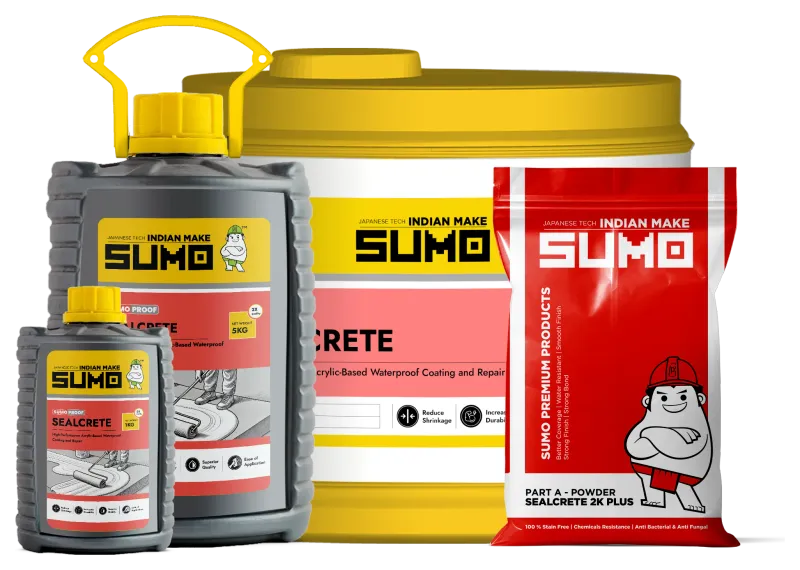
- Sealcrete 2K Plus · 100–120% elong
KEY TAKEAWAYS
- There are only six damp-proofing methods, each matched to one way water enters — diagnosis picks the method, not the advertisement.
- Integral admixtures (LW Plus, 200 ml per 50 kg cement) are the cheapest protection ever installed — if you are building or re-plastering anyway.
- Rain-facing walls are protected on the outside face: pigmented (Weatherguard) or transparent (WR Guard).
- Seepage-hit walls need a crack-bridging barrier coat (Dampguard, 300% elongation); wet-room walls need tanking on the wet side (Sealcrete 2K Plus).
- Condensation damp has no coating cure — ventilation and warmth are the method.
Search for "damp proofing" and you will find a hundred products, each implying it is the answer. It isn't that simple, and it isn't that complicated either. There are really only six methods of damp proofing a wall, each one matched to a different way water gets in. Pick the method that matches your wall's problem and the fix lasts for years. Pick by product advertisement and you will usually end up painting over a symptom.
Here are the six, what each one is for, and how to tell which one you need.
Start with one question: where is the water coming from?
Damp proofing fails far more often from wrong diagnosis than from wrong products. Water reaches a wall four ways — up from the ground, in through the outside face, from a wet room or leak on the other side, or out of the room's own air as condensation. Each looks confusingly similar as a stain. If you have not yet pinned down which one you have, start with our diagnosis guide — the tide-line, patch-location and foil tests there take minutes. Then come back and pick the method.
Method 1 — Integral waterproofing (best done before the wall exists)
The cheapest damp proofing ever installed is the kind mixed into the construction itself. An integral admixture like LW Plus is added to the mortar and concrete at just 200 ml per 50 kg bag of cement, where it works by blocking the capillary pores of the mix. The plaster and masonry themselves become the barrier. If you are building, extending, or re-plastering anyway, this is the method with the best cost-to-protection ratio on the list — and it is invisible.
Use it when: building or re-plastering. Not for: an existing wall you don't intend to open.
Method 2 — A damp-proof course against rising damp
If the stain climbs from the floor with a tide mark, the wall is wicking groundwater and the only cure is interrupting the path: re-establishing the damp-proof course, stripping the salt-soaked plaster and rebuilding with water-resistant render and a barrier coat. That full sequence has its own guide — rising damp treatment — because doing it out of order is why it usually fails.
Use it when: there's a low tide-mark with salts. Not for: patches higher up the wall — that's seepage.
Method 3 — Waterproof the outside face
Rain-facing walls in a hard monsoon soak like a sponge, and the damp shows up indoors a week later. The correct place to stop that water is the side it arrives on. Two different products do this for two different looks:
- Weatherguard is a pigmented acrylic waterproof coating for exterior walls — applied in three coats at 30–35 sq.ft per kg, bonding at over 3.5 N/mm², UV-resistant and anti-algae, so the north face doesn't green up in the rains. It replaces the topcoat: the wall gets its colour and its raincoat in one system.
- WR Guard is the invisible option — a transparent silane water repellent for exposed brick, stone and rendered façades that makes the surface shed rain without changing how it looks, covering 4.5–9 m² per litre depending on how porous the surface is.
Which coating suits which wall — including walls already damaged by damp — is a decision with a few more variables; the companion piece on choosing an exterior waterproof coating walks through it.
Use it when: the damp side faces the weather. Not for: ground-level tide marks or shower-wall backs.
Method 4 — A barrier coat on a seepage-hit wall
When the wall is already taking water laterally — from an adjoining bathroom, a neighbour's wall, a chajja junction — and the source cannot be fully rebuilt, the wall face itself gets a purpose-made barrier. Dampguard is built for exactly this: a fibre-reinforced acrylic damp-proof coating for seepage-affected interior and exterior walls. It self-primes, covers 20–25 sq.ft per kg over two coats, bonds at 2.3 N/mm² and elongates up to 300%, so it bridges the hairline cracks that let the water through in the first place. Note the honest limitation of any barrier coat: it manages water the wall is receiving; where the actual source is accessible — a leaking pipe, a failed tank joint — fix that first.
Use it when: lateral seepage, hairline-cracked render, damp patches behind wet areas. Not for: untreated rising damp (the water just climbs past it).
Method 5 — Tank the wet areas
A bathroom or utility wall stays "damp proofed" only if the wet room behind it is sealed. Tanking means a continuous waterproof membrane on the wet side, before tiling: Sealcrete 2K Plus, a two-component flexible cementitious coating (2 parts powder to 1 liquid, roughly 7.5–8 sq.ft per kg) with 100–120% elongation, is the SUMOPROOF system for showers, tanks and wet areas. Done right, the neighbouring bedroom wall never learns what a shower is.
Use it when: the damp wall shares a bathroom, tank or utility area. The full procedure is in how to waterproof a bathroom before tiling.
Method 6 — Ventilation, for the damp that isn't a leak
If the foil test says condensation — moisture on the room side, black mould speckle, worst behind cupboards and in unaired corners — then no coating on earth fixes it, because the water is coming out of the room's own air. The method is airflow and warmth: cross-ventilation, extractor use in kitchens and bathrooms, furniture pulled off cold walls, and an anti-fungal surface treatment for the mould. Cheap, unglamorous, and the only thing that works.
Use it when: the foil test points inward. Not for: any wall that is actually receiving water.
The honest summary
Your situation | Method |
|---|---|
Building or re-plastering now | Integral admixture (LW Plus) |
Tide mark + salts at the base | DPC + re-plaster (full guide) |
Weather-facing wall soaks in monsoon | Exterior coating (Weatherguard / WR Guard) |
Seepage through cracks or from next door | Barrier coat (Dampguard) |
Wall shares a bathroom or tank | Tanking (Sealcrete 2K Plus) |
Mould, no leak, foil test inward | Ventilation |
Most damp walls need one of these done properly, not three done approximately. Diagnose, pick the matching method, and do the boring preparation it asks for — that is the entire secret of damp proofing that lasts.
Searching for this as seelan or saim? Seelan in walls (सीलन): meaning, causes and the permanent fix walks through the same repair in order.