How to waterproof a bathroom before tiling (wet-area guide)
Tiles and grout are not waterproof. To stop leaks into the rooms below, you waterproof the substrate first. Here is the full wet-area method with SUMO Sealcrete and Flexguard.
ON THIS PAGE
The most common cause of leaks below a bathroom is the belief that tiles and grout keep water out. They do not — water passes through grout joints and micro-cracks. The waterproofing layer sits under the tiles, on the substrate, and that is what actually holds water back.
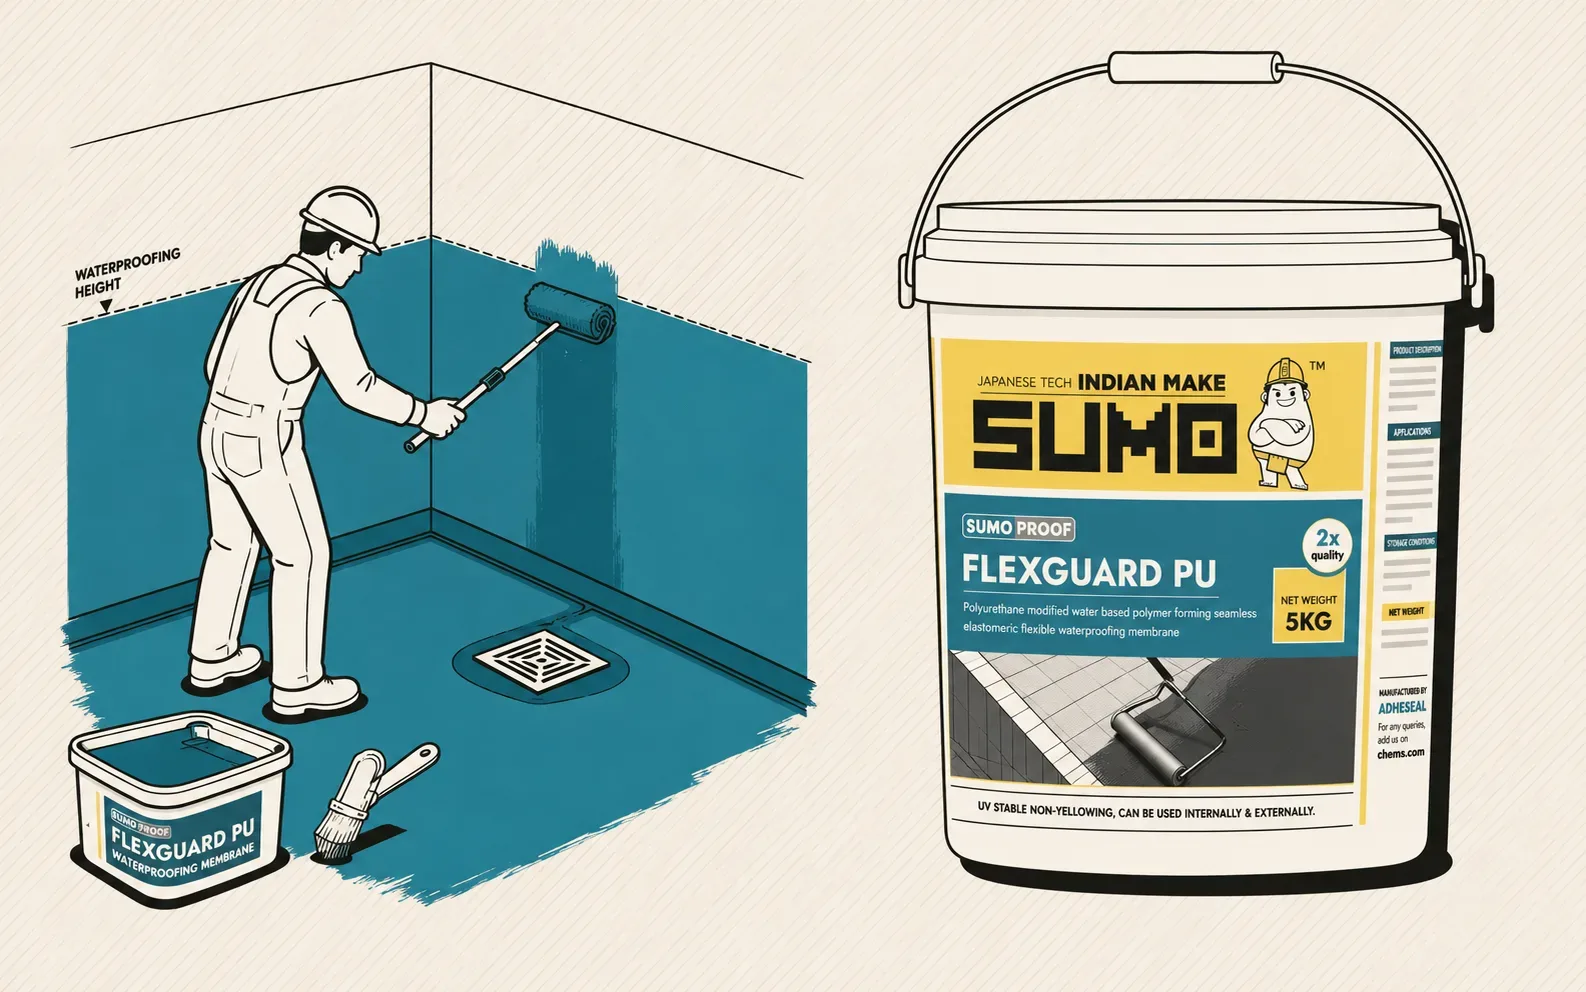
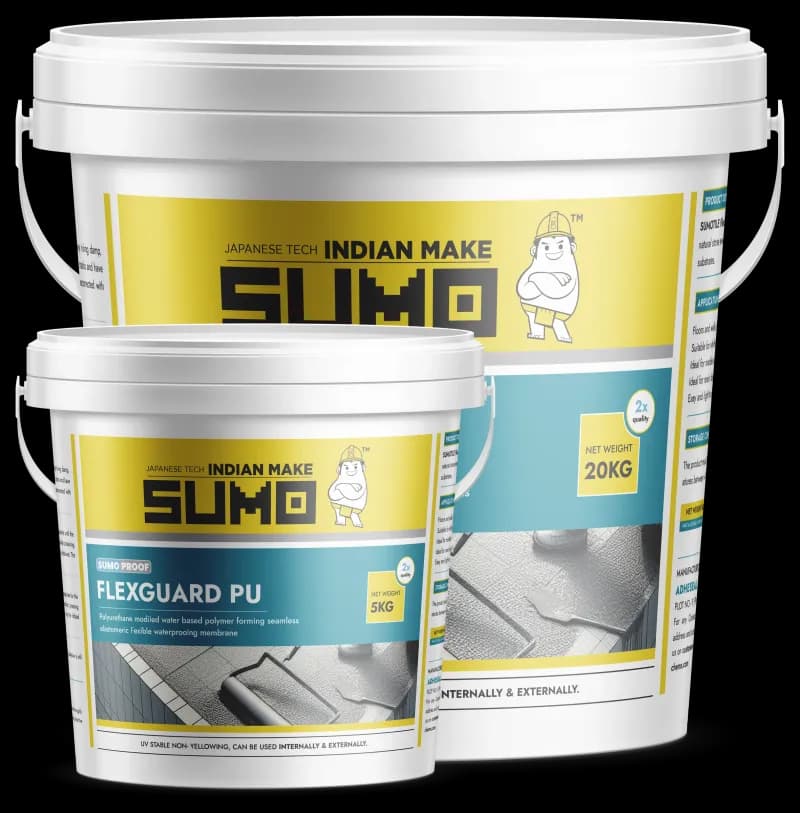
This guide covers the full wet-area waterproofing method: preparing the substrate, reinforcing the weak points (corners and drains), building the coats of SUMO Sealcrete or Flexguard, and tiling over the cured membrane.
What you’ll need
Step by step
Prepare and prime the substrate
The floor and wet walls must be sound, clean and to the right falls toward the drain. Fill big gaps, round off internal corners, and dampen absorbent surfaces so they do not pull water from the coating.
Reinforce corners, junctions and the drain
Bed reinforcing tape into a first pass of coating at all floor-to-wall corners, wall-to-wall junctions, pipe penetrations and around the drain. These movement points are where waterproofing most often fails.
Apply the first coat
Brush/roller a full, even first coat of SUMO Sealcrete or Flexguard over the whole wet area, up the walls to the required height (higher in showers). Work it into the surface with no misses.
Apply the second coat crosswise
Once the first coat has cured enough to over-coat, apply the second coat at right angles to the first for full, pinhole-free coverage. Two crossed coats give an unbroken film.
Cure and water-test
Let the membrane cure fully, then plug the drain and flood-test the floor to confirm it holds before you tile. Fix any leak now, not after tiling.
Tile over the cured membrane
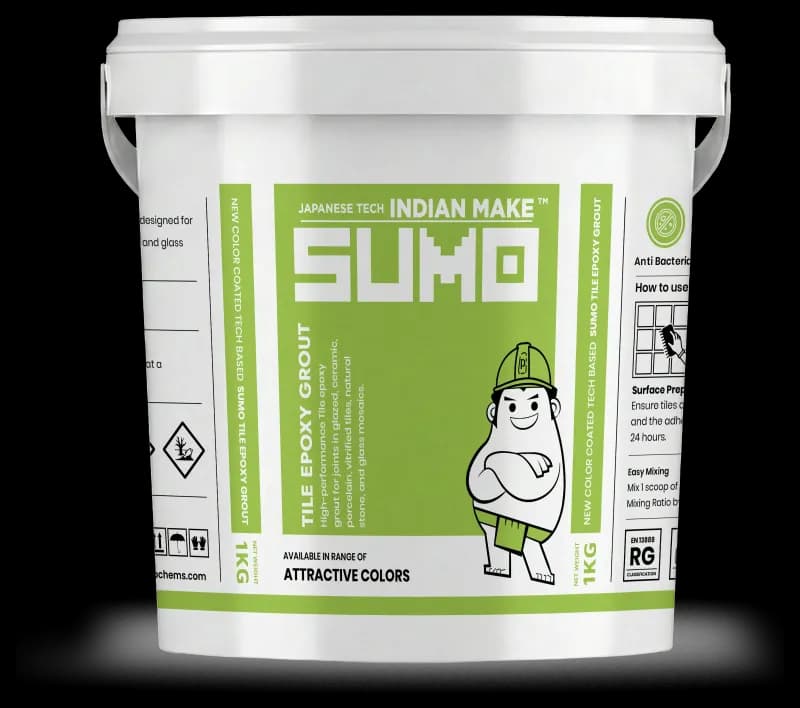
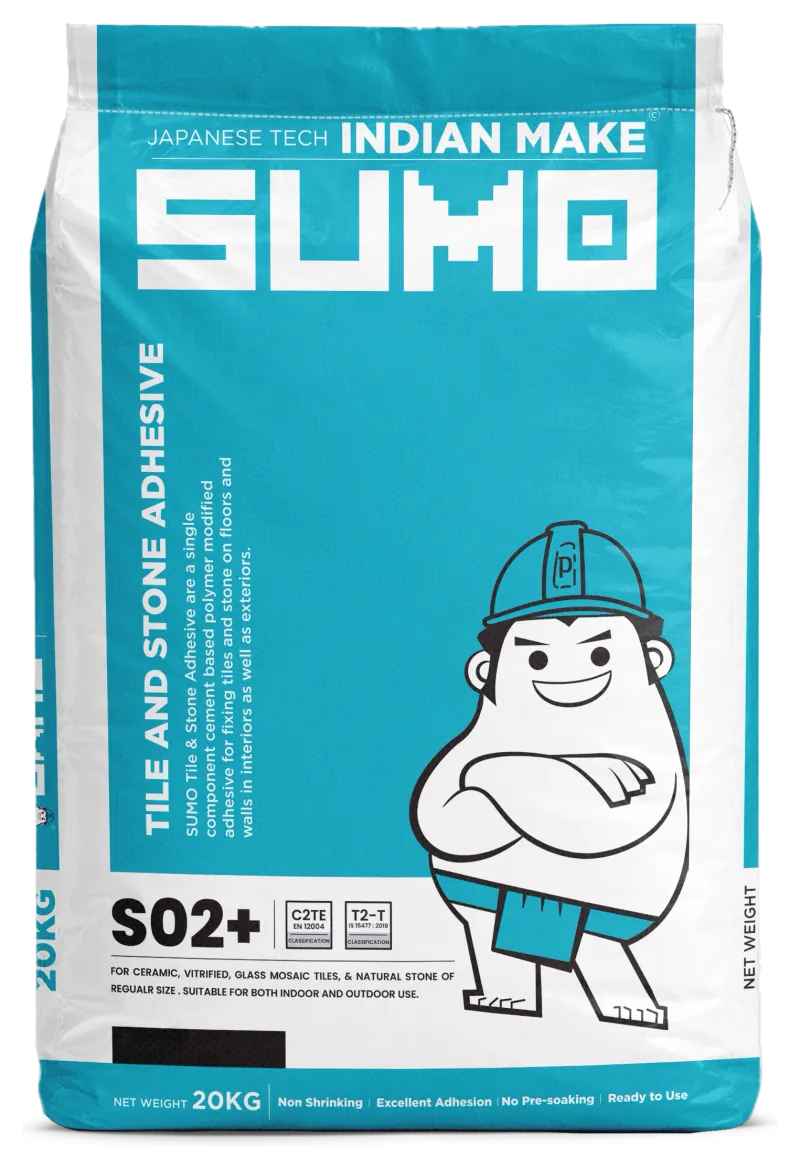
Fix tiles onto the cured waterproofing with a polymer-modified C2 adhesive such as SUMO S02+ or S03, then grout — ideally with epoxy grout in the shower zone.
Care, tips & what to avoid
- !Relying on tiles and grout to waterproofWater passes through grout. The membrane under the tiles is the waterproofing.
- !Not reinforcing corners and drainsMovement junctions crack first. Tape and reinforce every corner, junction and penetration.
- !One thin coatPinholes leak. Apply two full coats, the second crosswise, to the specified thickness.
- !Wrong floor fallsWaterproofing stops soak-through but not ponding. Set falls to the drain before coating.