Rising damp treatment: what actually cures it — and what just hides it for a year
Rising damp is the most treated and least cured wall problem in India. The three-step cure that actually breaks the cycle — and the four popular fixes that only hide it.

ON THIS PAGE
- Barrier coat
- Dampguard · fibre-reinforced acrylic
- Elongation / adhesion
- 300% · 2.3 N/mm²
- Coverage
- 20–25 sq.ft/kg (2 coats, self-priming)
- Render gauging
- SBR Latex in the mix + slurry bond
- New mortar admix
- LW Plus · 200 ml per 50 kg cement
KEY TAKEAWAYS
- Rising damp is capillary action — the wall wicking groundwater — so surface paint can never cure it.
- Confirm the diagnosis first: a level tide mark within ~1 m of the floor, with salty bloom, near ground level.
- The cure has an order: re-establish the damp-proof course, strip salt-loaded plaster ~0.5 m past the tide mark, re-plaster with polymer-modified render, then barrier-coat.
- Old plaster must come off — its hygroscopic salts keep the wall damp even after the supply is cut.
- Emulsion, POP skims and tiling the lower wall only hide it for a season; treat in the dry months.
Rising damp is the most treated and least cured wall problem in Indian housing. The stain at the bottom of the wall gets a coat of "damp-proof" paint, looks fine until the next monsoon, and comes back — usually a little higher and a little saltier than before. That cycle is not bad luck. It happens because most rising damp "treatments" address the stain, and rising damp is not a stain problem. It is a plumbing problem without a pipe: the wall itself is lifting water out of the ground, hour after hour, by capillary action.
This article is about breaking that cycle — what a real cure involves, in what order, and why the shortcuts fail.
First, be sure it is actually rising damp
Rising damp has a signature: it starts at floor level and climbs, typically stopping within about a metre, with a fairly level tide mark and often a white salty bloom along it. If your patch sits high on the wall, tracks a bathroom or a pipe, or comes and goes with the weather, you are probably looking at seepage or condensation instead — and the treatment below will not fix those. Our guide to telling the three damp problems apart has a two-minute foil test that settles it before you spend a rupee.
Why the wall lifts water in the first place
Bricks, mortar and plaster are full of fine interconnected pores, and fine pores wick water the way a wick lifts oil in a lamp. Every wall standing on damp ground would do this — which is why buildings are supposed to have a damp-proof course (DPC): a horizontal waterproof layer near the base of the wall that physically interrupts the wicking path. When rising damp shows up, it means the DPC is missing (common in older and self-built houses), damaged, or bridged — by a raised outside ground level, a plinth plastered over, or an attached step or planter that gives water a detour around the barrier.
That mechanism explains the two facts that doom surface-only fixes:
- The water arrives under pressure from below. A film of paint on the room side is trying to hold back a wall's worth of slow, continuous capillary supply. It cannot; the moisture simply migrates past it, around it, or pushes it off.
- The water carries salts. Ground moisture dissolves salts in the soil and masonry and deposits them in the plaster as it evaporates. Those salts are hygroscopic — they pull moisture out of humid air on their own — so old, salt-loaded plaster stays damp even after the original supply is cut. This is why a repaint over old plaster fails even when the diagnosis was right.
The actual cure, in order
A lasting rising damp treatment does three things, in this order: cut the supply, remove the contaminated plaster, and rebuild with materials that can cope with residual moisture.
1. Re-establish the barrier. The capillary path has to be interrupted. Where the DPC is merely bridged, that can be as simple as lowering the outside ground level, cutting back the plinth plaster, or separating the attached construction. Where the DPC itself has failed, the barrier is re-created within the wall — conventionally by cutting into a mortar course in stages, or by an injected chemical DPC installed by a specialist. This is the structural heart of the cure, and on older or load-bearing walls it is specialist work — get it assessed rather than improvised.
2. Strip the salt-loaded plaster. Hack off the internal plaster to about half a metre above the highest tide mark — beyond the visible stain, because the salts travel further than the discolouration. Leaving old plaster on is the single most common reason a correctly treated wall "comes back damp": the salts in it keep drinking moisture from the room air.
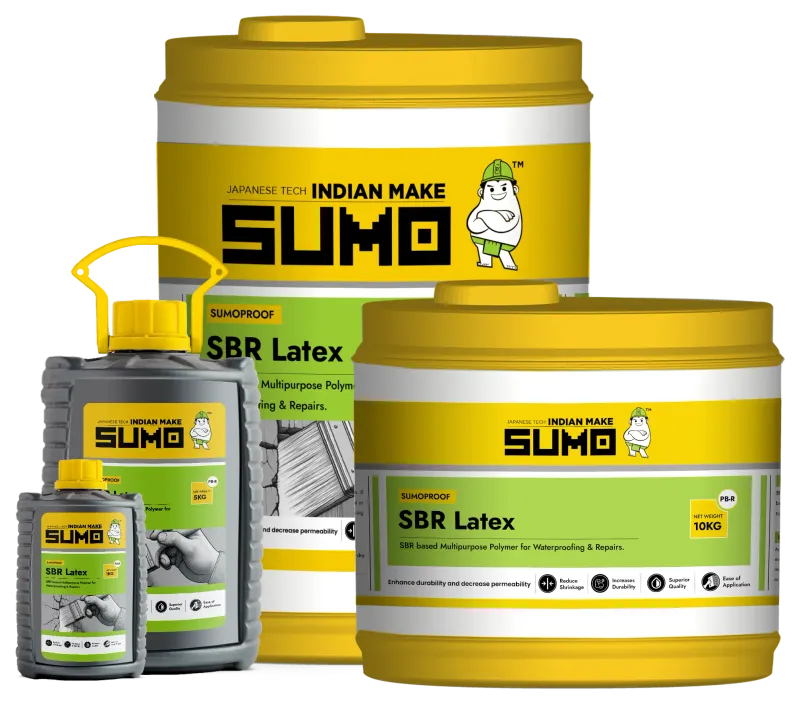
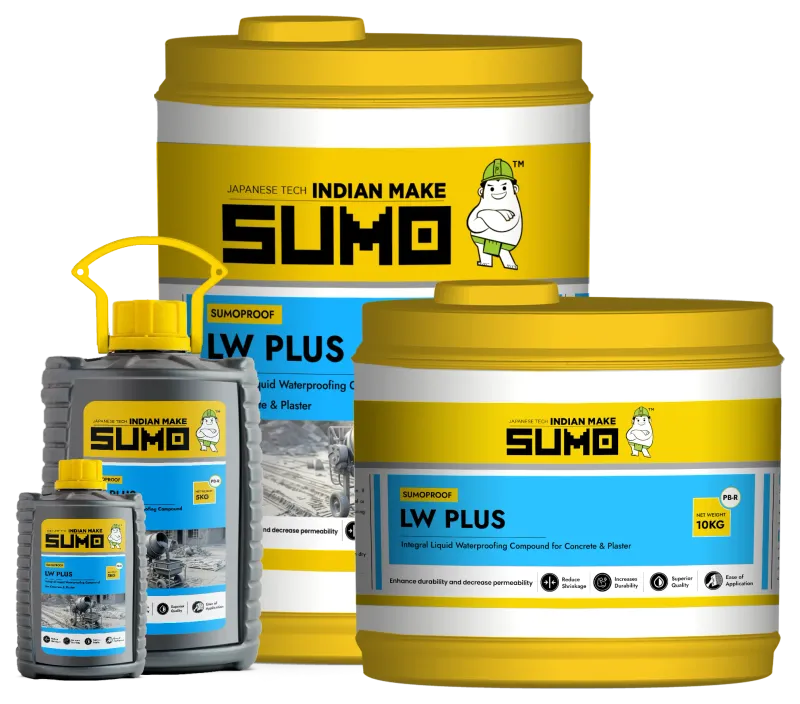
3. Re-plaster with a polymer-modified, water-resistant render. The new plaster has to tolerate the small amount of residual moisture still drying out of the wall. Site practice is a sand-cement render gauged with a polymer latex: SBR Latex in the mix produces a denser, water-resistant mortar and, used as a slurry, bonds the new render to the old masonry. For new mortar and concrete work around the repair, an integral admixture like LW Plus (dosed at 200 ml per 50 kg bag of cement) blocks the pores of the mix itself.
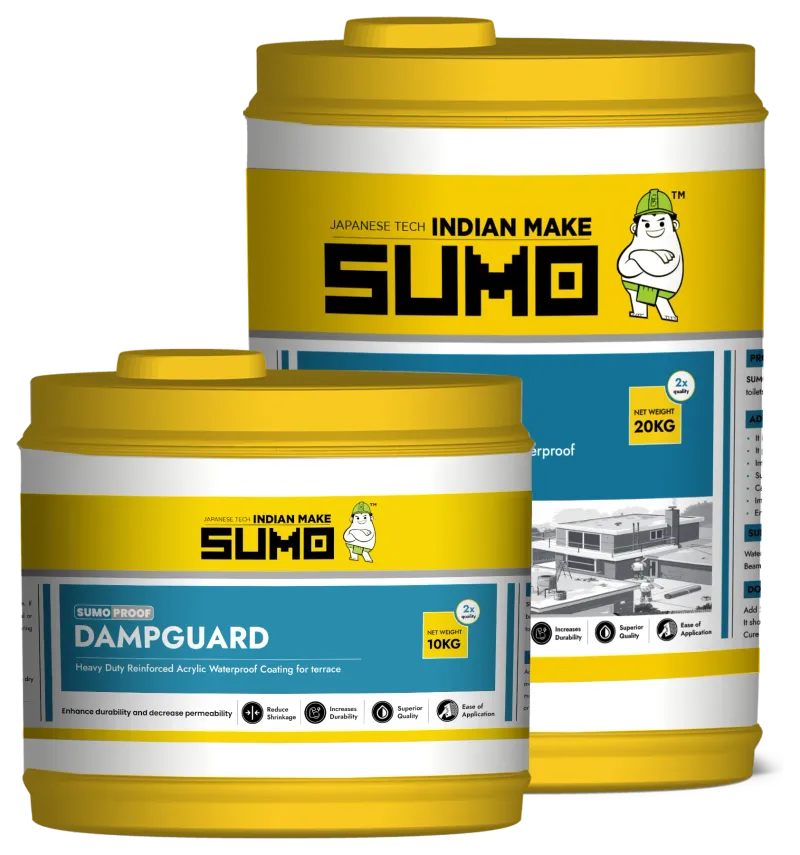
4. Finish with a barrier coat made for damp walls. Once re-plastered, the wall face gets a coating designed for the job rather than a decorative emulsion. Dampguard is SUMO's fibre-reinforced acrylic coat for seepage- and damp-affected walls, inside and out: it self-primes, goes on in two coats at roughly 20–25 sq.ft per kg, bonds at 2.3 N/mm² and stretches up to 300% — so hairline movement in the wall does not crack the barrier. It comes in 10 kg and 25 kg packs.
What just hides it
For completeness, the popular non-cures — each buys a season, not a repair:
- A coat of waterproofer or emulsion over the stain. Holds until capillary pressure and salts push it off, then peels in sheets.
- A POP or gypsum skim over the patch. Gypsum is the worst possible material against ground moisture; it softens and powders.
- Tiling or cladding the lower wall. Moves the evaporation line upward — the damp climbs above the tiles and the wall behind them stays wet.
- Treating one room of a shared wall. The water finds the untreated side. Rising damp is a wall problem, not a room problem.
The monsoon note
Treat rising damp in the dry months if you can. The wall needs weeks to release the moisture already in it, re-plastering onto a saturated wall extends drying time, and coatings cure best on a wall that is damp, not wet. Diagnose during the monsoon — when the problem shows itself honestly — and cure after it.
For the wider picture of keeping water out of walls generally — seepage, wet areas, exteriors — see the companion guide to damp proofing methods, and the step-by-step how to stop dampness in walls.