How to stop dampness and rising damp in walls
Damp patches, seelan, peeling paint and musty smells all trace back to water getting in. How to tell rising damp from seepage and condensation, fix the source, and treat the wall with SUMO Dampguard, Sealcrete and Weatherguard so it stays dry.
ON THIS PAGE
Wall dampness has three common causes: rising damp (ground moisture wicking up through the base of the wall), penetrating damp or seepage (rain or a leak coming through from outside or from a wet area next door), and condensation (room moisture settling on cold surfaces). The fix depends on the cause — treating the wrong one wastes money and the patch comes back.
In Indian homes the usual suspects are monsoon seepage through external walls and parapets, leaks from a bathroom or kitchen on the other side of the wall, blocked or overflowing rainwater pipes, and rising damp in older buildings without an effective damp-proof course. New construction can also read as "damp" for months while the masonry simply dries out.
This guide starts with diagnosis, then works through stopping the source, preparing the wall, treating it with SUMO Dampguard and Sealcrete, and re-finishing so the repair lasts. Coating over a damp wall without fixing the source is the one mistake that guarantees the problem returns.
Read the patch before you buy anything. The pattern on the wall tells you the cause, and the cause decides the fix:
- Tide-mark low on the wall, white salts, does not change with the weather → rising damp. Treat the base of the wall and the damp-proof course.
- Defined patch that darkens after rain or when the bathroom next door is used → seepage (penetrating damp). Seal the outside face or fix the leak, then coat inside.
- Surface moisture and black mould in cold corners, behind cupboards, around windows → condensation. Ventilate; coatings will not cure it.
- Patch under a window, along a parapet or terrace edge, or around a pipe → a construction joint leaking. Repair the joint above before anything else.
Whatever you call it — seelan, seepage, dampness in the wall — the cure order is always the same: stop the water, dry the wall, prepare, treat, re-finish. Monsoon is the best time to trace the source and the worst time to coat; do the permanent external work in the first dry spell after the rains.
This guide covers the whole job end to end. For the specific problems, see our deep dives on rising damp treatment, the six damp proofing methods and choosing a waterproof coating for exterior walls.
What you’ll need
Step by step
Find the source first
Read the pattern before touching the wall. Rising damp shows as a tide-mark in the lower portion of the wall, often with white salt deposits, and does not change much with the weather. Penetrating damp and seepage appear as defined patches that darken after rain or when a bathroom on the other side is in use — at any height. Condensation shows as surface moisture and mould in cold corners, behind furniture and around windows, worst in humid weather with poor ventilation.
Check both sides of the wall: the room showing the patch is often not the room causing it. Look above (terrace, parapet, ledge), outside (cracks, open joints, downpipes) and behind (bathroom, kitchen, water tank).
Fix the water source
Stop the water getting in before any treatment. Repair leaking pipes and concealed plumbing, clear or re-route overflowing gutters and rainwater pipes, fill external cracks and open joints, and make good any failed terrace or parapet waterproofing above the wall. For condensation, the fix is ventilation — exhaust fans, cross-ventilation and moving furniture off cold external walls.
Then let the wall dry. A wall that took months to get wet will not dry in a day; give it dry weather and airflow before you treat and refinish it.
Rising damp: treat the base of the wall
If the diagnosis is rising damp, surface coating is not enough — the base of the wall has to be rebuilt as a waterproof zone. Hack the plaster off from the skirting up to well above the highest tide-mark, dry-brush the salts off the bare masonry and let it dry.
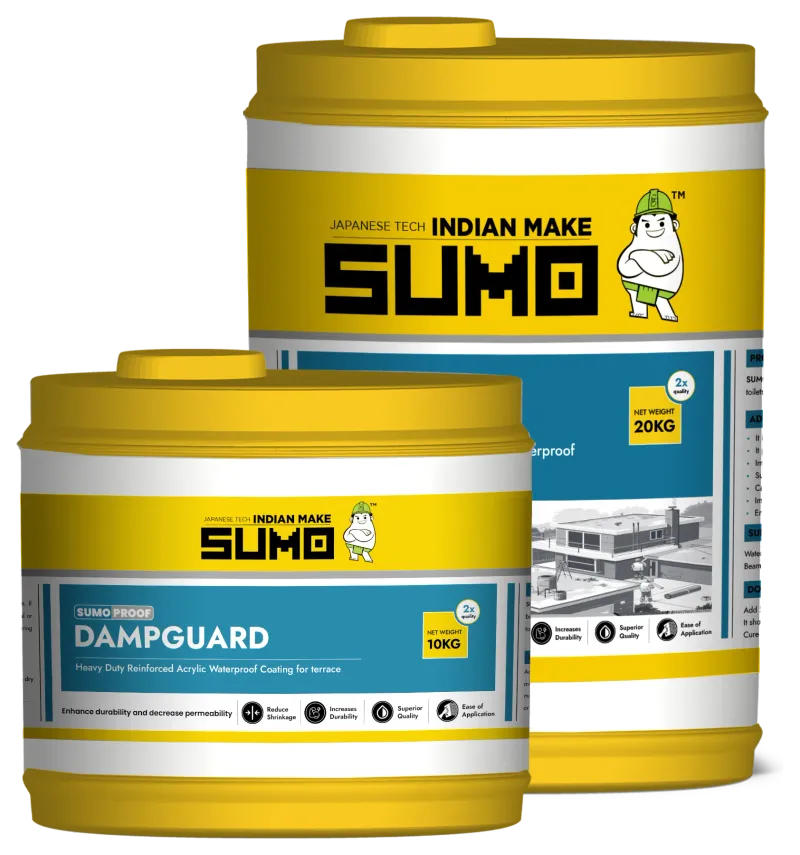
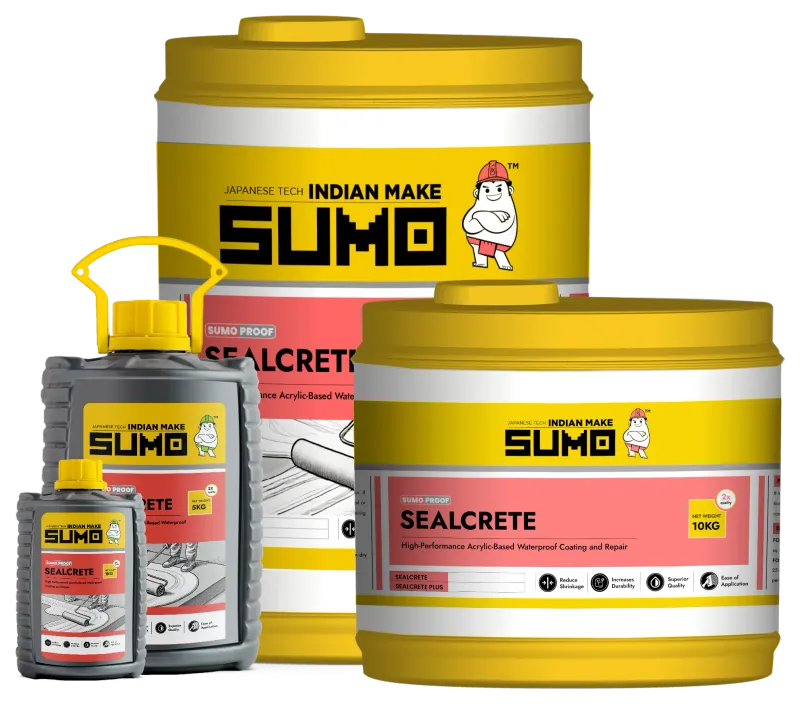
Re-render the stripped band with a waterproof mortar made with SUMO Sealcrete (as the bond coat and gauging liquid, per the datasheet), then follow with Dampguard and a fresh plaster finish. Where there is no damp-proof course or it has failed, a coating buys time, not a cure — have an applicator restore the DPC.
Seepage from outside: seal the external face
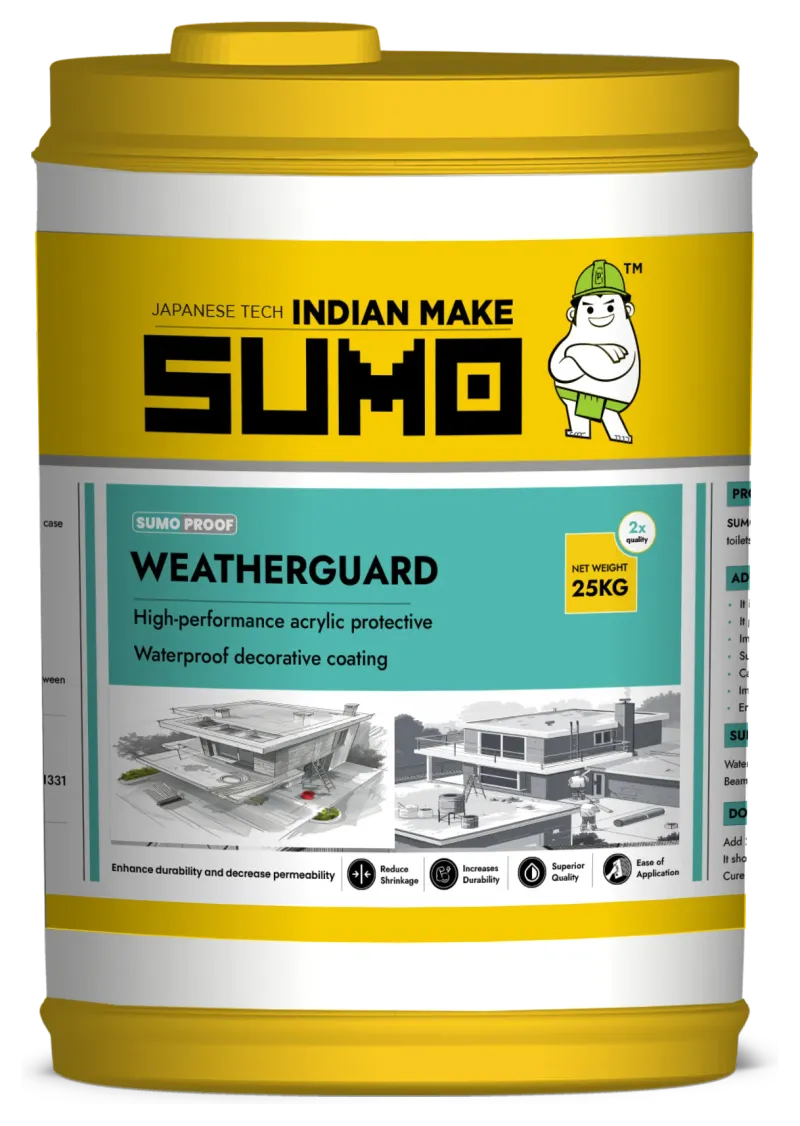
When rain is driving through an external wall, treat the outside face — an inside-only coat masks it for a season. Fill cracks and open joints, re-seal around pipes and window frames, and make good the parapet or ledge above. Then, on a dry surface, coat the wall with SUMO Weatherguard, the acrylic exterior waterproof coating (anti-algae, UV resistant, three coats), or with WR Guard where you want a transparent water-repellent finish on brick, stone or textured render.
Only once the outside is sealed and the wall has dried should you coat the inside with Dampguard and re-finish.
Prepare the affected surface
Strip the damage back to a sound base: remove blown or hollow plaster, flaking paint and loose material. Dry-brush off efflorescence (the white salt deposits) with a wire brush — do not wash it off, as water dissolves the salts straight back into the wall. Finish with a clean, dust-free surface.
Treat with Dampguard / Sealcrete
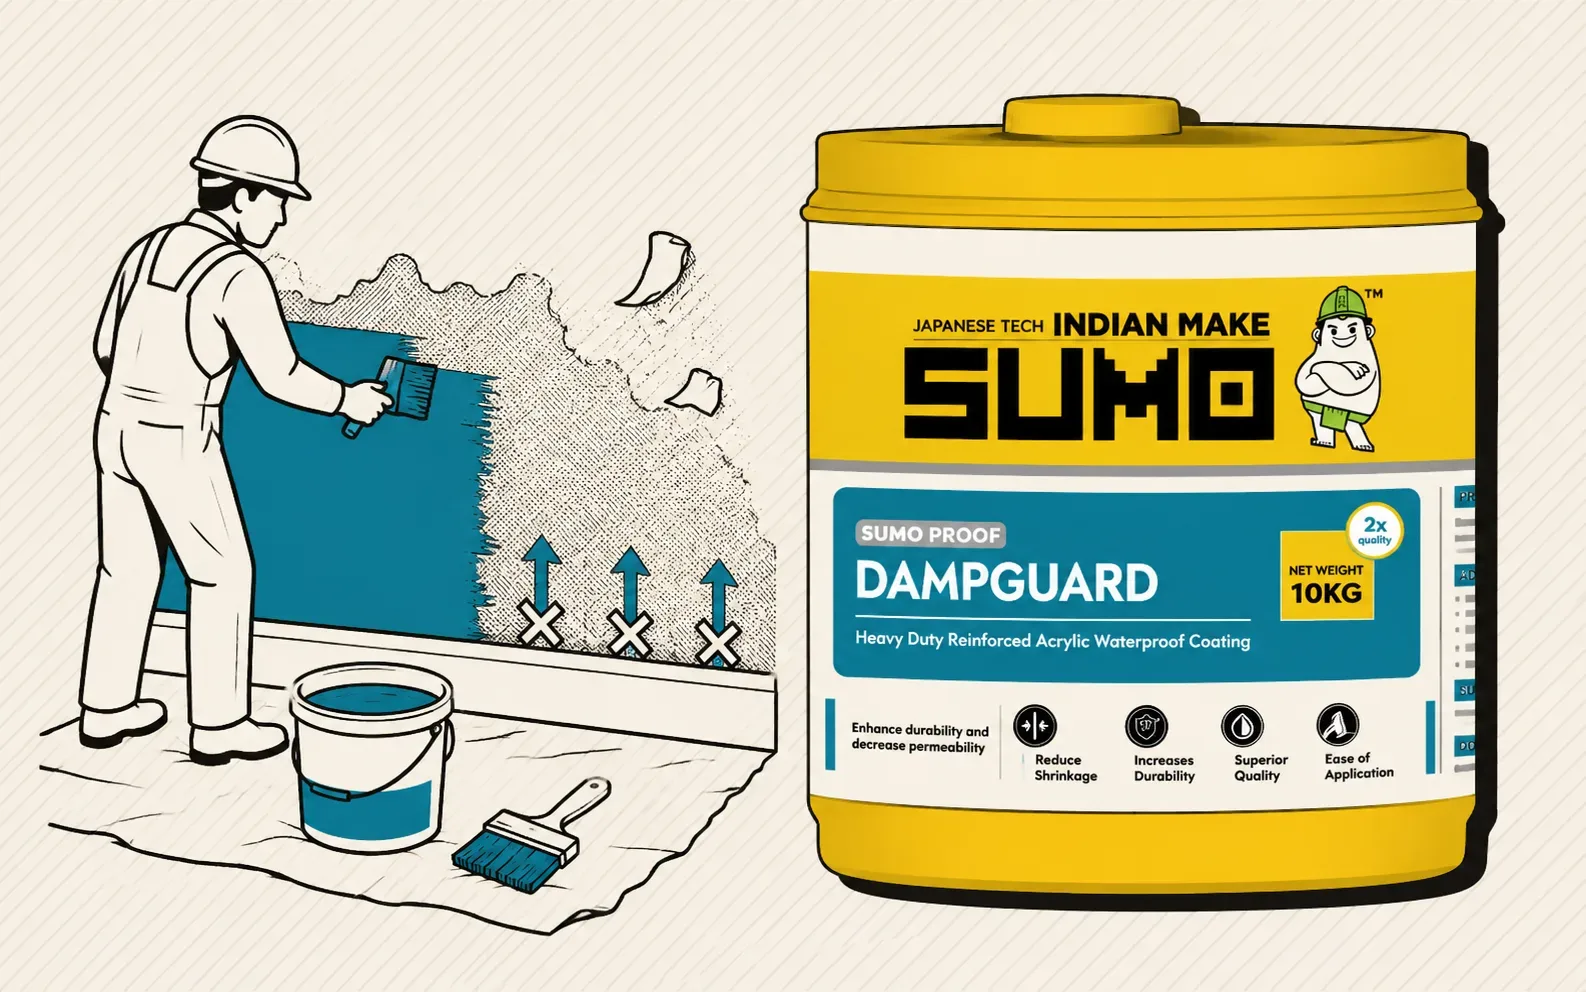
With the source fixed and the wall dry, apply SUMO Dampguard to check the dampness, and/or a SUMO Sealcrete waterproof coating where water was penetrating, following the product method and the stated number of coats. Where plaster was removed, patch with an SBR-modified repair mortar or slurry before re-plastering. Carry the treatment a margin beyond the visible patch — moisture spreads inside the wall wider than the stain you see.
Re-plaster and finish
Once the treatment has cured and the wall reads dry, re-plaster with SUMO Ready Mix Plaster, follow with putty and primer, and repaint. Do not rush this stage: repainting a wall that is still drying is how peeling starts all over again.
Care, tips & what to avoid
- ✓Let the wall dry fully before coating or repainting — trapped moisture blisters the new finish.
- ✓Treat external seepage from the outside where access allows; an inside-only coat can mask it for a season, not cure it.
- ✓Check the other side of the wall — bathrooms, kitchens, tanks and parapets are the usual hidden sources.
- ✓Brush efflorescence off dry. Washing it re-dissolves the salts into the wall and they reappear as it dries.
- ✓Do not put waterproof paint, putty or POP over an active patch — it hides the damp for weeks and then takes the new finish with it.
- ✓Exterior coatings need a dry surface and the drying window on the product datasheet; do the outside work in a dry spell, not mid-monsoon.
- ★Tape a square of aluminium foil tightly over the patch for 24–48 hours: moisture on the room side means condensation, on the wall side means rising or penetrating damp.
- ★Photograph the patch after heavy rain and again after a dry week — how it changes tells you where the water comes from.
- ★Treat and coat a margin beyond the visible stain; damp travels inside the wall wider than what shows on the surface.
- ★Persistent rising damp in older masonry is a damp-proof-course problem — surface coatings alone will not cure it; have an applicator assess the DPC.
- ★Trace the source while it is raining — a damp patch that grows within an hour of a downpour is seepage from that wall or the parapet above, not rising damp.
- ★Mark the edge of the patch in pencil and date it. If the line climbs, it is rising damp; if it spreads sideways from one point, it is a leak.
- !Painting/coating over active dampIt traps moisture and blisters. Fix the source and let the wall dry first.
- !Treating the wrong causeRising, penetrating and condensation damp need different fixes. Diagnose before treating.
- !Not removing salts/blown plasterTreat a sound surface — strip damaged plaster and salts back first.
- !Hiding damp behind putty or POPFiller and putty are cosmetic — the patch returns within weeks and takes the new finish with it.
- !Coating the inside onlyIf rain comes through from outside, an internal coat holds one season. Seal the external face first.
- !Waiting for the rains to stop to lookMonsoon is when the source shows itself. Trace it now, coat later.