
INSIGHT · SUMOTILE
Why tiles debond — the real reasons, and how to prevent them
A tile that lifts or sounds hollow rarely has a single cause. Here are the real reasons tiles debond — and the choices that stop it happening.
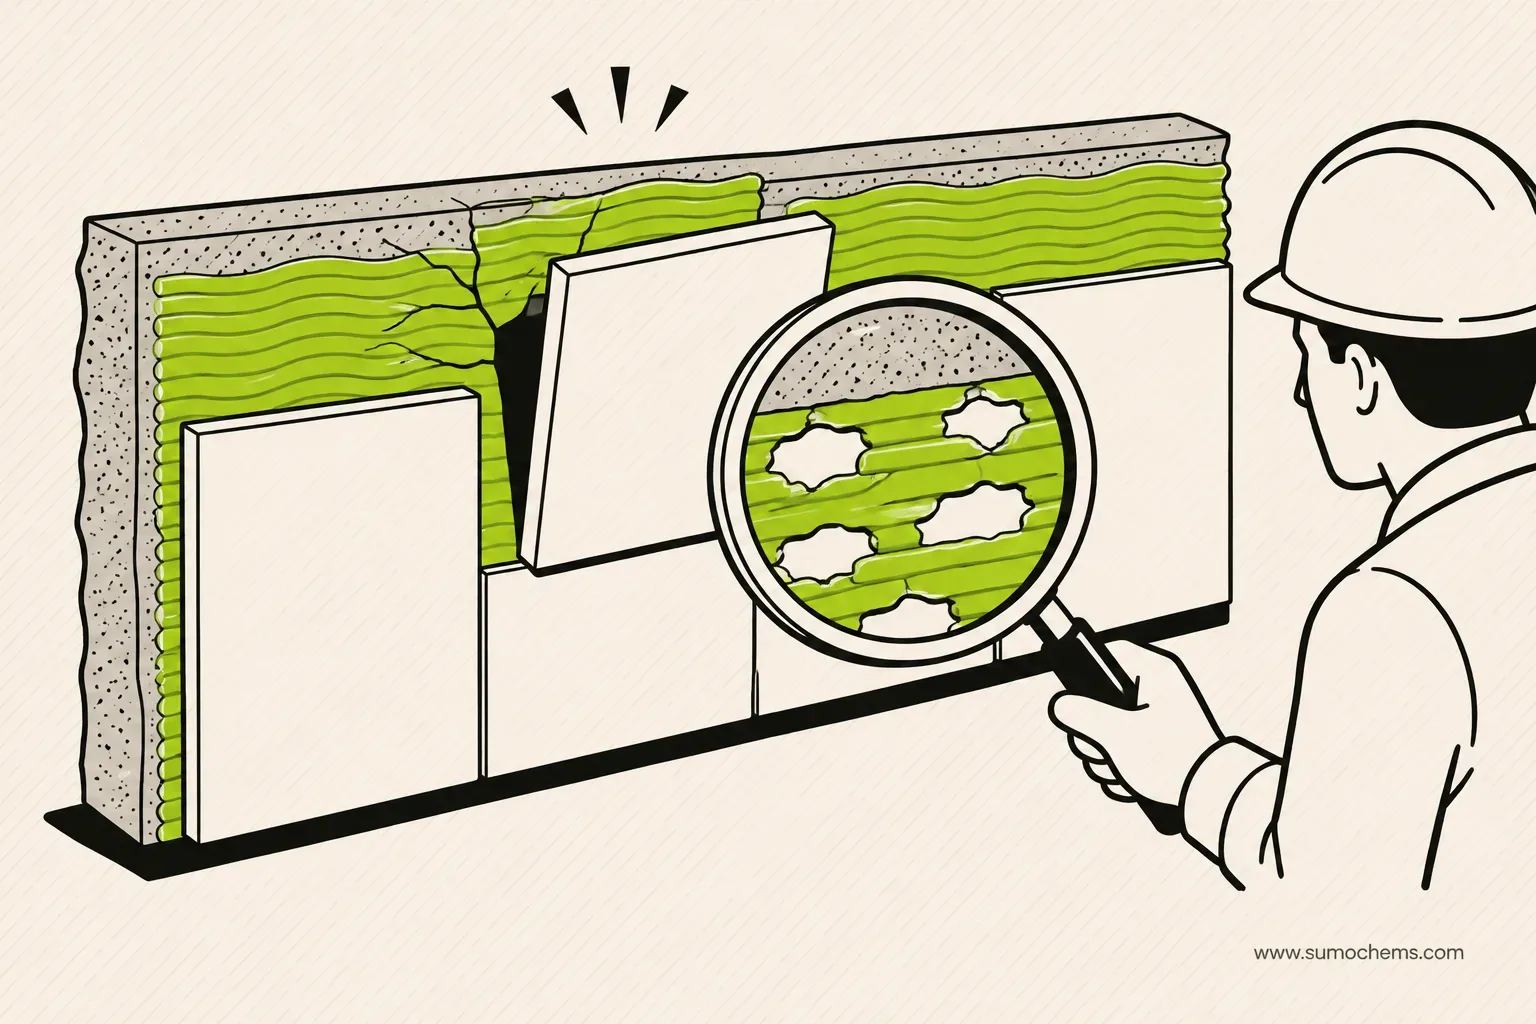
A tile that pops off or sounds hollow is almost never bad luck — it is one of a short list of preventable causes. Understand them and you can guarantee a bond that holds for the life of the building.
The real reasons tiles debond
- Poor substrate preparation: dust, grease, curing compound or a weak, dusty surface stops the adhesive gripping.
- Wrong adhesive grade: a basic C1 under dense vitrified or large-format tiles simply does not have the bond strength.
- Skinning — open time exceeded: the combed bed forms a skin before the tile is placed, so it never keys in.
- Insufficient coverage: voids behind the tile leave it unsupported; wet areas and large formats need near-full contact and back-buttering.
- Movement without deformability: thermal or structural movement cracks a rigid bed under large or heated tiles — an S1/S2 adhesive is needed.
- Moisture and no waterproofing: water tracking behind tiles breaks the bond and drives efflorescence.
How to prevent it
Every one of those has a simple fix on site:
- Prepare the substrate — sound, clean, free of dust and bond-breakers; dampen highly absorbent surfaces.
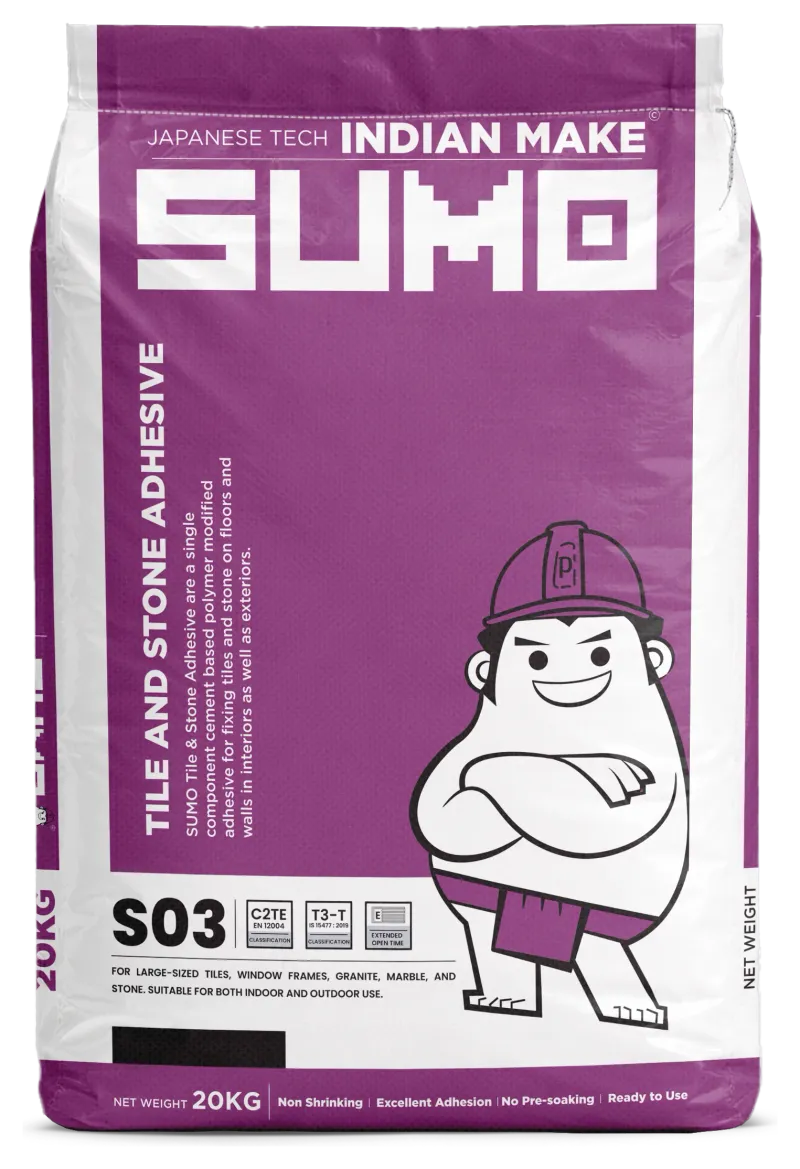
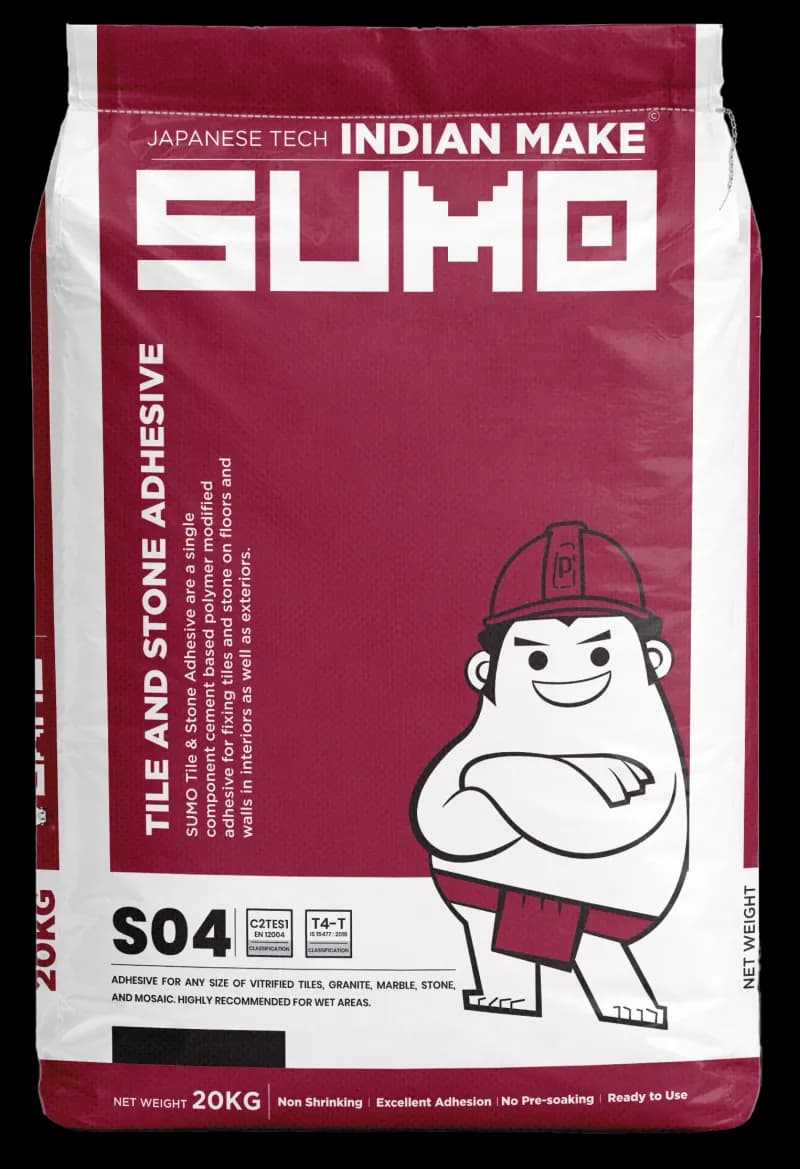
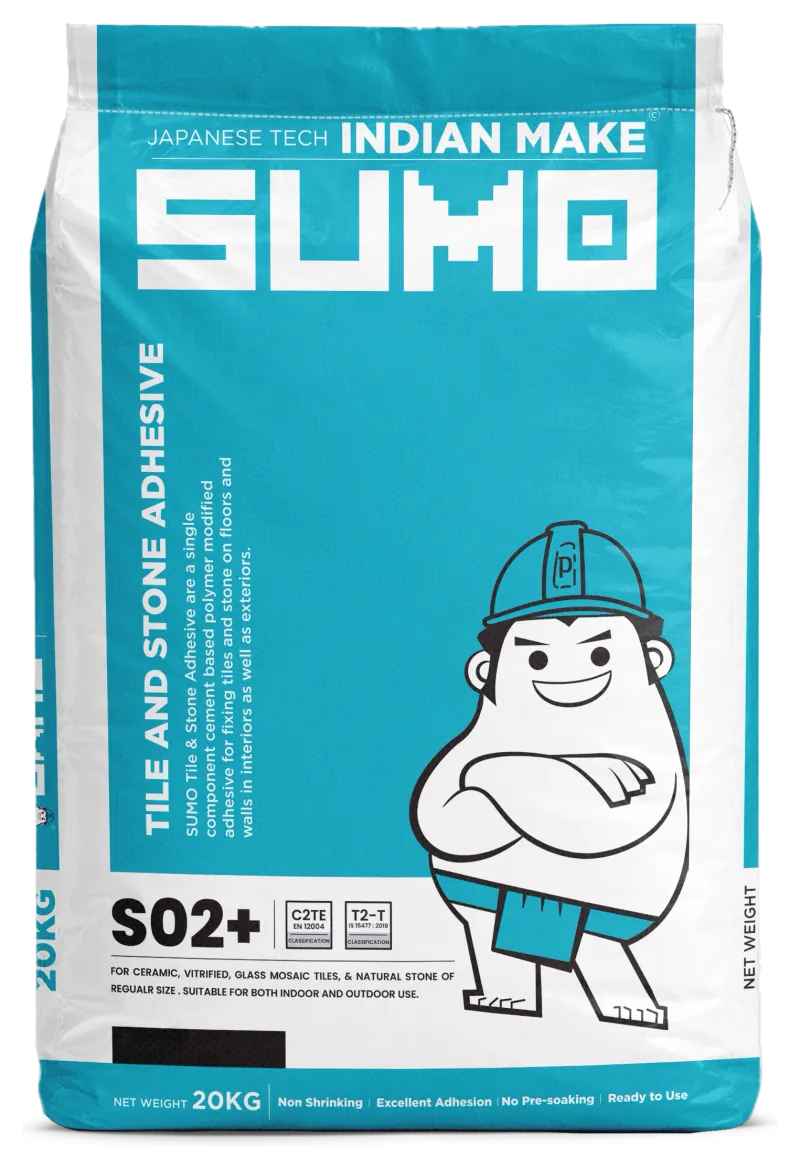
- Match the grade to the tile and area — step up to C2 for vitrified, C2TE for exterior, C2TES1 (S04) for wet areas and large formats.
- Work to the open time — only comb out what you can tile in ~10 minutes, and re-comb if a skin forms.
- Check coverage — lift a tile early and confirm the back is fully buttered; back-butter heavy tiles.
- Waterproof wet areas before tiling, and use a deformable adhesive where movement is expected.
The quick test
Tap a finished area with a coin. A sharp, solid sound means full contact; a hollow drum means voids. Catching it early — before grouting — turns a callback into a five-minute fix.
TAGStile debondinghollow tilestile adhesionsurface prepopen time
THE KIT
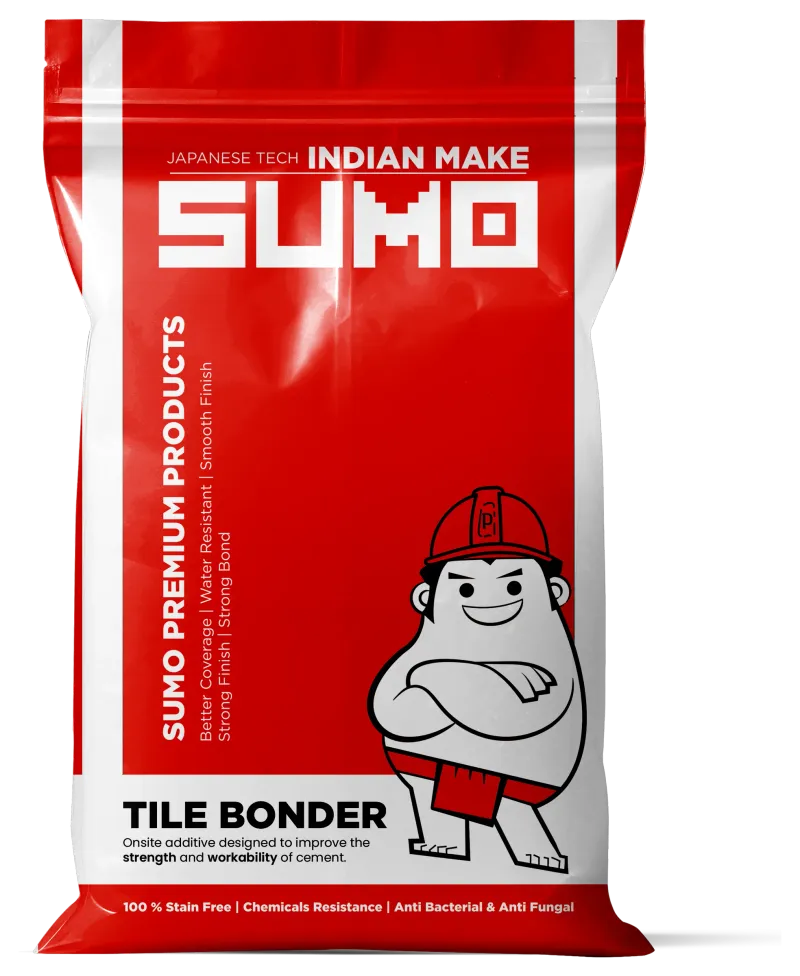
Products mentioned in this article
KEEP READING
Read next


SHARE THIS ARTICLEWHATSAPP
NOT SURE ON YOUR JOB?
Tell us your substrate and conditions — our technical team will confirm the exact product and method.