The bathroom that leaks into the room below — and the layer everyone skipped
Tiles are not the waterproof layer — the membrane under them is. Why the bathroom leaks into the room below, and the layer everyone skipped.

ON THIS PAGE
- Membrane
- Sealcrete 2K Plus (flexible 2K)
- Elongation
- 100–120%
- Turn-up walls
- ≥150 mm (full height in showers)
- Flood test
- ~25 mm water, 24 hours
- Tile-ready
- Screed/tile directly over it
KEY TAKEAWAYS
- The tiles are not the waterproof layer — the membrane under them is; a leak below means that layer was skipped or wrongly detailed.
- The usual misses: the sunken box, wall–floor corners, the drain and pipe penetrations, and no slope.
- Tank the sunken area, fillet the corners, reinforce penetrations, two coats up the walls.
- Cure and flood-test for 24 hours before filling and tiling.
Few problems cause more arguments between neighbours, builders and owners than the upstairs bathroom that leaks into the room below. A brown patch spreads across the downstairs ceiling, the paint blisters, and everyone starts pointing: the plumber blames the tiling, the tiler blames the plumber, the owner blames the material. Meanwhile the water keeps coming, because the actual cause is a layer that, on far too many Indian bathrooms, was never properly built at all.
Tiles are not waterproof. The layer under them is supposed to be.
Here's the misunderstanding at the root of nearly every one of these leaks: people assume the tiles and grout keep the water out. They don't.
Cement grout is porous — it slowly lets water through. Tiles have joints, and water finds them. In a wet area, water is expected to get past the tiles. That's normal, and it's fine — as long as there's a waterproof membrane underneath that catches it and drains it back to the outlet. The tiles are the wearing surface and the looks. The waterproofing under them is the actual barrier.
When a bathroom leaks to the floor below, it's almost never because "the tiles failed." It's because the membrane under them was thin, patchy, wrongly detailed — or simply never applied. Water got through the tiles as it always does, found no barrier, and soaked straight into the slab and out the downstairs ceiling.

The specific places it was skipped
Even where some waterproofing was done, these are the spots that get missed — and any one of them sinks the whole job:
1. The sunken portion / floor trap area. In a sunken (Indian-style) bathroom, the whole sunken box needs tanking — floor and up all the walls — before it's filled and tiled. This is frequently half-done or done with a weak coat that cracks.
2. The wall–floor junction and corners. As with any wet area, the corners are the high-movement lines that crack first. Without a cove fillet and reinforced, taped corners, the membrane splits exactly where the water collects.
3. Around the floor drain and every pipe penetration. The drain and the pipes punching through the floor are the most direct routes down into the slab. If the membrane isn't dressed tightly around them and sealed, water runs straight down the outside of the pipe into the room below. Penetrations leak more bathrooms than open floor ever does.
4. The junction where the WC/floor trap connects. A classic slow leak — sealed with a bit of mortar, never properly waterproofed, weeping for years.
5. No slope, so water stands. A sunken floor with no fall to the drain holds water permanently over the membrane, and standing water finds every pinhole and weak lap. Water must run to the outlet.
6. The membrane wasn't turned up the walls high enough — especially in the shower, where water hits the wall directly. A floor-only membrane lets water track in at the skirting line.
Building it so it never leaks down
- Fix the plumbing and test it first. Pressure-test supply lines and check the drain runs before you close anything up. Waterproofing can't save a leaking pipe buried in the screed.
- Get the slope right. Form the floor to fall clearly towards the drain — no flat spots, no reverse falls.
- Prep and prime the sunken box and floor: clean, sound, slightly damp, primed where required.
- Cove-fillet every internal corner, then apply the membrane — worked hard into corners, drain and penetrations first, with reinforcing tape at every corner, the drain collar and each pipe.
- Two full coats, second at right angles to the first, no pinholes, turned up all walls (150 mm minimum, full height in the shower).
- Cure, then flood-test 24 hours before filling/tiling. This test is the whole insurance policy — do it before the tiles go on, when a failure costs a morning instead of a ceiling.
- Only then fill the sunken portion, screed to falls, and tile — ideally with a flexible adhesive and grout so the finish moves with the wet-area, and seal cement grout in the wettest zones.
What we'd tank it with
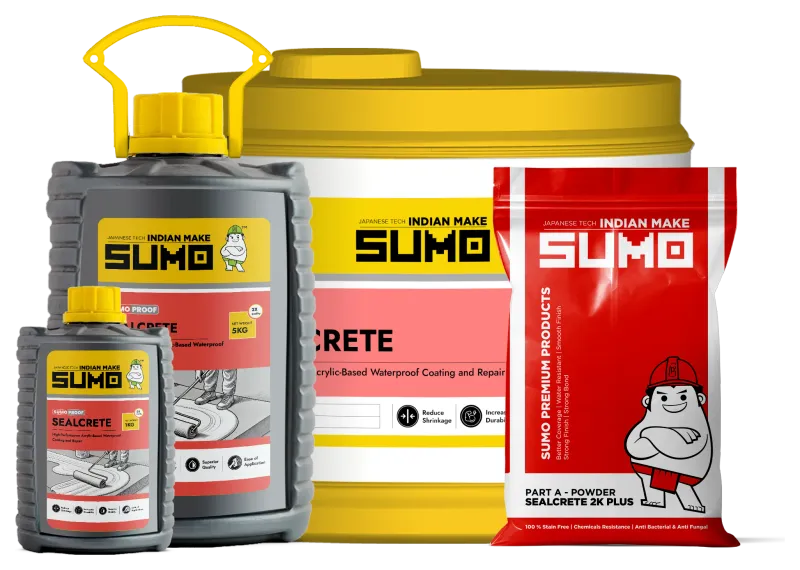
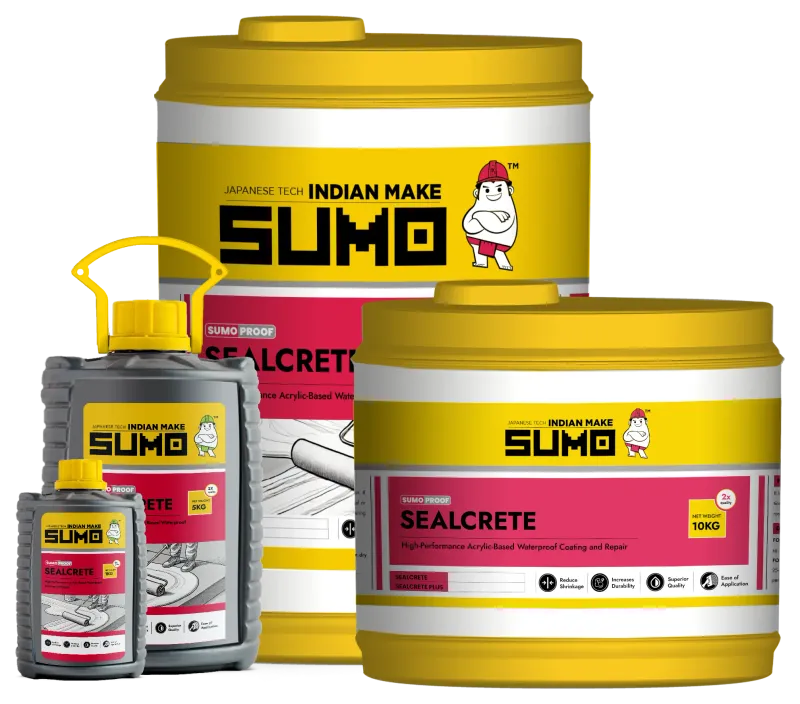
- SUMO SealCrete 2K Plus is a two-component (powder + acrylic-polymer liquid) flexible cementitious waterproofing made for exactly this duty: a crack-bridging membrane with 100–120% elongation — plus 2.5 N/mm² tensile strength and 1.0 N/mm² adhesion — that tanks the sunken box, floor and walls, takes reinforcing mesh at the corners, drain and penetrations, and turns up the walls in a continuous seal. Mixed 2:1 and applied in two brush coats (~7.5–8 sq.ft/kg), it bonds to damp concrete, stays flexible where rigid cement coatings split, and is tile-ready — screed and tile straight over it. That flexible film is precisely what stands between the water and the room below.
- For general internal damp-proofing and bond coats with little structural movement, the single-component SUMO SealCrete acrylic latex covers the simpler work in the same system.
A bathroom leaking downstairs is not a mystery and it's not usually the tiles. It's a missing or half-built waterproofing layer — skipped at the corners, the drain, the sunken box, or the whole floor. Build that layer properly, detail the penetrations, flood-test it before tiling, and the ceiling below stays dry for the life of the building.
SUMO is a brand of Adheseal India Company. Figures above are from the SUMOPROOF SealCrete 2K Plus technical data sheet (Rev 01); confirm the current values on the pack or product page before quoting.