Notch trowel sizes, decoded: matching the trowel to the tile you're actually laying
The trowel decides your coverage before the first tile goes down. Match the notch to the tile — and stop the worn-trowel tax quietly costing you bond.

ON THIS PAGE
- Mosaic / thin ceramic
- 4–6 mm notch
- Standard ceramic
- 6–8 mm notch
- 600×600 vitrified
- 10 mm + back-butter
- Large format / slabs
- 12 mm / half-trowel
- Coverage target
- 80% dry · 95% wet
KEY TAKEAWAYS
- The notch sets your coverage before the first tile — match it to the tile size.
- 6–8 mm for ceramic, 10 mm for 600×600 vitrified, 12 mm or a half-trowel for large format.
- A worn, rounded notch secretly lays a shallow bed — less coverage and half the open time.
- Back-butter anything 600×600 and up and aim for 95% coverage on external and wet work.
There's a tool on every tiling site that decides whether a floor lasts twenty years or comes up hollow in two, and nobody argues about it, nobody specs it, and half the time it's worn down to nothing. The notched trowel. Get the notch wrong and it doesn't matter how good your adhesive is — you've already set the coverage you're going to get before the first tile goes down.
So let's actually talk about notch size properly, the way it comes up on site rather than the way it's written in a manual.
What the notch is really doing
When you hold the trowel at 45 degrees and pull it through the adhesive, the teeth leave ridges and the flat between them leaves a thin bed. When you press and slide a tile into those ridges, they collapse sideways and fill the gaps. The whole point is that the collapsed ridges should join up into one continuous layer with no air trapped underneath.
Two things decide whether that happens: how much adhesive the notch lays down, and how flat your tile and your surface are. A bigger notch lays a taller ridge with more material to collapse and fill — which is exactly what you need when the tile is big, or heavy, or the back is deeply ribbed, or the wall isn't dead flat.
Get it right and you get full contact. Too small a notch and the ridges don't have enough material to bridge the gaps — you get hollow patches. Too big and you're wasting adhesive and squeezing it up the joints every time you set a tile.
Notch trowel size chart by tile size
Match the notch to the tile first, then choose the adhesive grade. This is what works on site, not a legal standard:
Tile size | Notch trowel size | Bed & coverage rule | SUMO adhesive |
|---|---|---|---|
Mosaic & thin ceramic, up to ~150 mm | 4–6 mm square or V-notch | Thin, even bed — a bigger notch just pushes adhesive up the joints | S01 (C1T) · S02 (C2T) |
Ceramic wall tile 200×300 – 300×600 mm | 6–8 mm square notch | Enough bed to take the dishing on a pressed ceramic back; 80% coverage in dry areas | S01 (C1T) · S02 (C2T) |
Vitrified floor tile up to 600×600 mm | 10 mm square notch + back-butter if the back is keyed | The size most Indian floor jobs need; 80% dry, 95% wet | S02 Plus (C2TE) · S03 (C2TE) |
Large format 800×800 mm and up, slabs | 12 mm minimum, often a half-trowel, always back-butter | Fills the bow in big tiles; 95% coverage with solid corners | S03 (C2TE) · S04 (C2TES1) |
Uneven or old substrate | Go up one notch size | Or float the surface flat first — the trowel is not a levelling tool | S03 · S04 |
Read the chart as a starting point and check the back of the first tile you lift — if the ridges have not joined into a solid bed, go up a size. Work out how many bags that bed needs with the tile adhesive calculator.
This isn't a legal standard, it's what works. Match the notch to the tile:
- Mosaics and thin ceramic (up to about 150 mm): a 4–6 mm square or V-notch. Small tiles need a thin, even bed — a big notch just pushes adhesive up between every piece.
- Standard ceramic wall tile (200×300, 300×450, 300×600): a 6–8 mm square notch. Enough bed to take the normal dishing on the back of a pressed ceramic tile.
- Vitrified floor tile up to 600×600: a 10 mm square notch, and back-butter if the back is deeply keyed. This is the size most Indian floor jobs actually need and the size most sites under-use.
- Large format, 800×800 and up, and any slab work: a 12 mm notch minimum, often a half-trowel, and always back-butter. Big tiles are rarely flat — they bow slightly — and only a deep bed plus buttering fills that bow.
- Uneven or old substrates: go up a notch size, or float the wall flat first. The trowel is not a levelling tool.
The honest rule of thumb: if you lift a tile and the ridges haven't joined into a solid bed, your notch was too small for that tile on that surface. Go up a size.

The worn-trowel tax nobody adds up
Here's the one that quietly ruins jobs. A brand-new 10 mm trowel has sharp, square teeth that lay a proper 10 mm ridge. After a few months of hard use, those teeth round off and shrink. That "10 mm" trowel is now laying a 6 mm ridge — and your tiler doesn't know it, because it still says 10 on the handle.
Shallow ridges hold less adhesive, so two things go wrong at once: you get less coverage under the tile, and the thinner bed skins over faster in the heat, cutting your open time roughly in half. A worn trowel is the hidden reason a site that laid perfect floors in winter starts getting hollow tiles in May with the same bag of adhesive.
Check your trowels. Hold the teeth against a straight edge. If they're visibly rounded or shortened, that trowel is costing you coverage on every single tile. They're cheap. Replace them.
Back-buttering isn't optional on the big stuff
For anything 600×600 and larger, combing the floor alone rarely gives you the coverage you need, because the tile is slightly bowed and the centre never touches the ridges. The fix is to skim a thin, tight coat of adhesive onto the back of the tile as well — back-buttering — filling the keys and the bow before you set it into the combed bed.
Comb the floor in one direction, butter the back, set, and slide the tile a few millimetres across the ridges to knock them flat. Then lift the first one and check the back. For dry interiors you want at least 80% transfer; for wet areas, façades and anything heavy, you want 95% or better with the corners solid.
Where the adhesive grade comes in
The notch controls the bed. The adhesive controls what that bed can do. Match both to the job:
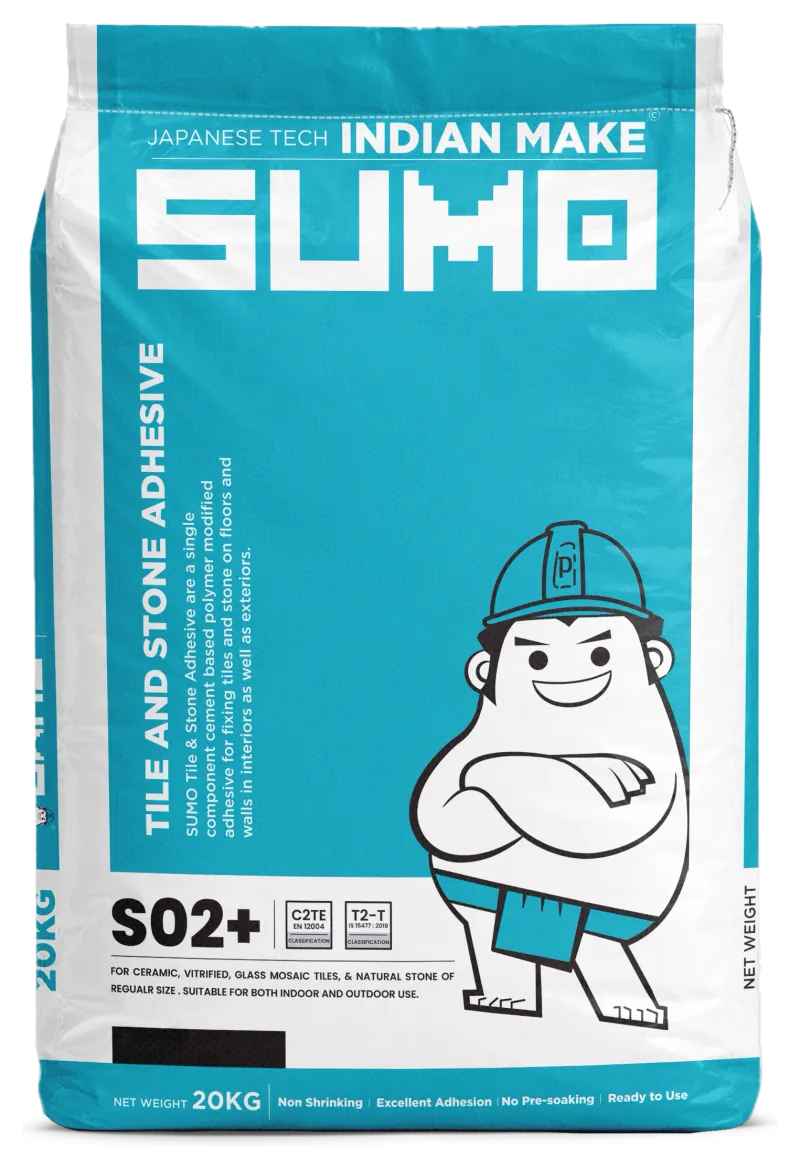
- For everyday ceramic in dry areas, an economy adhesive like SUMO S01 (EN 12004 C1T) combed at 6 mm is honest, cost-effective work.
- Step up to standard vitrified floors and walls and you want SUMO S02 Plus (C2TE) — the improved C2 bond plus extended open time gives you a longer working window at a 10 mm notch, which matters in Indian heat.
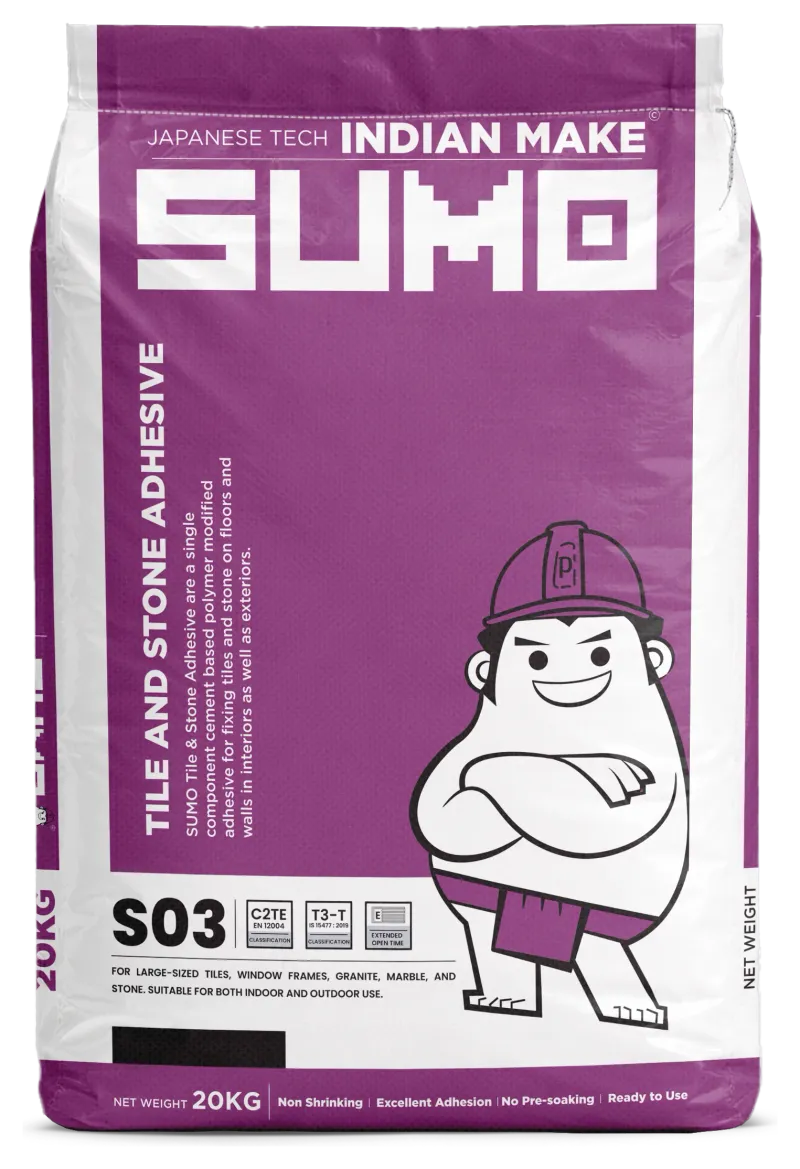
- For large-format tile, external walls and heavier stone, SUMO S03 (C2TE, tensile adhesion ≥ 1.5 N/mm², IS 15477 Type 3) has the grip and open time to fill a deep 12 mm bed before it skins.
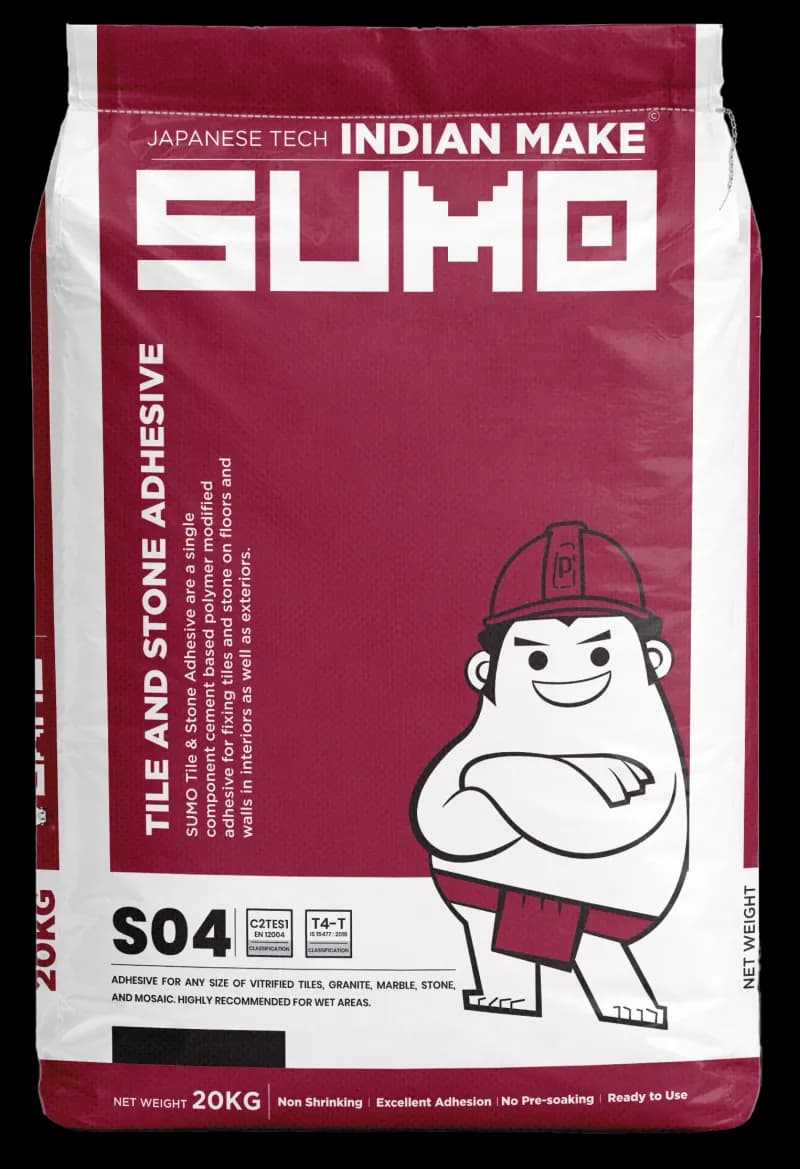
- And where the tile has to move with the structure — big porcelain slabs, over-heated screeds, balconies — SUMO S04 (C2TES1, 1.75 N/mm², deformable to 2.5 mm) is the one that flexes instead of letting the tile debond. Deep notch, back-buttered, S04 under it: that's a floor that stays down.
A good bag and a worn 6 mm trowel is a waste of a good bag. The trowel is half the job. Buy the right notch, keep it sharp, back-butter the big tiles, and lift one now and then to check you're getting what you think you're getting.
SUMO is a brand of Adheseal India Company. Grades and adhesion values above are from the product technical data; confirm the current figure on the bag or product page before quoting it to a client.
Natural stone usually needs the 10–12 mm end of this chart plus back-buttering — how to fix granite, marble and Kota stone covers the rest.