The 3-second thumb test that tells you if your adhesive is still workable
Hollow tiles are almost always a timing story, not a product one. The three-second check that tells you the adhesive bed is still open — before you set the tile.
ON THIS PAGE
- Grade (S02+/S03)
- C2TE · IS Type 3
- Open time
- Extended (E)
- Coverage target
- ≥80% dry · ≥95% wet
- Notch (600×600)
- 10–12 mm, back-buttered
- Re-temper with water?
- Never
KEY TAKEAWAYS
- Hollow tiles are usually a timing failure, not a bad adhesive — the bed skinned before the tile went on.
- Open time is ~20–30 min in the lab but can drop to 8–10 min in summer heat, wind or on thirsty surfaces.
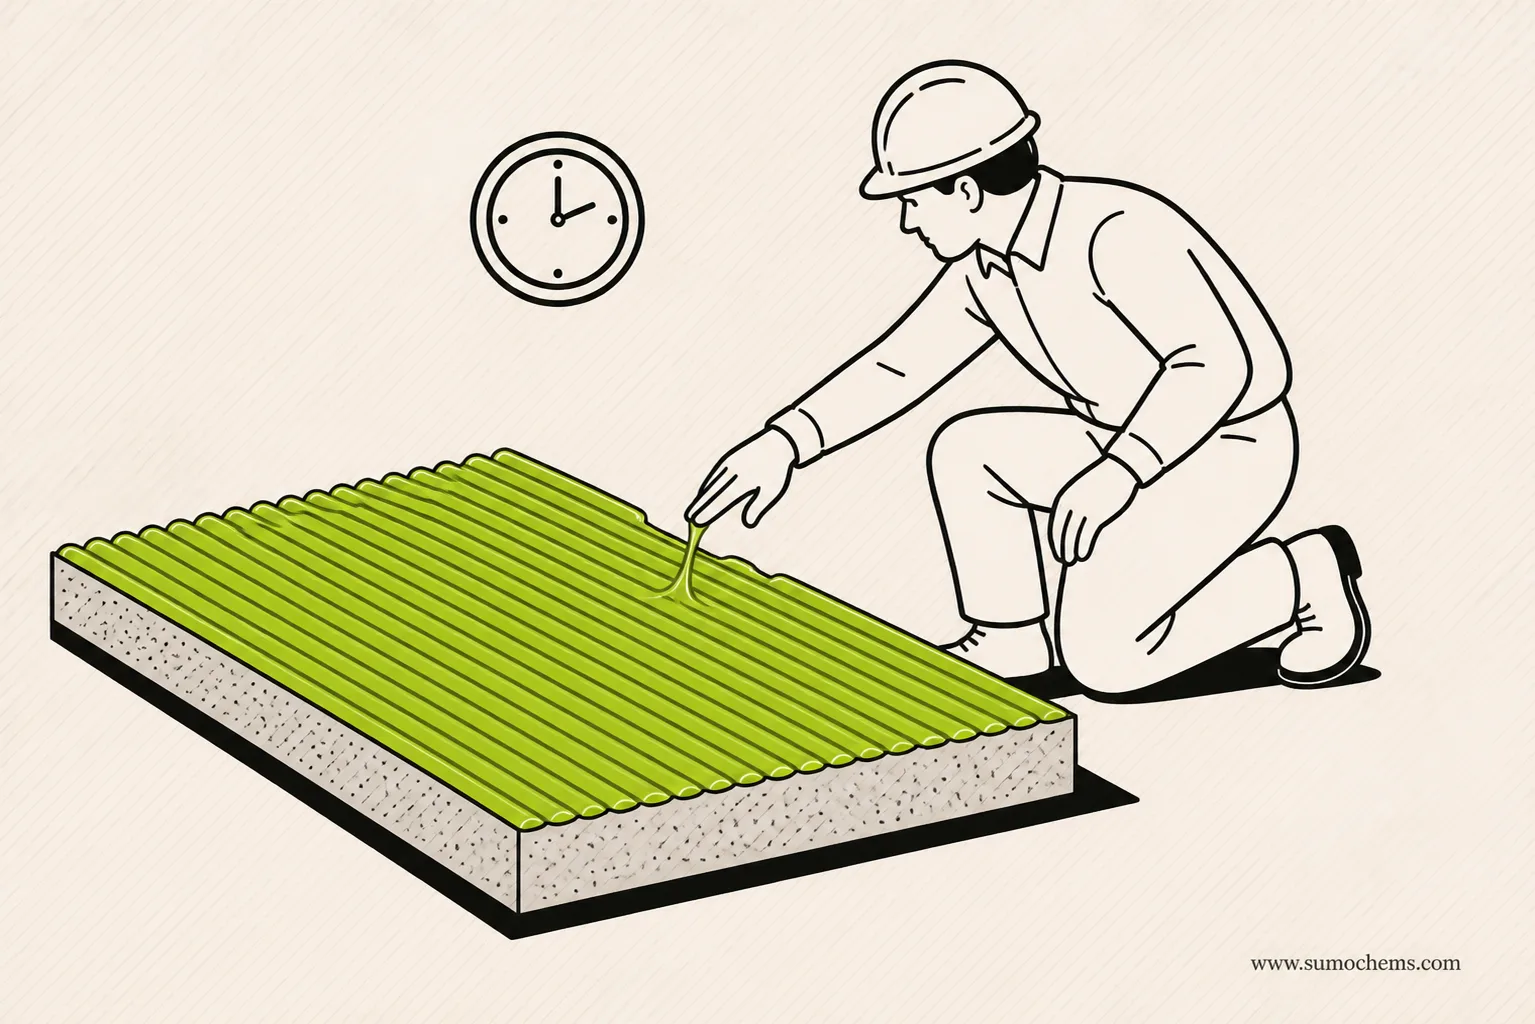
- The thumb test: touch the ridges — wet on your finger means still open; clean and dry means skinned, so scrape and re-comb.
- Never re-wet skinned adhesive or a stiffening bucket; lift a tile to confirm 80–95% coverage.
Ask any tiler who's been pulling tiles off walls for a living why a job goes hollow, and most will point at the adhesive. Wrong bag, cheap material, "company ka maal theek nahi tha." Sometimes that's fair. But walk onto enough sites and you notice the same thing again and again — the bag was fine, the mix was fine, and the tiles still came away with a clean back and a bed of dry, crusty green ridges behind them. Nothing wet ever touched the tile.
That's not a product problem. That's a timing problem. And there's a check that takes about three seconds and costs nothing that would have caught it every single time.
What "open time" actually means
When you spread adhesive and comb it into ridges, the clock starts. The surface of those ridges begins to dry — first the very top, where the air gets to it. For a good cementitious adhesive under normal conditions, you've got somewhere around 20 to 30 minutes before the skin forms. Push a tile into it before that and the ridges collapse, wet adhesive wraps around the back of the tile, and you get proper contact. Push a tile in after that, and you're pressing dry tile onto a dry skin. It looks like it's stuck. It isn't.
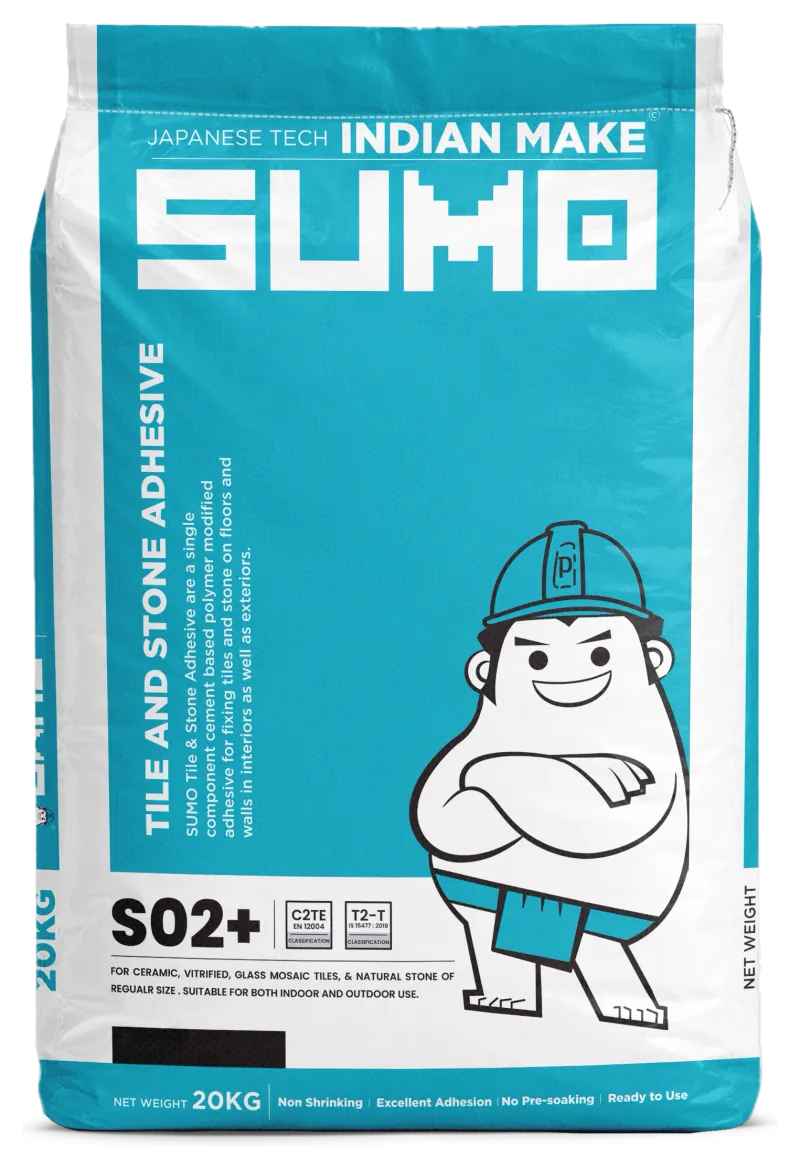
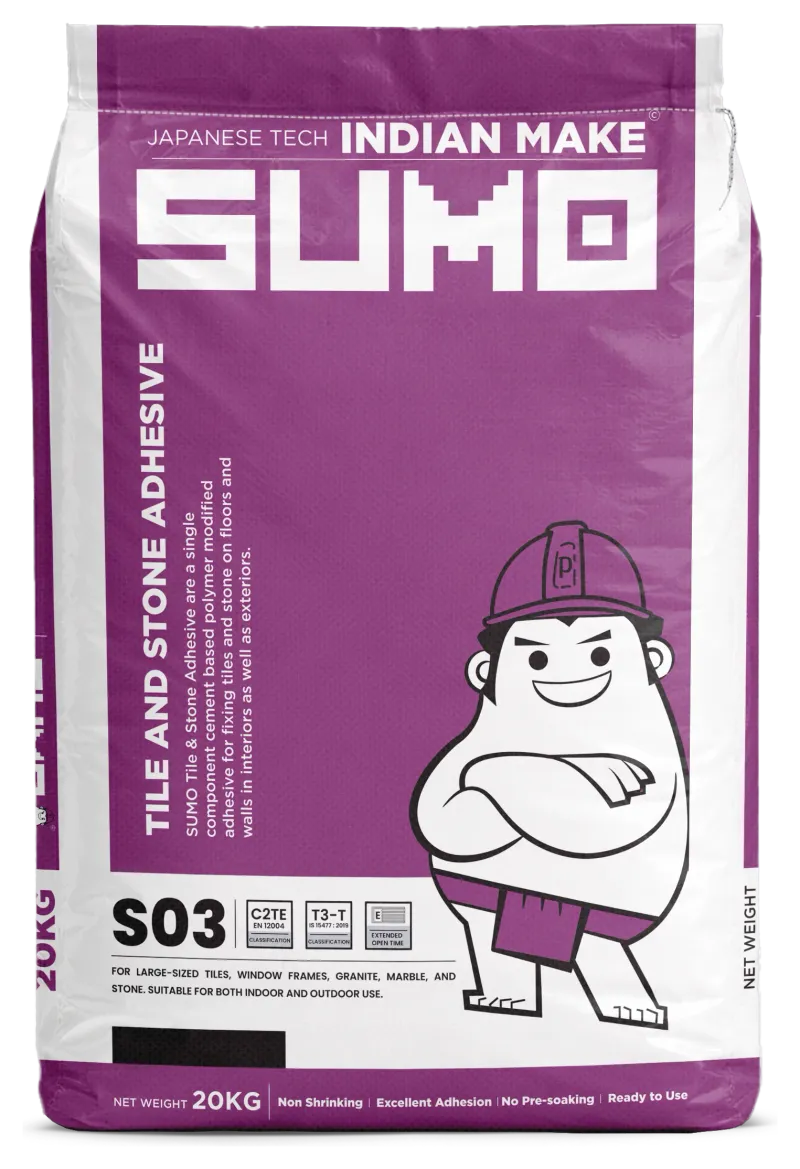
That window is what the trade calls open time. On the SUMO bags it's printed right there in the specification, and on a C2TE-class adhesive like S02+ it's generous by design. But "generous" is a lab number, measured at 23°C and 50% humidity. Your site is not a lab.
The thing nobody tells you about summer
Here's what actually eats your open time: heat, wind and thirsty surfaces.
On a May afternoon in most of India, with the wall baking and a hot breeze moving across it, that 25-minute window can shrink to 8 or 10 minutes without any warning. The adhesive skins over while you're still cutting the next tile. Do it on an unprimed, dusty AAC block wall that sucks moisture out of the mix like a sponge, and it's faster still.
This is why a batch that behaved perfectly at 9 in the morning starts giving you hollow tiles by 1 o'clock, same bag, same worker, same everything. The material didn't change. The conditions did. And nobody re-checked.
The three-second check
So here's the test. It's not clever and it's not new — good tilers have done it for decades — but it's astonishing how many sites skip it.
Comb your adhesive as usual. Before you set each tile, touch the top of the ridges with two fingertips and lift them straight off.
- If wet adhesive comes away on your fingers — a little smear, a slight string as you pull off — the bed is still open. Set your tile. You're fine.
- If your fingers come away clean and the ridge feels dry to the touch, like it's got a film over it — the adhesive has skinned. Stop.
That's it. Three seconds a tile, or a spot-check every few minutes across the bed. Wet finger, keep laying. Clean finger, scrape it off and re-comb.
The reason it works is simple: if the adhesive won't even transfer onto your skin under gentle pressure, it certainly won't transfer onto the back of a heavy tile you're pushing in flat. Your fingertip is a stand-in for the tile.
What to do when it has skinned
This is where good sites and careless sites part ways.
The skinned adhesive on the wall is finished. You don't rescue it. Scrape that section off, back to the substrate, and comb on fresh material. It feels wasteful for the ten minutes it costs. It is nothing compared to breaking out a hollow, drummy floor six weeks later and doing the whole thing again — this time with the client watching.
And do not do the thing everyone is tempted to do: splash water over the skinned ridges to "freshen" them, or knock back a mix that's stiffening in the bucket by adding more water. Once a cementitious adhesive has started to set, adding water doesn't reset it — it just wrecks the chemistry that was building strength. You get a soft, weak, powdery bond that looks live and holds nothing. If the material in your bucket has gone past its pot life (usually a few hours after mixing, less in heat), throw it. Mix fresh.
The second half of the same check: lift a tile
The thumb test tells you the bed is still open. To confirm you're actually getting the contact you need, pull a tile back up every so often — especially the first few of a new area, and any time conditions change.
Look at the back. You want the adhesive ridges to have flattened and transferred across the whole face of the tile:
- For dry interior areas, aim for at least 80% coverage on the back of the tile.
- For wet areas, external work, and anything heavy or large-format, you want 95% or better, with no voids at the corners.

If you see combing marks still standing proud and clean tile in the valleys between them, the ridges never wet the tile — either the adhesive skinned, or you didn't press and slide the tile to knock the ridges down. Back-butter the tile as well as combing the wall on large formats and the coverage problem usually disappears.
Those corners matter more than the middle, by the way. A void under the centre of a tile is rarely a problem. A void at the corner is where a chip starts the first time someone drops a vessel on it.
Notch size and the honest trade-off
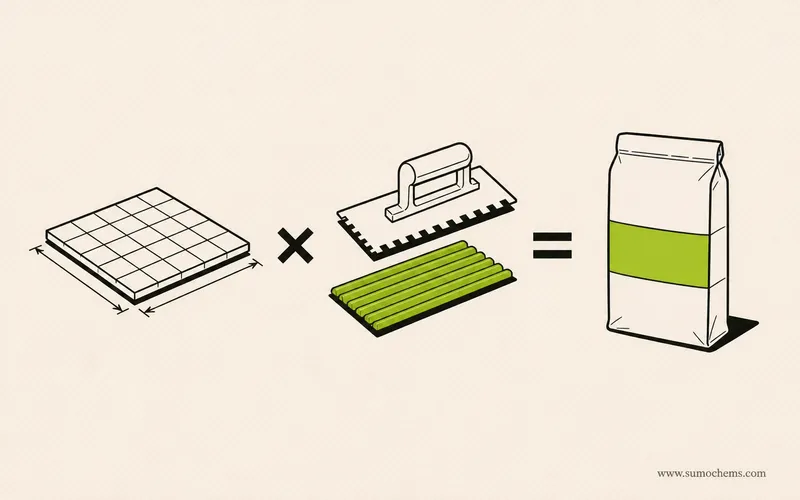
One reason beds skin faster than people expect is that they're combed too thin. A worn trowel with rounded notches lays a shallow ridge that has almost no wet reserve — it dries in half the time of a properly deep ridge from a sharp notch.

Match the notch to the tile. Small mosaics and thin ceramic want a fine notch; 600×600 vitrified and up want a 10 or 12 mm notch, sometimes a half-trowel. A deeper ridge holds more moisture, stays open longer, and gives you the coverage the big tile needs. Check your trowel isn't worn down — a rounded notch is quietly costing you open time on every wall.
The habit that ends hollow tiles
None of this is complicated. It comes down to one habit: assume nothing about open time, and check it.
- Comb only as much as you can tile in the next few minutes — don't run half a wall ahead of yourself.
- Touch the ridges before you set. Wet finger, go. Dry finger, re-comb.
- In heat and wind, comb smaller areas and check more often.
- Prime thirsty substrates so they don't drink the water out of your bed.
- Lift a tile now and then and read the back.
- Never re-wet skinned adhesive or a stiffening bucket. Fresh is cheaper than a callback.
A good adhesive gives you a real, usable open time — that's what you're paying for when you buy a graded product instead of plain cement slurry. But no bag can put the tile in for you at the right minute. That part is the thumb test. Three seconds, every tile, and the word "hollow" quietly disappears from your site.
SUMO is a brand of Adheseal India Company. For product-specific open times and coverage figures, check the technical data sheet printed on the bag or listed on the product page.