AAC Block Adhesive Consumption: Kg per m² and Bags per Wall, Calculated
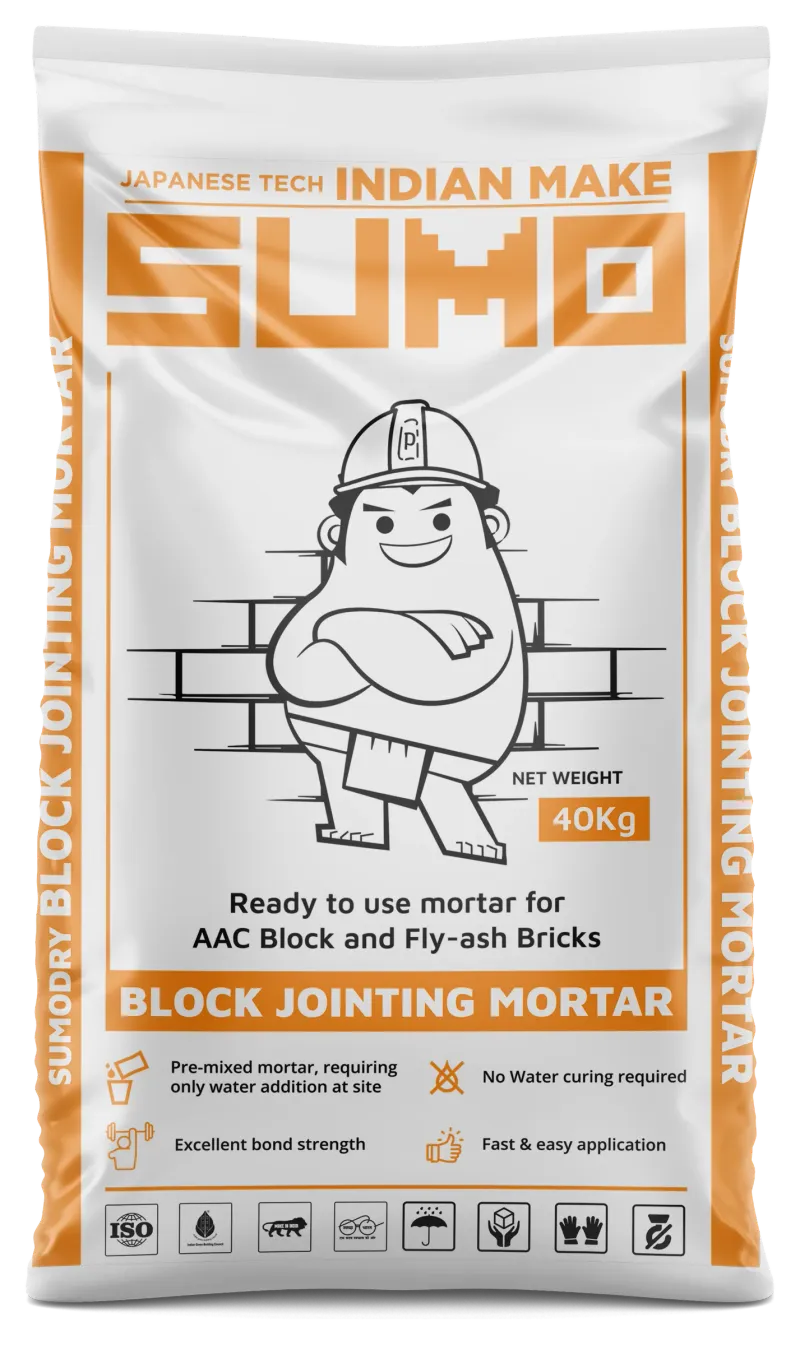
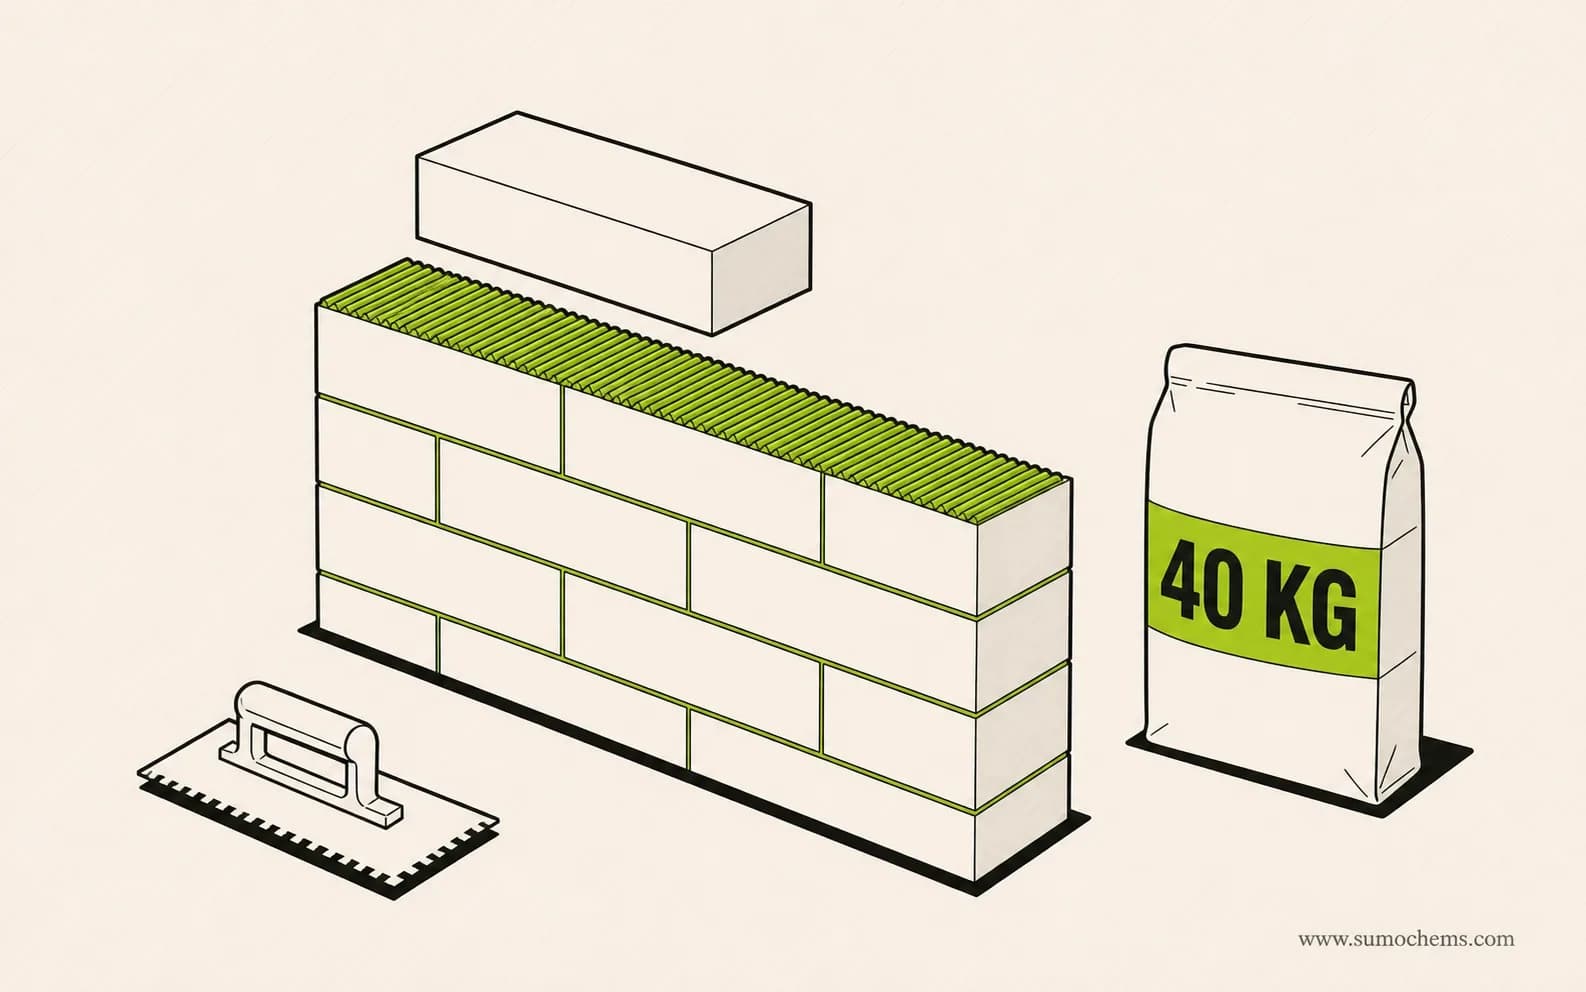
One 40 kg bag of Block Jointing Mortar lays about 85–90 standard AAC blocks at a 3 mm joint. The consumption maths per block size, the formula, and a worked wall.
ON THIS PAGE
- Consumption (100 mm blocks, 3 mm joint)
- ≈ 3.7 kg/m² of wall
- Coverage per 40 kg bag
- ≈ 10.8 m² · 110–120 sq.ft (100 mm blocks)
- Blocks laid per bag
- ≈ 85–90 (600 × 200 × 100 mm)
- Per m³ of masonry
- ≈ 25–30 kg at a 3 mm joint
- Joint thickness
- 2–3 mm thin-bed
- Pack size
- 40 kg bag
KEY TAKEAWAYS
- On standard 600 × 200 × 100 mm AAC blocks at a 3 mm joint: ≈ 3.7 kg/m² — one 40 kg bag covers 110–120 sq.ft of wall.
- That is roughly 85–90 blocks laid per bag, or 25–30 kg of mortar per m³ of masonry.
- Consumption scales with block thickness: a 200 mm wall uses ≈ 7.4 kg/m², halving the per-bag coverage.
- Joint thickness is the biggest lever — 5 mm joints nearly double consumption versus 3 mm.
- The first course is levelled on conventional mortar; every course above is 2–3 mm thin-bed.
AAC blockwork gets ordered wrong in a very specific way: the blocks are counted carefully, and the jointing mortar is guessed. Then either half a pallet of bags sits unused, or the site stalls waiting for two more. The consumption maths is actually simple — it comes straight from block geometry — and this guide walks through it with real numbers for SUMO Block Jointing Mortar.
Why thin-bed changes the maths
AAC blocks are autoclave-cured to tight dimensional tolerances, which is what allows a 2–3 mm adhesive joint instead of the 10–12 mm bed that clay brick needs. Thin joints are the entire economics of AAC: far less mortar, faster laying, no joint curing, and thinner thermal bridges through the wall. It also means consumption is low enough that guessing "a few bags" usually guesses wrong in one direction or the other.
The consumption numbers, by block size
At a 3 mm joint on the standard 600 × 200 mm block face, Block Jointing Mortar consumption per m² of wall is:
- 100 mm thick blocks: ≈ 3.7 kg/m² → a 40 kg bag covers ≈ 10.8 m² (110–120 sq.ft)
- 150 mm thick blocks: ≈ 5.6 kg/m² → ≈ 7.2 m² (77 sq.ft) per bag
- 200 mm thick blocks: ≈ 7.4 kg/m² → ≈ 5.4 m² (58 sq.ft) per bag
- 230 mm thick blocks: ≈ 8.6 kg/m² → ≈ 4.7 m² (50 sq.ft) per bag
Two useful rules of thumb fall out of the same maths: about 25–30 kg of mortar per m³ of AAC masonry, and one 40 kg bag per 1.3–1.5 m³ of blockwork. And since a m² of wall face always takes ≈ 8.2 blocks (the face size is the same for every thickness), one bag lays roughly 85–90 standard 100 mm blocks.
The formula, if you want to check it
kg/m² = J × T × (L + H) ÷ ((L + J) × (H + J)) × 1,900 — joint thickness × block thickness × the joint length around each block, divided by the block footprint, times the applied density of set thin-bed mortar. It is the same calculation our BJM Calculator runs, calibrated against the product brochure.
Worked example: a 500 sq.ft wall in 100 mm blocks
- 500 sq.ft = 46.45 m² of wall face.
- Mortar: 46.45 × 3.7 ≈ 173 kg → 173 ÷ 40 = 4.3 → 5 bags.
- Blocks: 46.45 × 8.2 ≈ 380 blocks (order ~400 with 5% wastage).
For your own wall — including door and window deductions — the AAC Block Calculator and BJM Calculator under Tools & Support run these numbers for every block size in one pass.
Where estimates go wrong on site
- Thick joints: if blocks need 5 mm of mortar to sit level, consumption nearly doubles — and the real problem is an unlevel course or poor blocks, not the mortar.
- The first course: it is levelled on conventional cement-sand mortar, not thin-bed adhesive. Budget it separately and keep the thin-bed bags for the courses above.
- Forgetting perpends: consumption includes the vertical joints between blocks, not just the horizontal bed — the formula above counts both.
- Mixing by feel: use the water ratio printed on the bag and mix mechanically to a lump-free paste; stiff under-mixed mortar gets laid thick.
Thin-bed vs site-mix: the cost logic
A 10–12 mm cement-sand bed on AAC uses 4–5× the material of a 3 mm thin-bed joint, needs sand stored and screened on site, and cures for days. Thin-bed jointing trades all of that for a single bagged product at ≈ 3.7 kg/m². On material logistics alone — one pallet of bags versus truckloads of sand — the thin-bed system is why AAC walls go up in half the time.