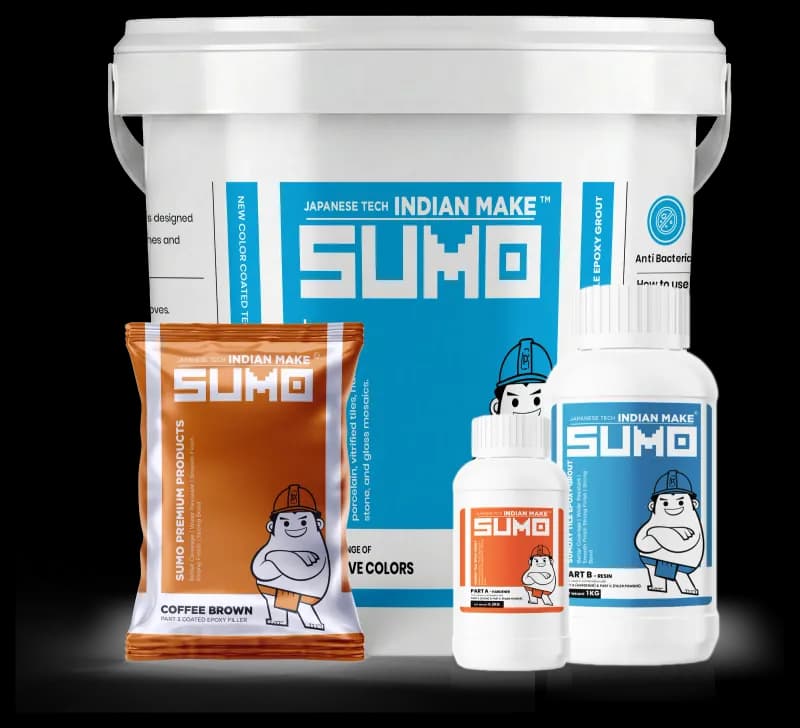
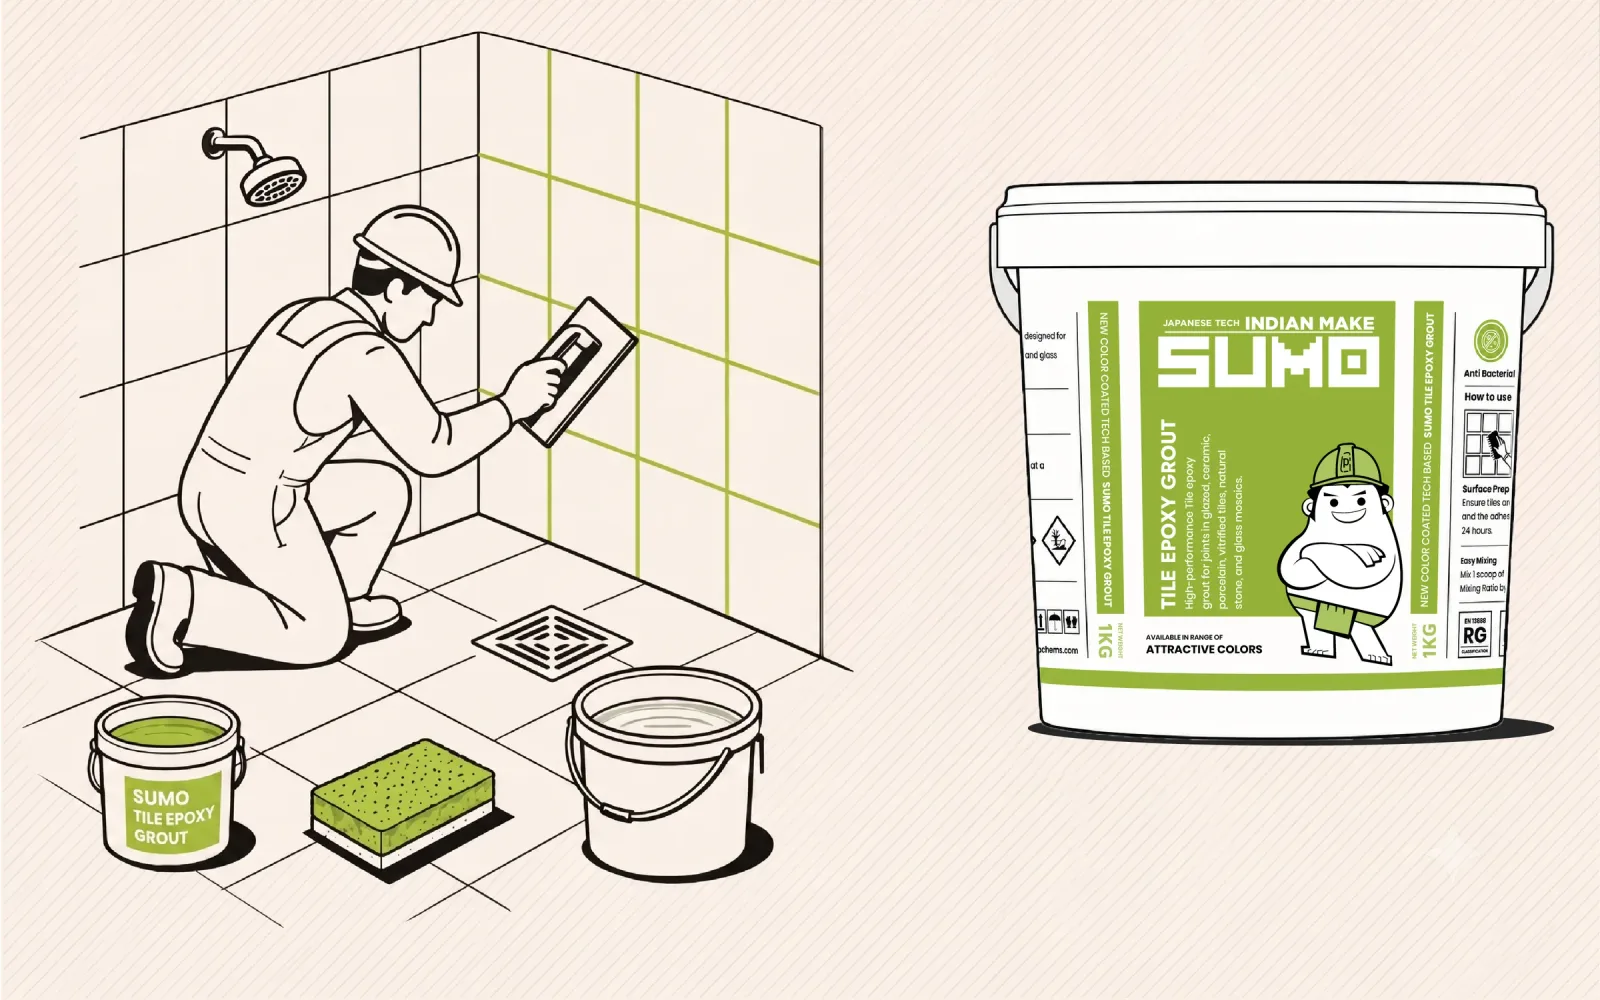
How to grout bathroom tiles with epoxy grout (Sumoxy 2K)
Epoxy grout is stain-proof, waterproof and mould-resistant — perfect for showers and bathrooms. But it sets fast and is unforgiving. Here is how to mix, apply and clean SUMO Sumoxy 2K before it hardens.
ON THIS PAGE
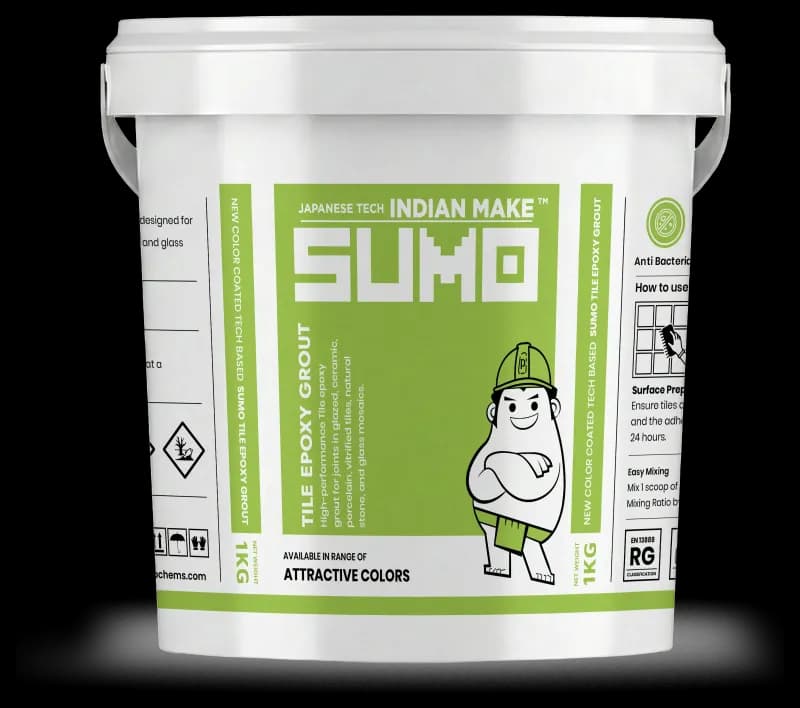
Cement grout stains, absorbs water and grows mould in wet areas. Epoxy grout — SUMO Sumoxy 2K, an EN 13888 RG reactive grout — is dense, waterproof and chemical-resistant, which is exactly what a bathroom needs. The trade-off is a short working time and a residue that must come off before it cures.
This guide walks the full bathroom method: prepping the joints, mixing the two parts correctly, packing the grout, and the two-stage clean that leaves a haze-free finish.
What you’ll need
Step by step
Wait for the adhesive to cure first
Only grout once the tile adhesive has fully cured (see its datasheet). Grouting over a soft bed shifts tiles and traps moisture under them.
Clean and prepare the joints
Rake out any adhesive that has squeezed up into the joints and vacuum the dust. Joints must be a consistent depth and clean and dry, so remove spacers and wipe faces down.
Mix the two parts thoroughly
Combine the resin and hardener of Sumoxy 2K in the correct ratio and mix to a completely uniform colour — streaks mean unmixed hardener and soft spots later. Only mix what you can use within the working time.
Pack the grout diagonally
Spread firmly across the tiles at 45° to the joints with the epoxy float, packing each joint full with no voids. Working diagonally stops the float digging the grout back out of the joint.
First clean while it is still workable
Before the grout skins, wipe diagonally with a damp (not wet) scotch pad and sponge to emulsify and remove the bulk of the residue. Change the water often — dirty water just spreads haze.
Second clean to remove haze
Follow with a clean damp sponge pass to lift the fine epoxy film. For any stubborn haze that remains, use SUMO Sparkle epoxy haze remover per its instructions.
Let it cure before use
Keep the area dry and unused while the grout cures fully. Only then does it reach its stain- and water-resistant best.
Care, tips & what to avoid
- !Mixing too big a batchEpoxy has a short pot life. A large batch goes off in the bucket before you have used it. Mix little and often.
- !Leaving the haze too longCured epoxy film is very hard to remove. Do the first clean while the grout is still workable.
- !Under-mixing the two partsStreaky, unmixed grout has soft, tacky patches. Mix to a uniform colour.
- !Grouting before the adhesive curesIt shifts tiles and traps water. Wait the full adhesive cure time.