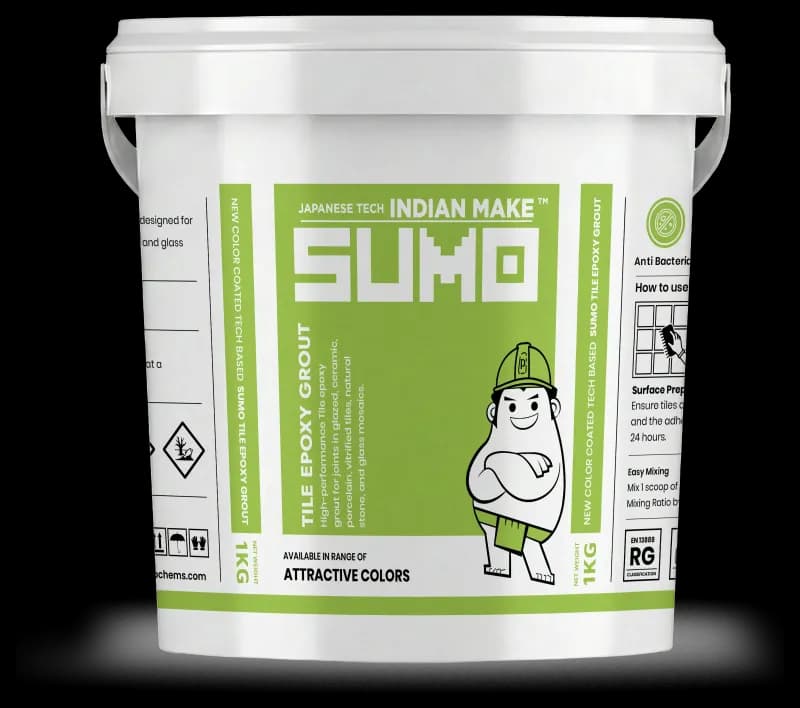
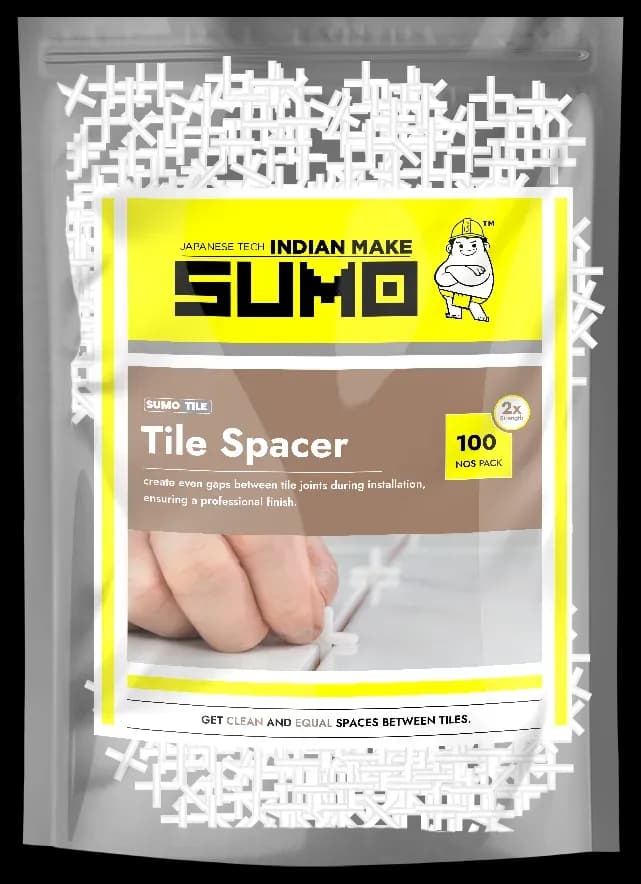
How to use SUMO SUMOTG Cement Tile Grout
SUMOTG is a polymer-modified cement grout (EN 13888 CG1) for everyday tile joints. Here is how to mix, pack and finish it for a clean, durable line.
ON THIS PAGE
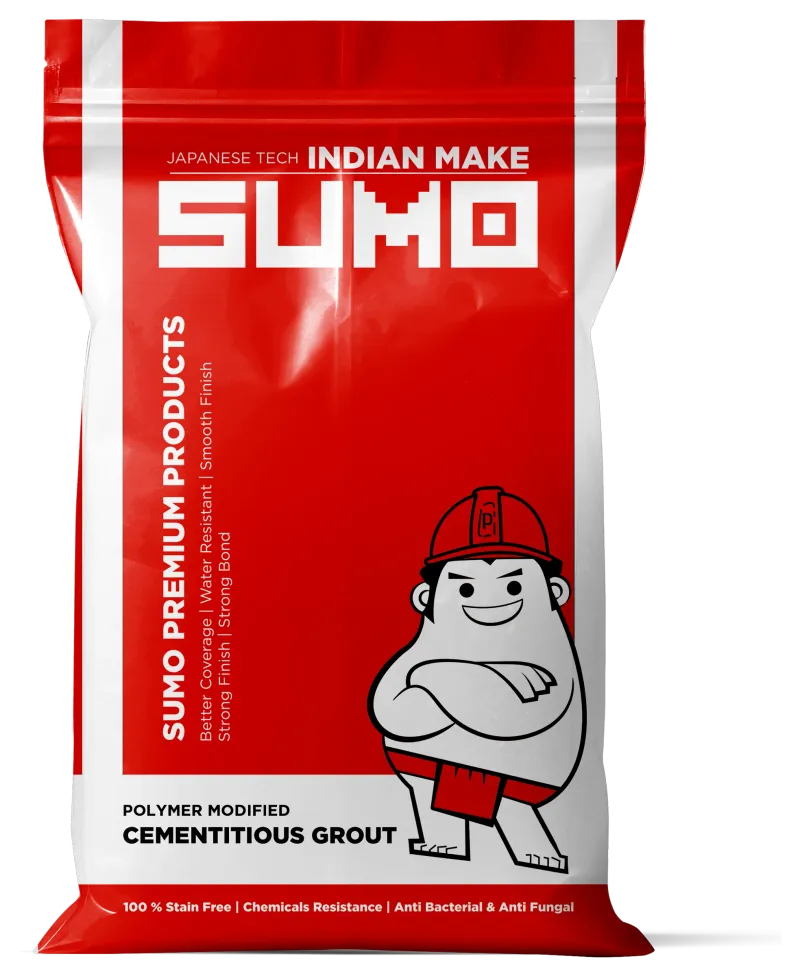
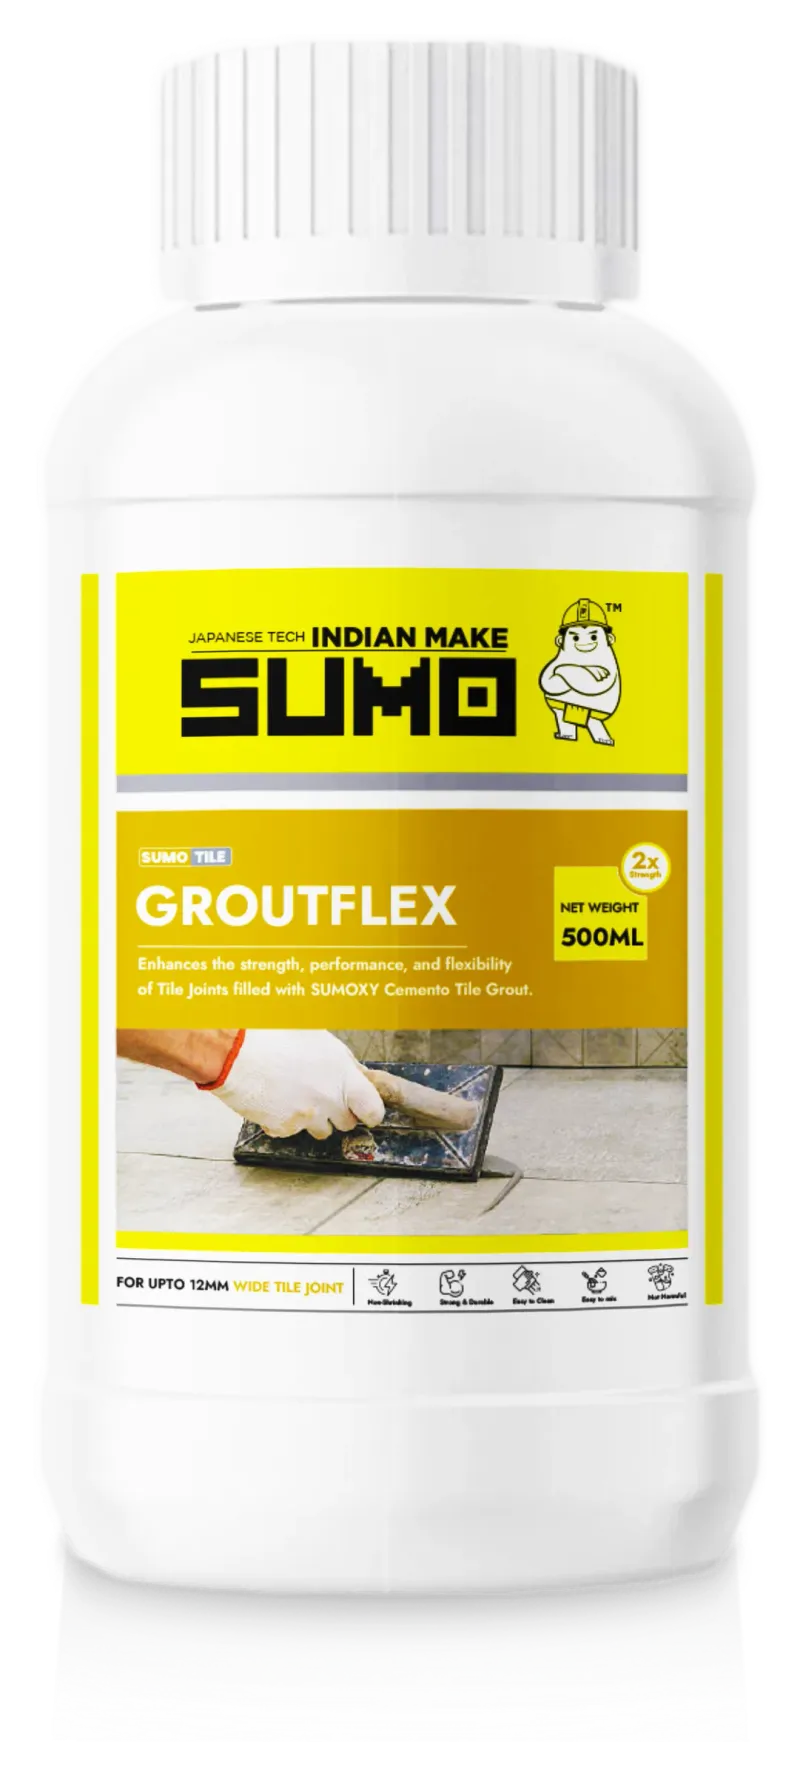
SUMO SUMOTG is a polymer-modified, cement-based tile grout (EN 13888 CG1) for filling the joints between glazed, ceramic, porcelain and vitrified tiles. It is the economical everyday choice for dry and lightly-wet areas; for wider joints or extra flexibility it can be gauged with SUMO SUMOTG GroutFlex.
This guide covers correct mixing, packing and finishing for a clean, consistent joint.
What you’ll need
Step by step
Wait for the adhesive to cure, then clean the joints
Only grout once the tile adhesive has cured. Rake out any adhesive squeezed into the joints and remove spacers, so joints are clean and a consistent depth.
Mix to a smooth, firm paste
Add SUMOTG to clean water (or GroutFlex for wide/flexible joints) and mix to a smooth, lump-free, firm paste. Let it stand a few minutes and remix. Mix only what you can use before it stiffens.
Pack the joints diagonally
Spread firmly across the tiles at 45° with the rubber float, packing every joint full with no voids. Working diagonally stops the float dragging grout back out.
Tool and clean
Once the grout firms slightly, tool the joints to a neat, even profile, then wipe the tile faces with a damp (not wet) sponge, rinsing often. Do a final haze wipe as it dries.
Cure and protect
Keep the grout damp-cured and free of traffic/water while it hardens so it reaches full strength and colour.
Care, tips & what to avoid
- !Grouting too wetExcess water weakens the joint and washes out colour. Mix firm and clean with a damp sponge.
- !Leaving haze to setCement haze is harder to remove once dry. Wipe the faces as the grout firms.
- !Inconsistent joint depthRake out adhesive so joints are even — patchy depth shows in the finish.