How to waterproof a water tank (that never leaks)
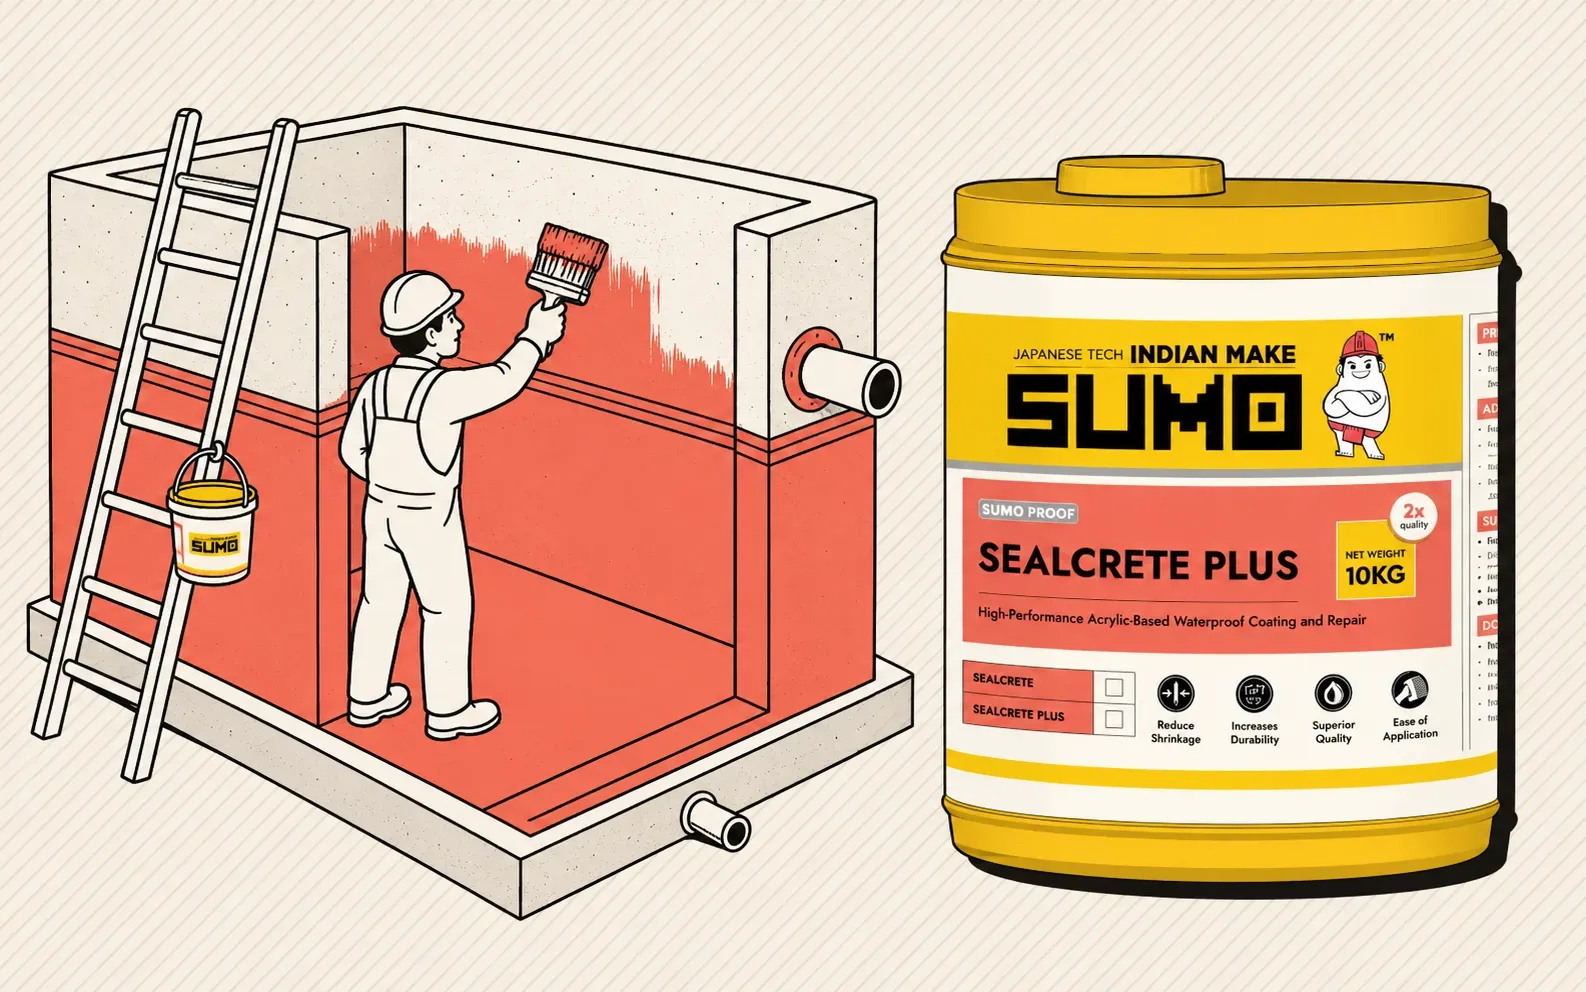
A leaking tank wastes water and undermines the structure. Here is how to waterproof and (optionally) tile a water tank with SUMO Sealcrete and S04.
ON THIS PAGE
Water tanks combine permanent water contact, pressure and movement, so they need proper structural waterproofing — not just a skim of plaster. Leaks usually start at construction joints, corners and pipe inlets.
This guide covers waterproofing a tank with SUMO Sealcrete, and finishing with S04 and epoxy grout where the tank is tiled.
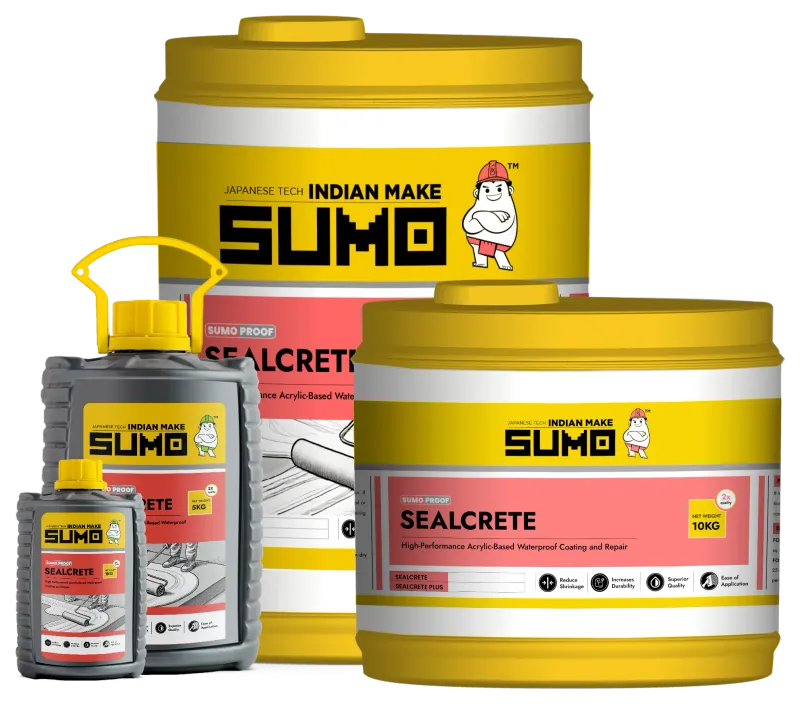
What you’ll need
Step by step
Repair and prepare the structure
Fix honeycombing, cracks and leaking joints and let repairs cure. The tank walls and base must be sound before waterproofing.
Reinforce every joint, corner and inlet
Bed reinforcing tape into a first pass of Sealcrete slurry at the base-to-wall junction, vertical corners, construction joints and around every pipe.
Apply two crossed coats of Sealcrete
Coat the whole interior with two full crossed coats of Sealcrete slurry, building the specified thickness with no misses.
Flood-test
Fill the tank and leave it to confirm it holds before any tiling or commissioning. Fix leaks now.
Tile (optional) and cure
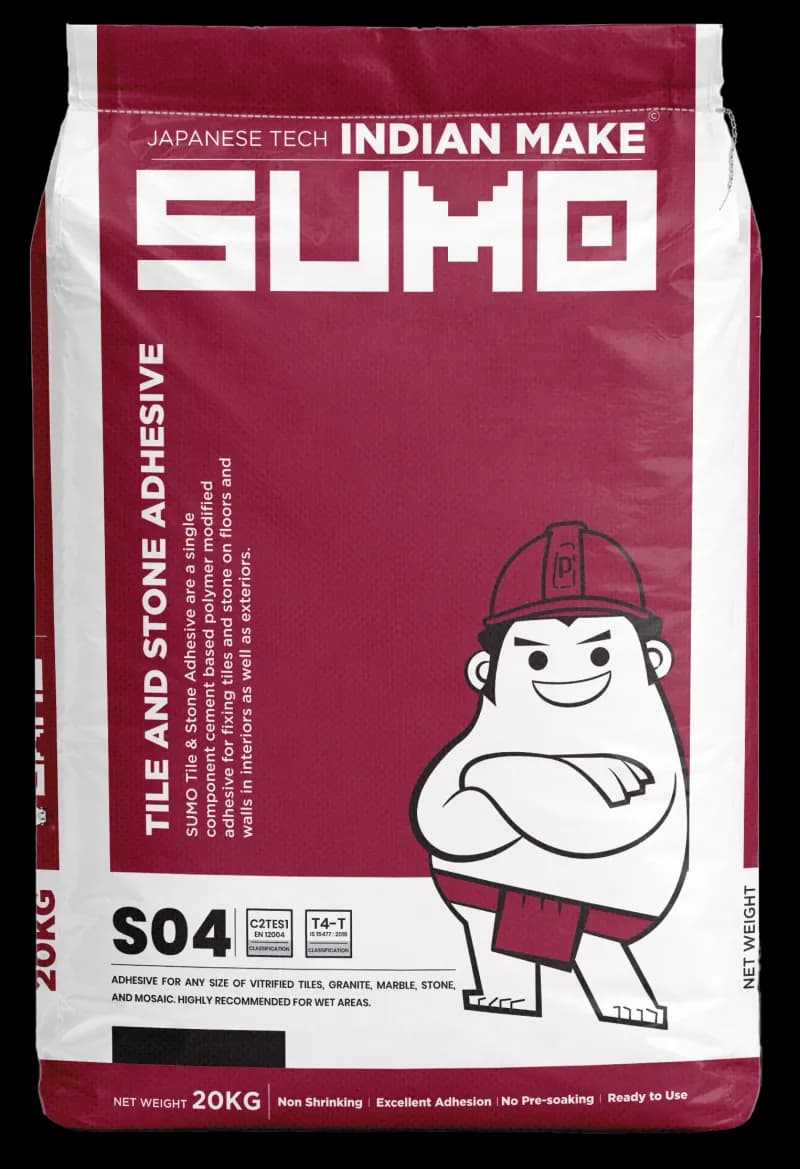
If tiling the tank, drain and dry, fix tiles with SUMO S04 and grout with Sumoxy 2K epoxy grout, then cure fully before refilling.
Care, tips & what to avoid
- !Skipping joint reinforcementTanks leak at joints and inlets. Reinforce every one.
- !No flood testTest before tiling/commissioning — a post-finish leak is a major redo.
- !Refilling before cureFilling before the system cures weakens it. Wait the full cure time.