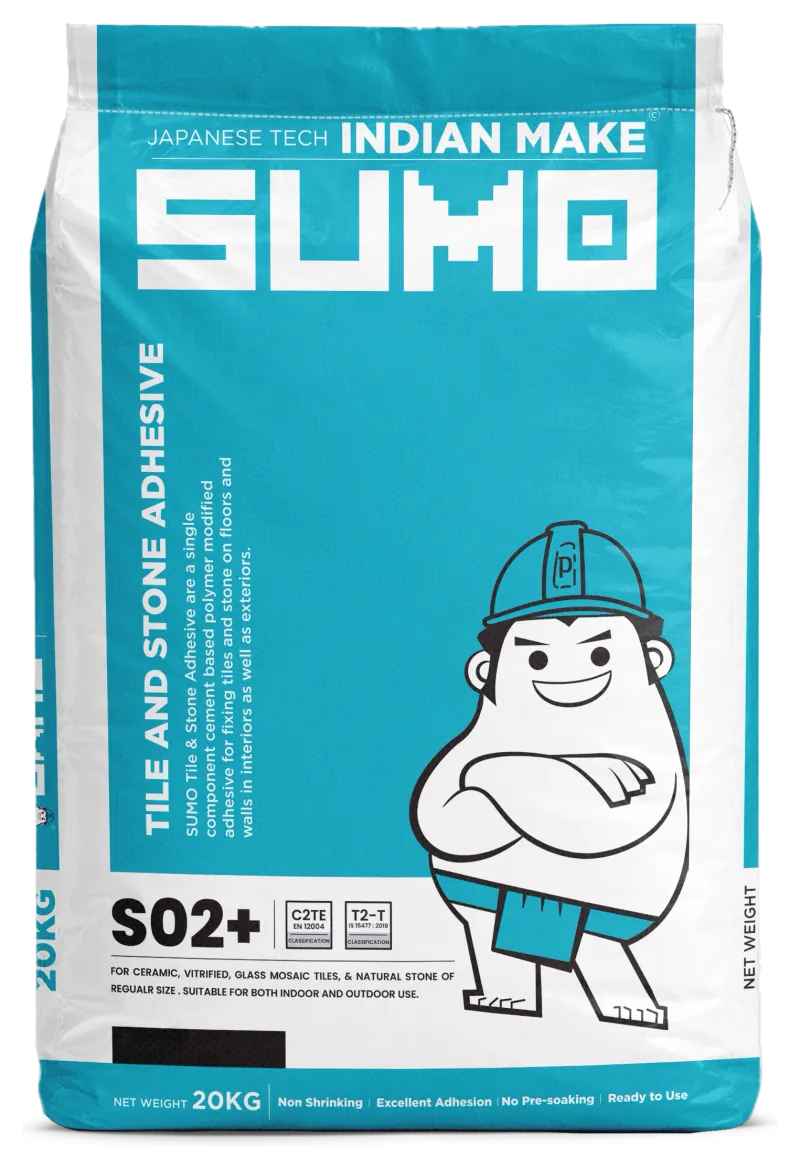
How to fix tiles & stone around window and door frames
Reveals, sills and door surrounds move, get wet and take knocks. SUMO S03 is recommended for window and door framing — here is how to tile them so nothing lifts.
ON THIS PAGE
Window and door reveals are awkward, exposed spots — they take thermal movement, wind-driven rain and the odd knock, and the tiles or stone often sit on narrow, mixed backgrounds. A rigid, low-grade adhesive lets them work loose.
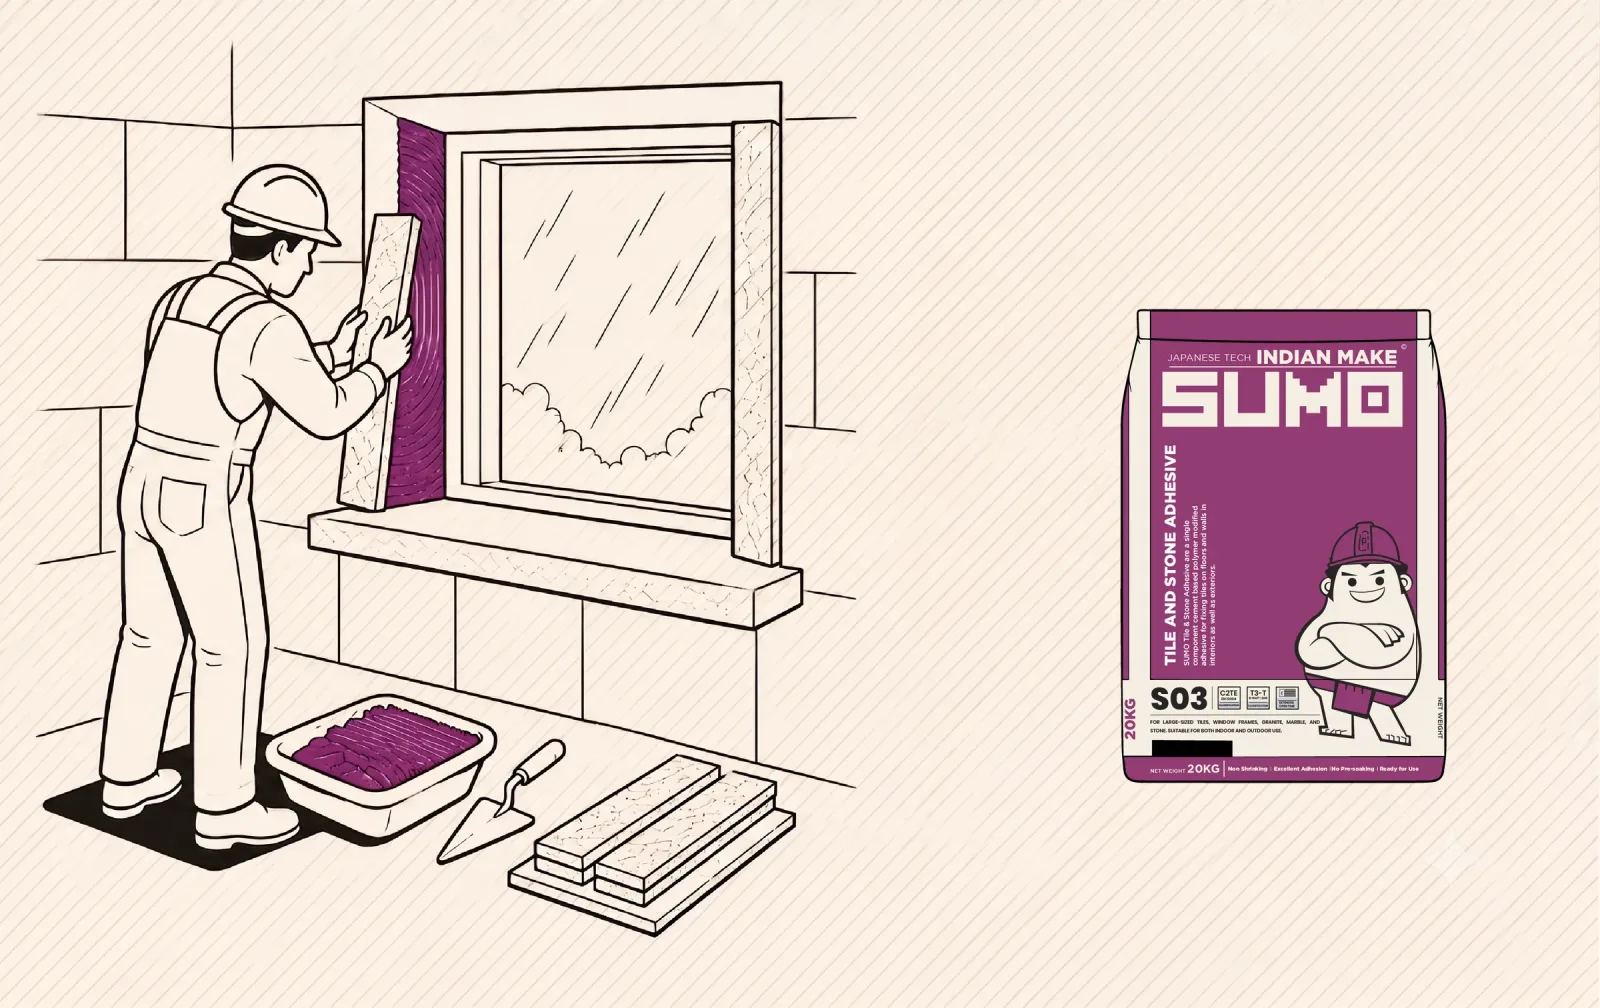
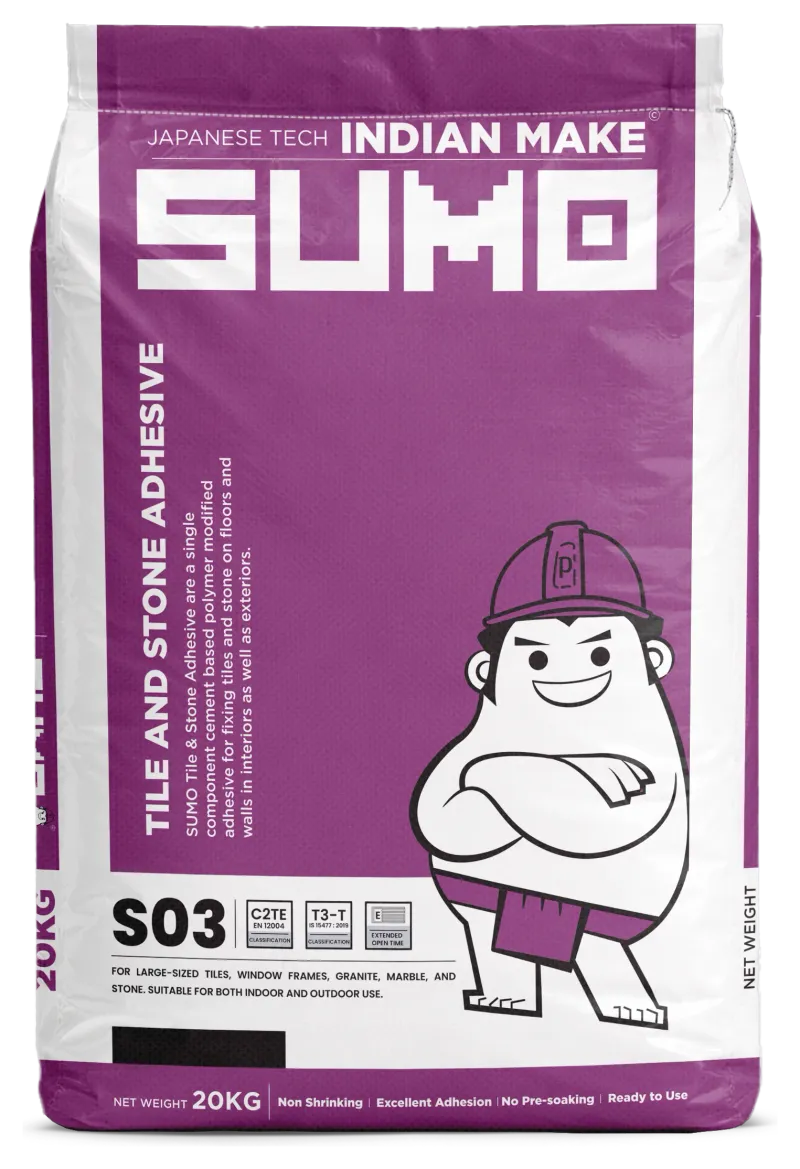
SUMO S03 is a highly flexible C2TE adhesive that is specifically recommended for window and door framing, indoors and out, in wet and dry areas. This guide covers fixing tile and stone around frames so it stays put.
What you’ll need
Step by step
Prepare and check the reveal
Make sure the reveal/frame background is sound, clean and reasonably flat. Fill big gaps and make good crumbling edges — a narrow reveal has no room for a lumpy bed.
Plan the cuts around the frame
Dry-lay and mark your cuts so joints line through and edge pieces are sensible. Neat cuts against the frame make the whole opening look right.
Fix with SUMO S03
Comb S03 onto the reveal with a notched (or margin) trowel and back-butter each piece for full contact — its flexibility absorbs the movement a frame sees. Press firmly and check alignment with the frame line.
Set even joints and leave a movement gap
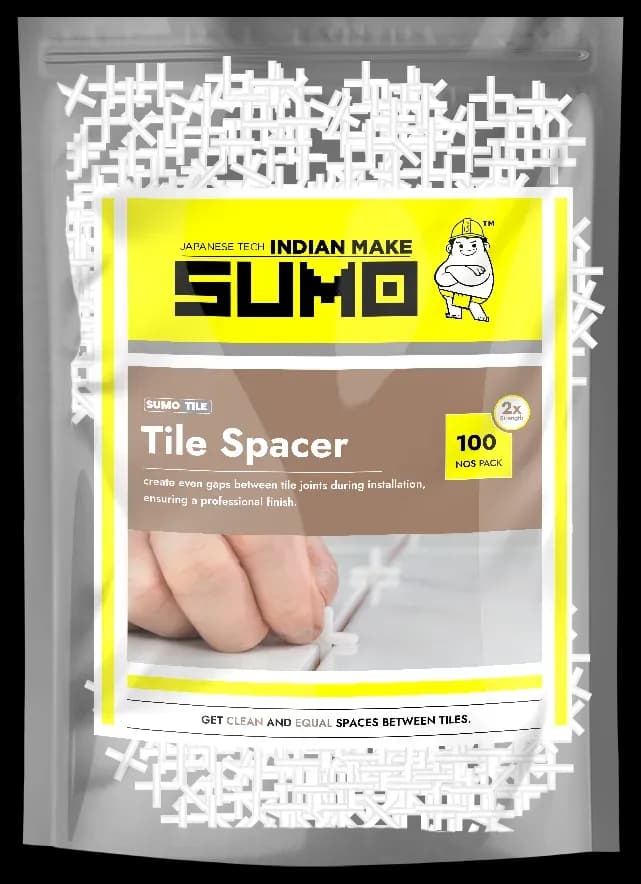
Use spacers/wedges for consistent joints, and leave a movement joint where the tiling meets the frame — fill it later with a flexible sealant, not rigid grout, so expansion has somewhere to go.
Clean, cure and finish
Sponge off adhesive before it sets, let it cure, then grout the field joints and seal the frame junction with a flexible sealant.
Care, tips & what to avoid
- !Using a rigid, low-grade adhesiveFrames move and get wet. A flexible C2TE adhesive (S03) resists the movement a basic adhesive cannot.
- !Grouting hard against the frameRigid grout at the frame junction cracks. Leave a movement joint and seal it with flexible sealant.
- !Partial coverage on exposed edgesReveal edges chip and lift if hollow. Back-butter for full contact.