How to fix tile on tile (lay new tiles over old ones)
You can tile over existing tiles — if the old surface is sound and properly keyed. SUMO S02 is the adhesive recommended for tile-on-tile; here is the full method to make it hold.
ON THIS PAGE
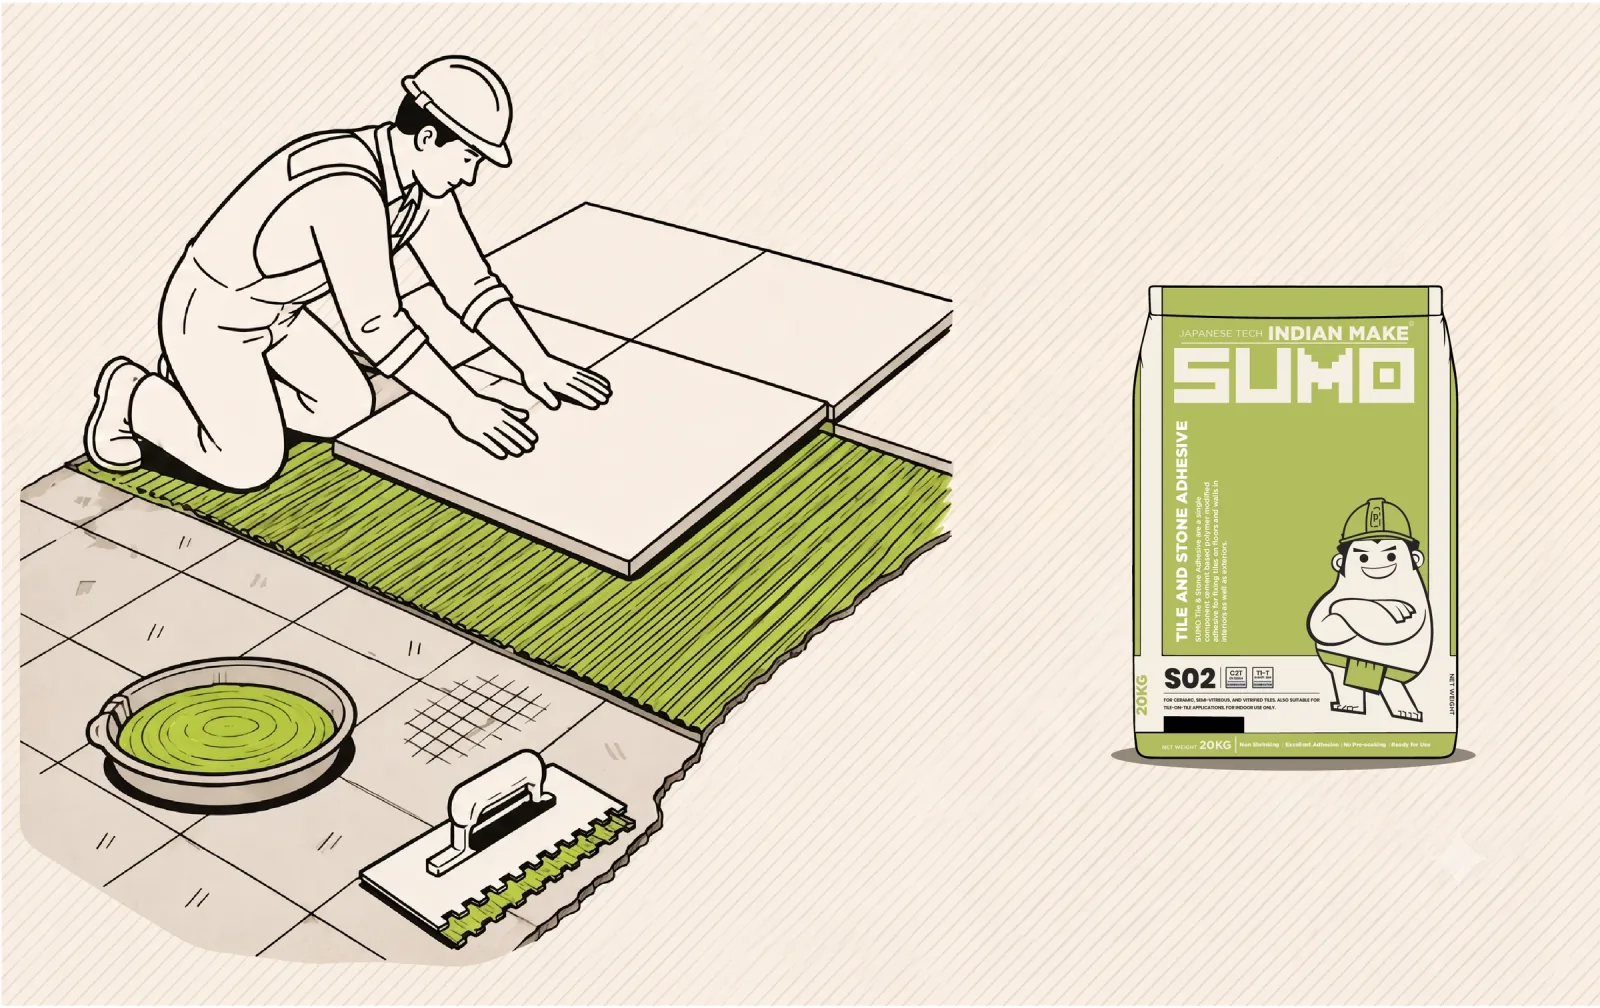
Tiling over existing tiles saves the mess and cost of chipping out — but only when the old surface is firmly bonded and you give the new adhesive something to grip. Smooth, glazed tiles are low-porosity, so a standard cement adhesive alone can struggle to hold.
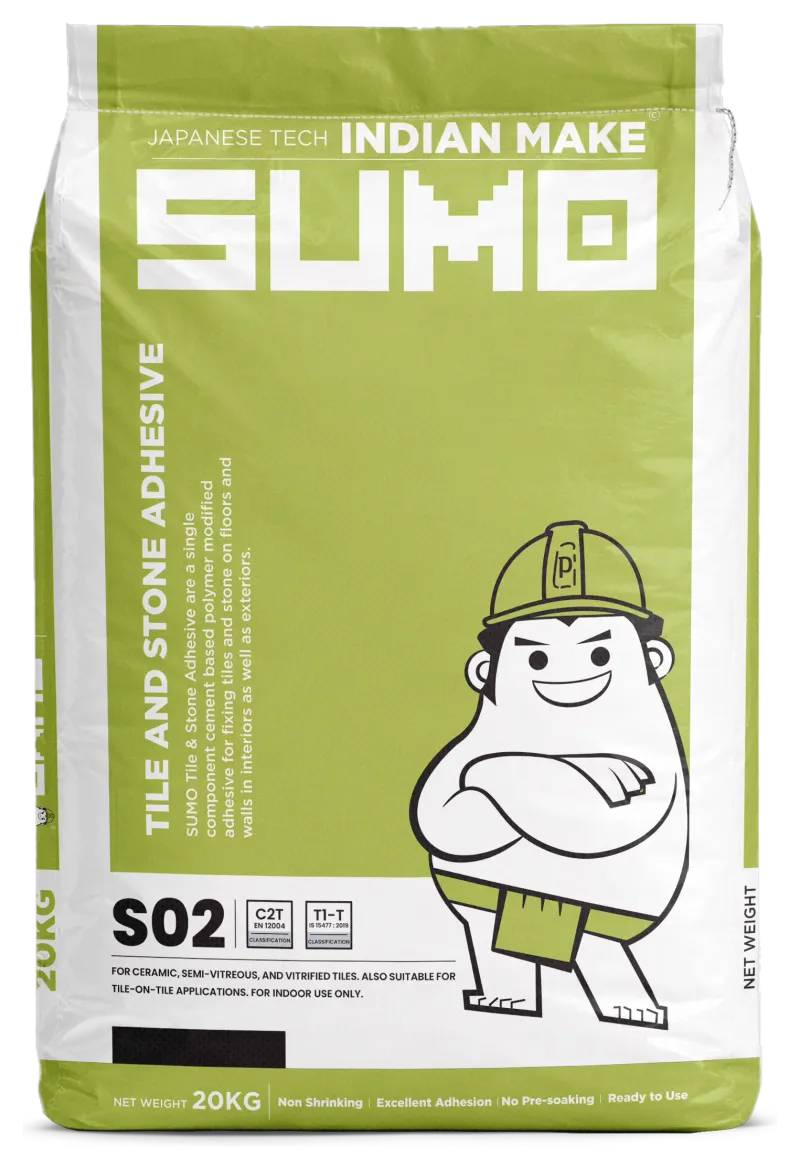
The reliable route is SUMO S02 — a polymer-modified C2T adhesive specifically recommended for tile-on-tile — over a properly cleaned, keyed and primed surface. This guide covers how to test the old bed, prepare it, and fix the new tiles so they do not go drummy or lift.
What you’ll need
Step by step
Test that the old tiles are firmly bonded
Tap across the existing tiles. A sharp, solid sound is good; a hollow, drummy sound means that tile is already debonded. Remove and make good any loose tiles first — you cannot build a sound floor on a loose one.
Clean the surface completely
Wash off all grease, soap scum, wax and polish — glazed tiles in kitchens and bathrooms carry a film that stops adhesive gripping. Degrease, rinse and let it dry.
Key the glaze so the adhesive can bite
Abrade the glazed faces with a grinder or carborundum stone to dull the shine and open a mechanical key, then vacuum off the dust. On smooth, low-porosity tiles this key is what lets the adhesive hold.
Prime with Tile Bonder
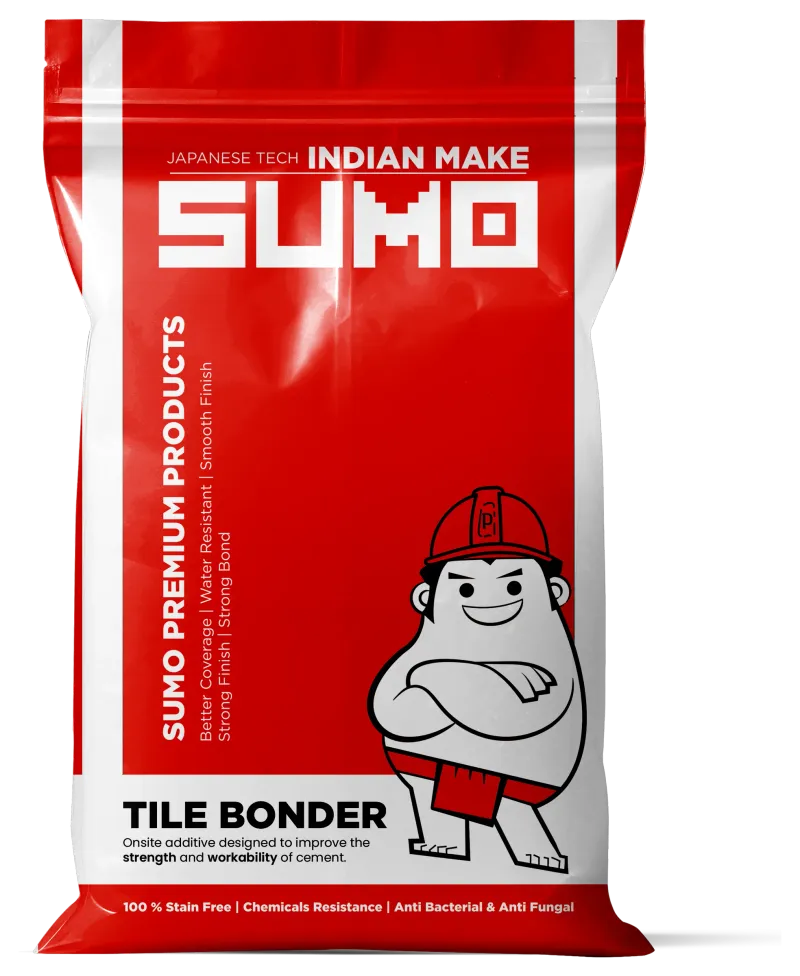
Apply SUMO Tile Bonder over the keyed tiles to boost adhesion to the low-porosity surface, and let it become tacky per the product guidance before you tile.
Fix the new tiles with SUMO S02
SUMO S02 is a polymer-modified C2T adhesive specifically recommended for tile-on-tile. Comb it out with a notched trowel and back-butter each tile for full contact, so no voids are left behind the new tile.
Space, level and check
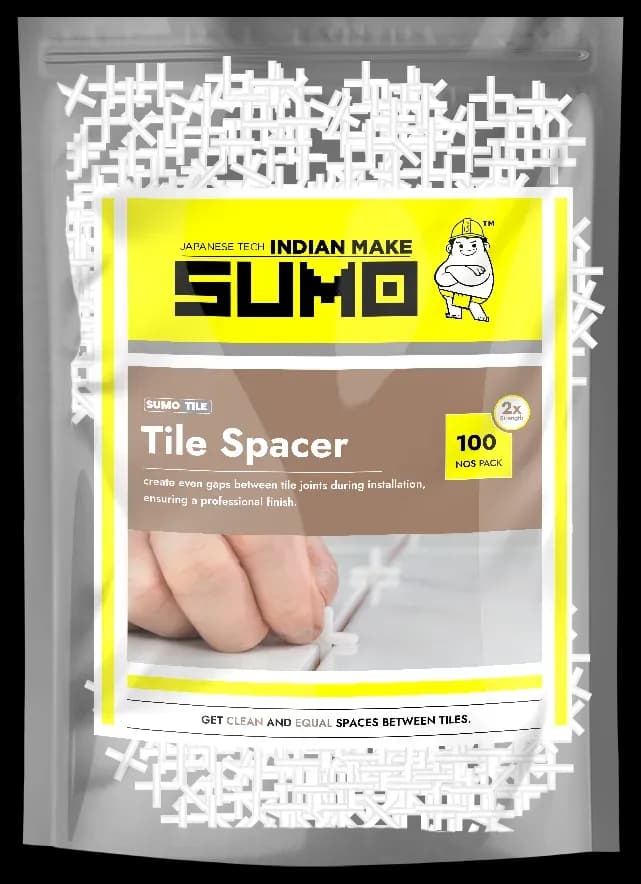
Set spacers for even joints and levelling clips to keep faces flush, then check across tiles with a straightedge. Remember you are raising the floor by a tile plus a bed — plan thresholds and door clearances.
Clean, cure and grout
Sponge off adhesive before it sets, let the bed cure per the datasheet, then grout. Tap-test once cured to confirm solid contact.
Care, tips & what to avoid
- !Tiling over loose tilesA hollow tile underneath will take the new one with it. Fix or remove drummy tiles first.
- !Not keying the glazeShiny, sealed glaze gives adhesive nothing to grip. Abrade it and prime.
- !Ignoring the height gainTwo tile layers raise the floor — check door clearances, thresholds and drainage falls before you start.
- !Using a basic cement adhesiveLow-porosity tile-on-tile needs a polymer-modified C2 adhesive for bond and flexibility.