How to fix large-format tiles without hollows (S03 / S04)
Large tiles telegraph every void. SUMO S03 is built for large-format tiling (S04 for heavy-traffic and commercial floors). Here is the method that gets full, hollow-free coverage.
ON THIS PAGE
Large-format tiles (600×600 mm and up) are unforgiving. Any gap between the tile and the bed becomes a hollow that sounds drummy underfoot, cracks under point loads, and voids your workmanship. The answer is not a better tile — it is full, even adhesive contact behind every tile.
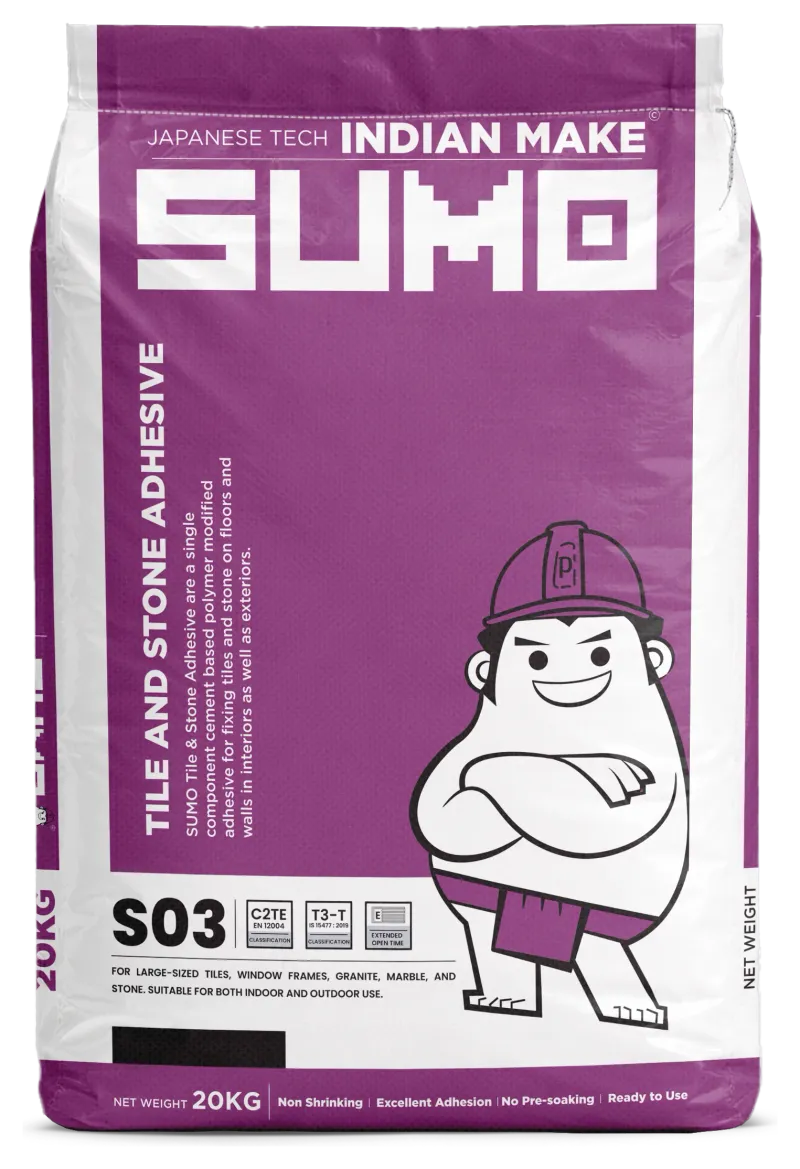
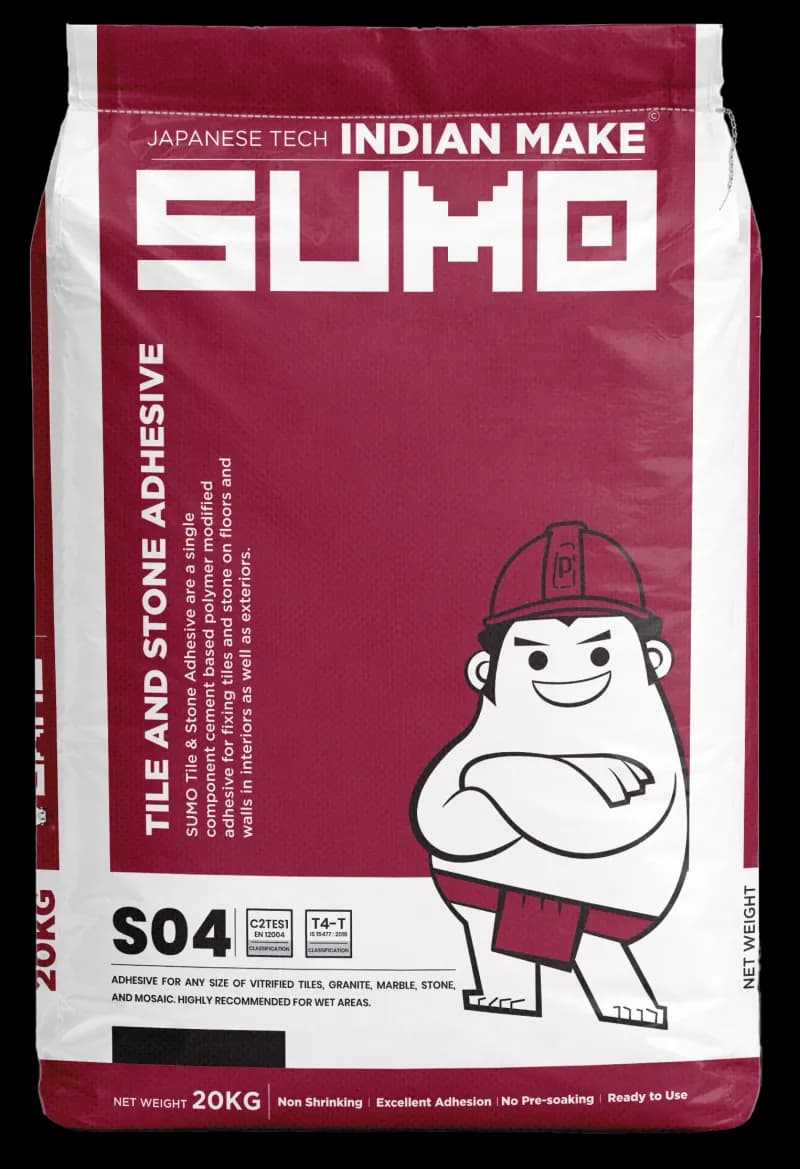
SUMO S03 is a polymer-modified C2TE adhesive formulated for large-size tiling; for heavy-traffic and commercial floors, SUMO S04 (C2TES1) adds deformability to absorb shock. This guide walks the method that gets you 90%+ contact with no hollows — from substrate to grout-ready.
What you’ll need
Step by step
Check the substrate is sound, flat and clean
Large tiles cannot bridge a bad background. Confirm the substrate is sound, cured and clean, and flat to within about 3 mm under a 2 m straightedge. Grind high spots and fill lows with a levelling screed.
Pick the right grade
SUMO S03 (C2TE) is formulated for large-size tiling. For commercial floors and heavy traffic, step up to SUMO S04 (C2TES1), which is deformable and absorbs shock. Both suit large-format porcelain, vitrified and stone.
Set out and mix
Dry-lay and mark reference lines first. Mix the adhesive to a firm, lump-free paste — powder into water — and let it slake, then remix. Only mix what you can lay in the open time.
Comb out only what you can tile in the open time
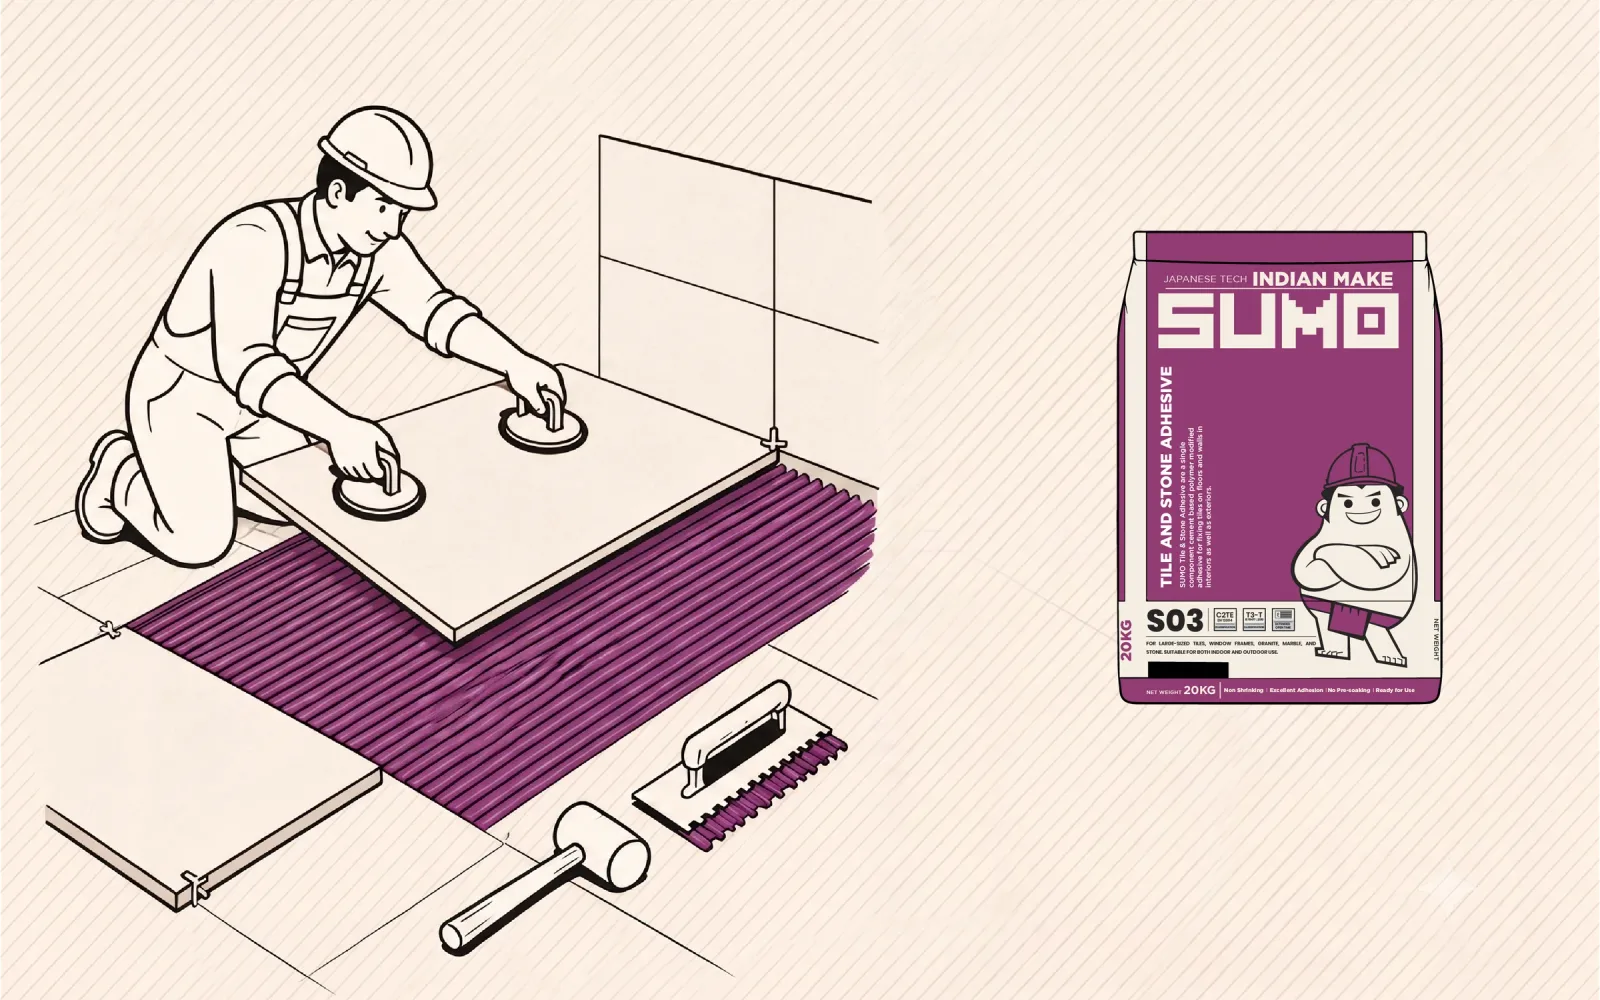
Key the substrate with the flat trowel edge, then comb straight ridges in one direction with a 10–12 mm notch. S03/S04 have extended open time, but do not let the bed skin over before you place the tile.
Back-butter every large tile
For 600×600 mm and larger tiles, also spread a thin even coat on the tile back. Combed bed + back-buttered tile collapses the ridges into full contact and pushes out air — aim for 90%+ coverage with no gaps at corners.
Place, beat in and control lippage
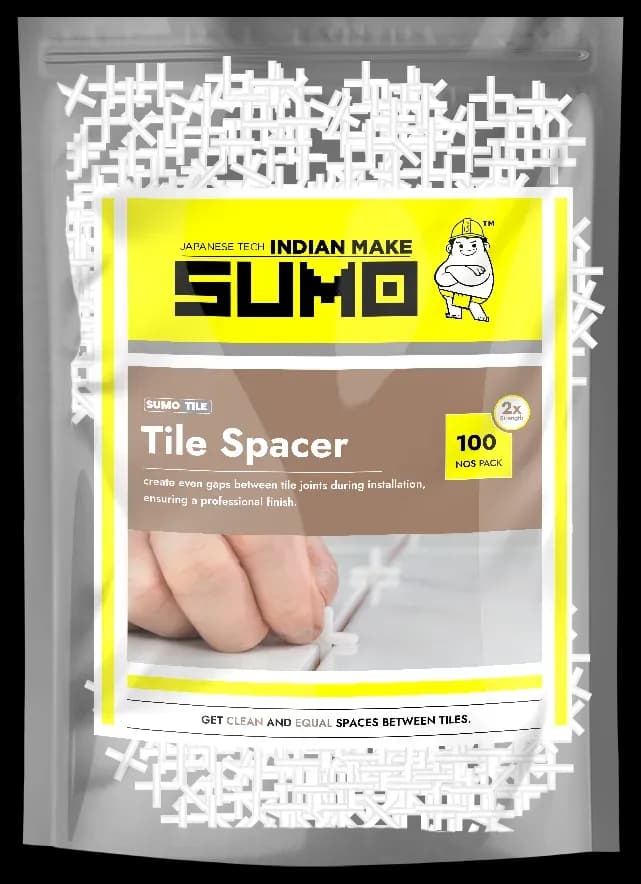
Press and slide the tile across the ridges, beat it in from the centre with a rubber mallet, then set spacers and levelling clips to keep faces flush. Check with a straightedge as you go.
Clean, cure, then grout
Sponge faces and joints before the adhesive sets, cure per the datasheet, tap-test for solid contact, then grout — epoxy grout in wet zones.
Care, tips & what to avoid
- !Spreading more bed than you can tileCombed adhesive skins over quickly. If it is touch-dry when you place the tile, nothing transfers and you get a hollow. Work small, manageable areas.
- !Skipping the back-butter on big tilesA combed bed alone rarely gives full contact under 600×600+ tiles. Back-buttering is essential on large format, not a nicety.
- !Over-watering the mixExtra water feels easier to spread but weakens the bond and increases slump and shrinkage. Mix to a firm, trowelable consistency and never re-temper.
- !Ignoring substrate flatnessLarge tiles cannot bridge dips. A background out of tolerance guarantees lippage and hollows — level it before you tile.
- !Grouting or trafficking too soonLoading tiles before the adhesive cures shifts them and breaks the bond. Wait the full cure time on the datasheet.