How to use SUMO S04 Tile & Stone Adhesive (wet areas, pools & heavy traffic)
The professional method for fixing tiles in wet areas, swimming pools and high-traffic floors with SUMO S04 — the deformable, wet-area-grade C2TES1 adhesive that flexes with the structure.
ON THIS PAGE
- ·What you’ll need
- 1Confirm the waterproofing is done and cured
- 2Check and prepare the substrate
- 3Set out and plan movement joints
- 4Mix S04 to a smooth, firm paste
- 5Comb the bed
- 6Back-butter for full, void-free contact
- 7Place, bed and level
- 8Check coverage — aim for ≥90%
- 9Keep movement joints open and clean off
- 10Cure, then grout with epoxy
- ·Field notes — care, tips & what to avoid
- ·FAQ
- ·Products used
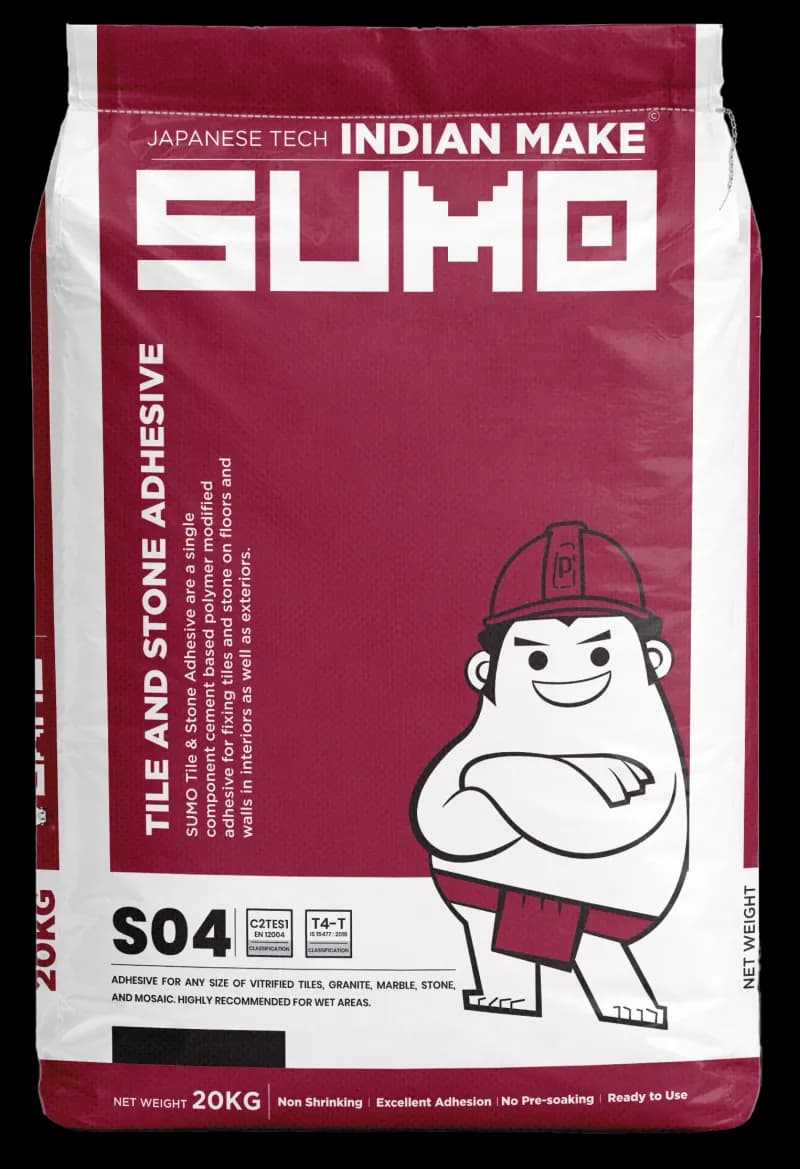
SUMO S04 Tile & Stone Adhesive is a highly polymer-modified, deformable adhesive (class C2TES1) — improved bond, reduced slip, extended open time and, crucially, the ability to flex without cracking (transverse deformation ≥2.5 mm). That flex is what keeps tiles down where the structure moves.
Use S04 for:
- Wet areas — bathrooms, wet rooms, kitchens
- Swimming pools and permanently wet zones
- Heated screeds and floors subject to thermal movement
- Heavy-traffic and commercial floors
- Any-size vitrified tiles, granite, marble, natural stone and mosaic, indoors and out
The deformability (S1) absorbs the movement that debonds rigid adhesives; the wet-area grade keeps the bond after weeks under water. Not for metal, plywood or cement board — use FLEXIT 2K.
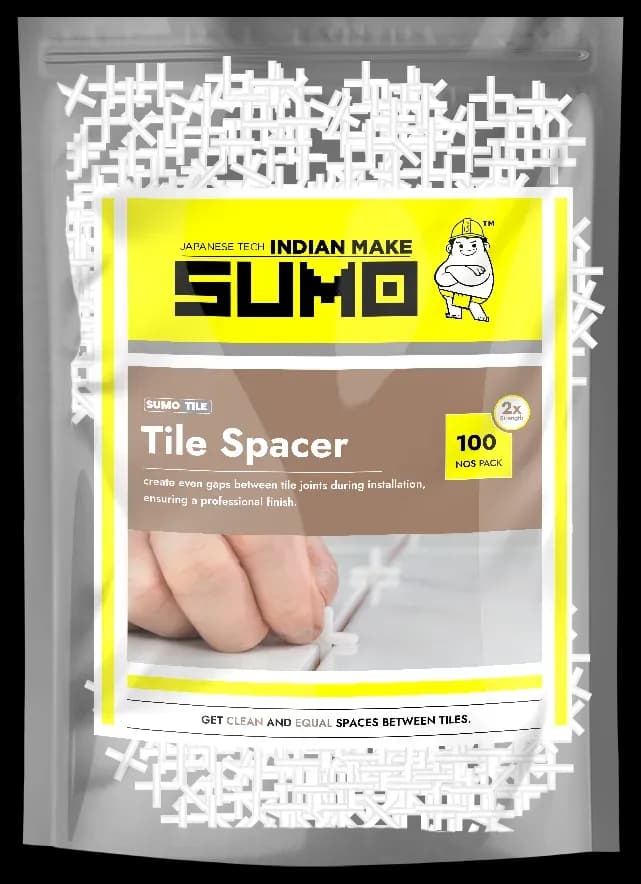
What you’ll need
Step by step
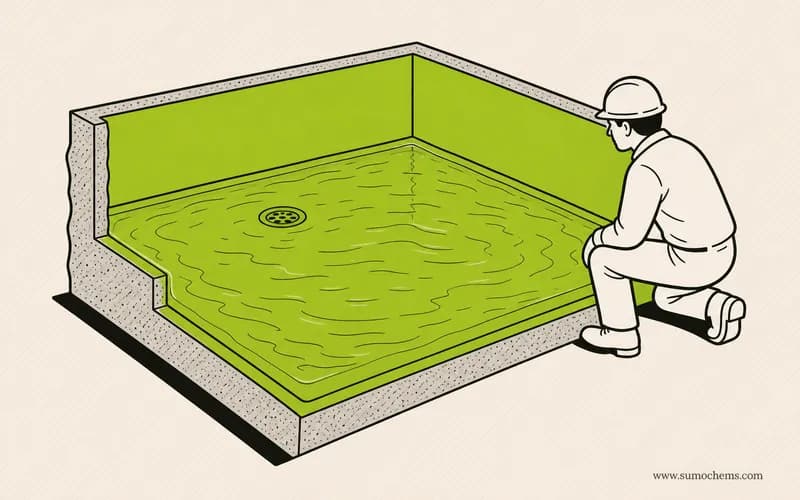
Confirm the waterproofing is done and cured
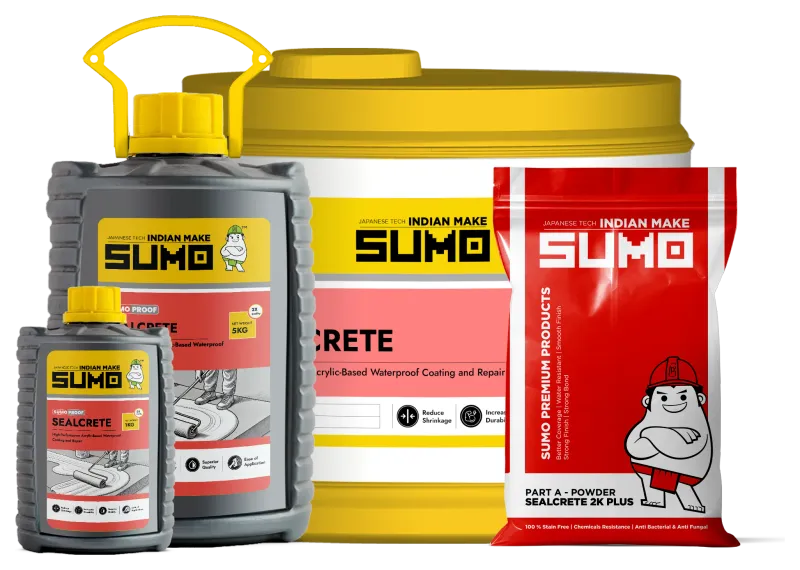
In wet areas and pools, the waterproofing / tanking must be fully applied and cured before you tile — S04 bonds tiles, it does not waterproof. Check the membrane (e.g. SUMO SealCrete 2K Plus) is complete, cured and flood-tested, with fillets and reinforcement at the corners and penetrations.
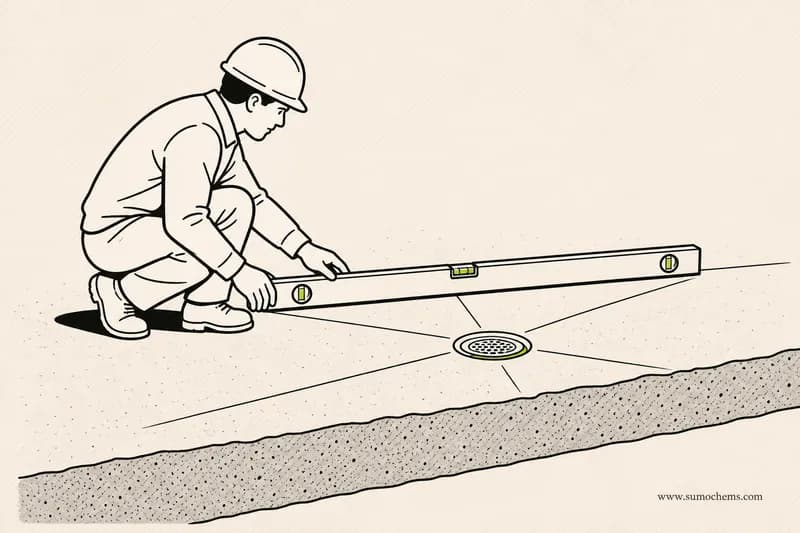
Check and prepare the substrate
The substrate must be sound, level, clean and free from curing compounds, grease and loose material. Confirm the falls run to the drain. Dampen highly absorbent surfaces and drain the excess.
Set out and plan movement joints
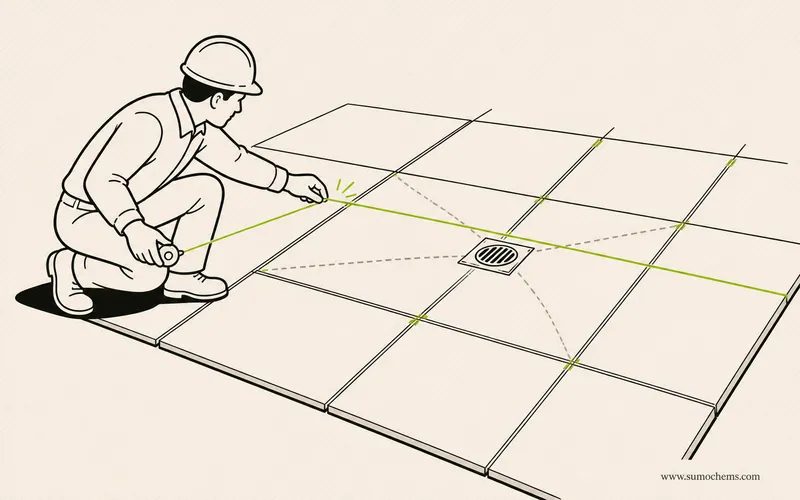
Dry-lay, snap chalk lines and plan the layout to the drain falls. Plan movement joints — perimeter and intermediate — which are especially important in pools, over heated screeds and on large fields.
Mix S04 to a smooth, firm paste
Pour two-thirds of the water in, add the powder slowly on low speed, add the remaining third, and mix to a smooth, lump-free, non-slump paste. Rest 2–3 minutes, then re-stir. Mix batches sized to the open time.

Comb the bed
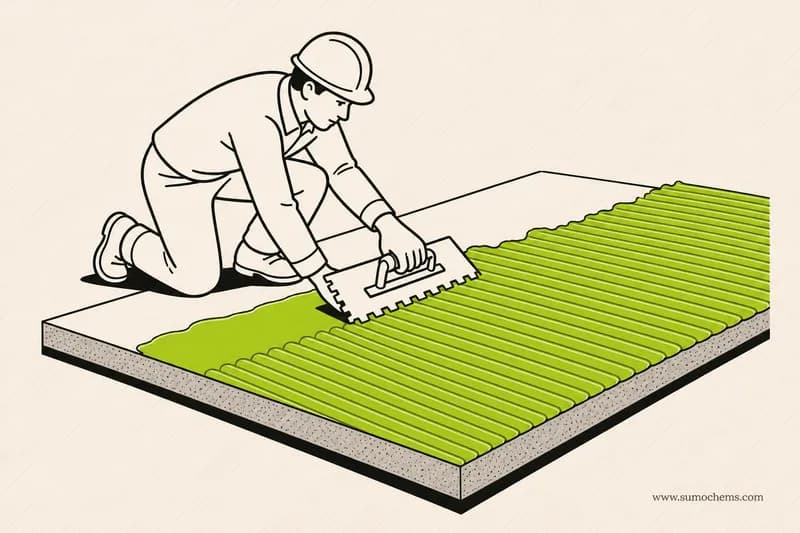
Key a firm skim onto the substrate with the flat trowel, then comb an even ribbed bed with the notched edge at ~45°, one direction. Comb only what you can tile before the ridges skin (S04 has extended open time, but wet-area heat can shorten it).
Back-butter for full, void-free contact
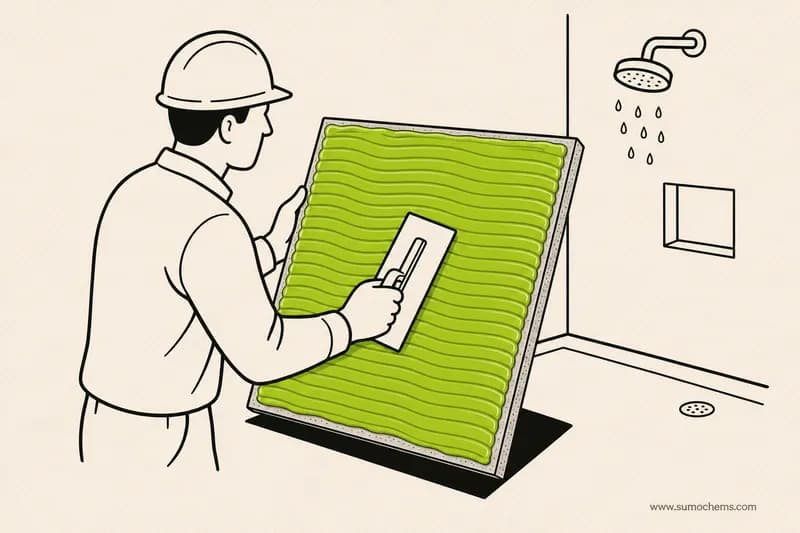
For wet areas, pools, large formats and heavy stone, back-butter the tile in addition to the combed bed. Full contact leaves no voids for water to pool behind the tile — critical underwater and in wet rooms.
Place, bed and level
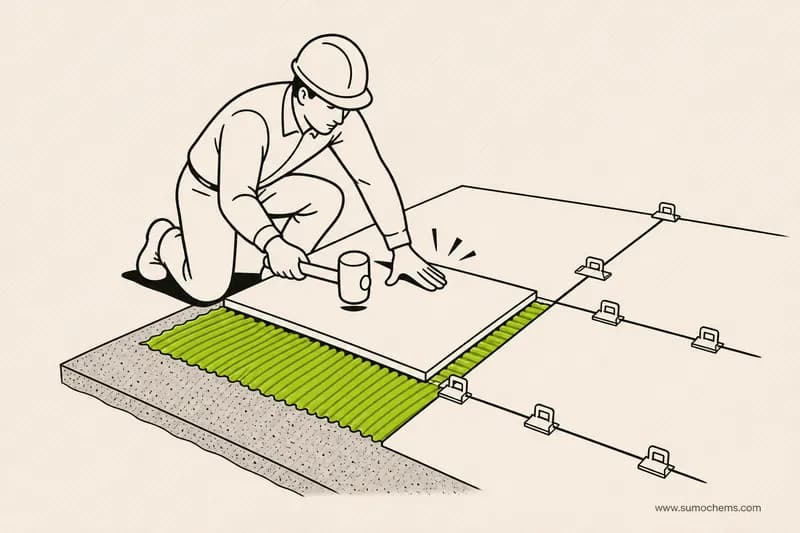
Set each tile with a slide across the ridges, bed it with the mallet and beating block, and level with clips and a straightedge. Keep joints straight and consistent; check lippage.
Check coverage — aim for ≥90%
Lift an early tile and confirm near-full coverage (≥90% for wet areas and exteriors) with solid corners. In a pool or wet room this is the difference between a lasting floor and one that lifts. Adjust and re-check.

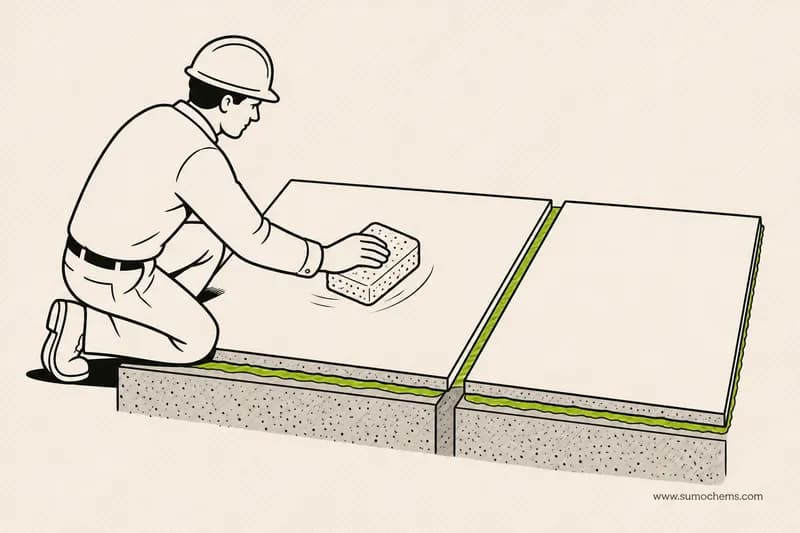
Keep movement joints open and clean off
Leave the planned movement joints clear of adhesive; clean adhesive off faces and out of joints before it sets. Wash tools immediately.
Cure, then grout with epoxy
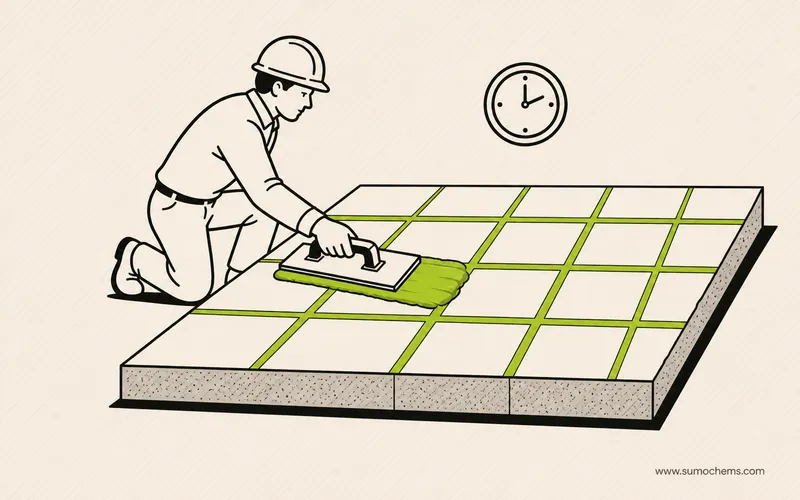
Let the adhesive cure (about 24 hours, longer in cool conditions) before grouting. For wet areas and pools, grout with SUMO Sumoxy epoxy grout (waterproof, stain-free, chemical-resistant), fill movement joints with a flexible sealant, and cure fully before filling a pool or using the wet area.
Care, tips & what to avoid
- ✓The waterproofing / tanking must be complete, cured and flood-tested before you tile — S04 does not waterproof.
- ✓Confirm the floor falls to the drain and the substrate is sound, level and free of curing compounds.
- ✓Back-butter for ≥90% void-free coverage in wet areas and pools — no voids for water to sit behind.
- ✓Design movement joints for pools, heated screeds and large fields; keep them clear of adhesive.
- ✓Use epoxy grout (Sumoxy) in pools and wet areas, not cement grout.
- ✓Let the whole build-up cure fully before filling a pool or using the wet area.
- ★Use S04's deformability where the floor moves — pools, heated screeds, large formats — it flexes instead of cracking.
- ★Lift an early tile to confirm ≥90% coverage before you commit the area.
- ★Mix smaller batches in the heat so nothing skins in the bucket.
- ★Fill movement joints with a flexible sealant to let the assembly move.
- !Tiling before the waterproofing is done and curedS04 fixes tiles; it doesn't tank the room. Waterproof first.
- !Under-coverage in wet areasVoids trap water and debond tiles — aim for ≥90% with solid corners; back-butter.
- !No movement joints in pools / heated floorsThermal movement needs somewhere to go; use flexible joints.
- !Cement grout in a poolUse epoxy grout for waterproof, stain-free, chemical-resistant joints.
- !Filling the pool or using the wet area too soonLet the whole build-up cure fully first.