How to use SUMO S03 Tile & Stone Adhesive (large-format & heavy stone)
The professional method for fixing large-format tiles, granite, marble and natural stone — indoors and out — with SUMO S03, the high-grip, extended-open-time C2TE adhesive.
ON THIS PAGE
- ·What you’ll need
- 1Check the substrate is flat and sound
- 2Clean, dampen and set out
- 3Mix S03 to a smooth, firm paste
- 4Comb a deep bed on the substrate
- 5Back-butter the tile (always, at this size)
- 6Place the slab with a beating block
- 7Level with clips and a straightedge
- 8Check the coverage
- 9Form movement joints, then clean off
- 10Cure, grout and seal the movement joints
- ·Field notes — care, tips & what to avoid
- ·FAQ
- ·Products used
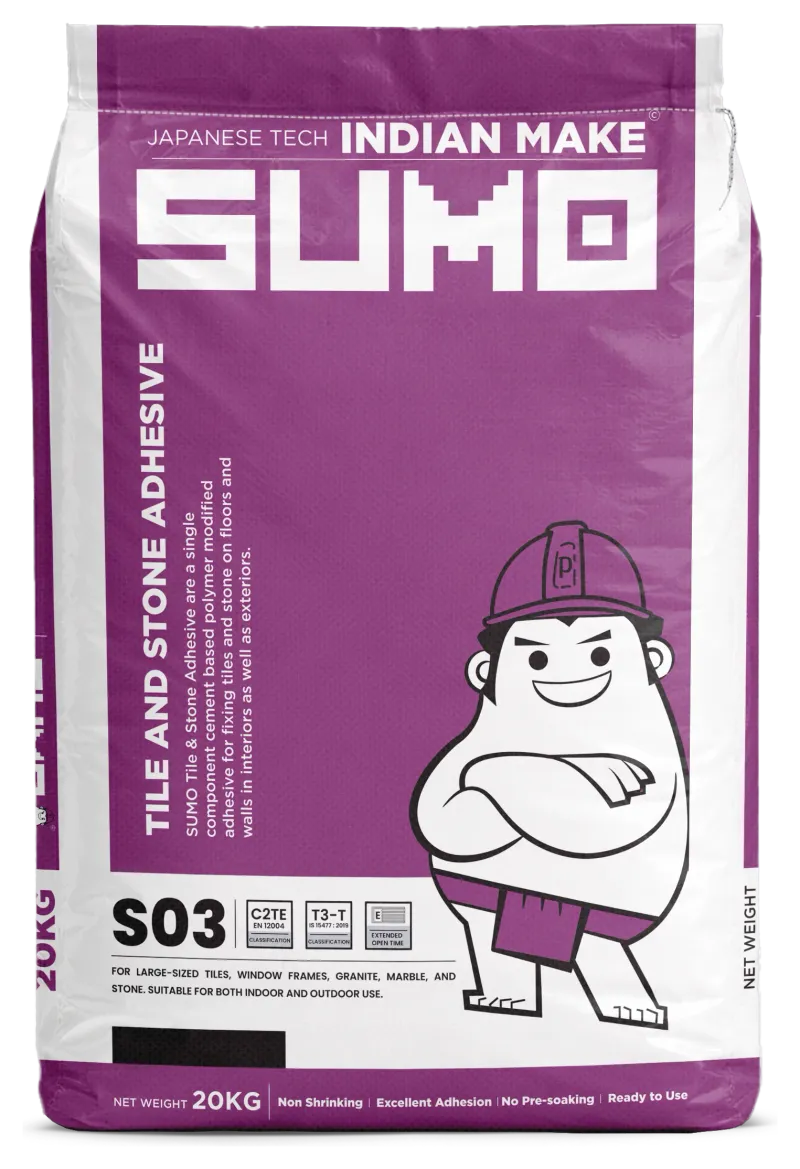
SUMO S03 Tile & Stone Adhesive is a cement-based, polymer-modified adhesive with high grip and extended open time (C2TE, IS Type 3, tensile >1.5 N/mm²) — built for big, heavy tiles and stone, indoors and out.
Use S03 for:
- Large-format tiles and slabs (800×800 mm and larger)
- Vitrified tiles on exterior walls and façades
- Granite, marble and natural stone
- Cladding around window and door frames
The extended open time lets you comb out larger areas before the bed skins — essential when a single tile takes minutes to place. Not for metal, plywood or cement board — use FLEXIT 2K. For permanently wet zones, pools and floors that must flex (heated screeds), use S04.
What you’ll need
Step by step
Check the substrate is flat and sound
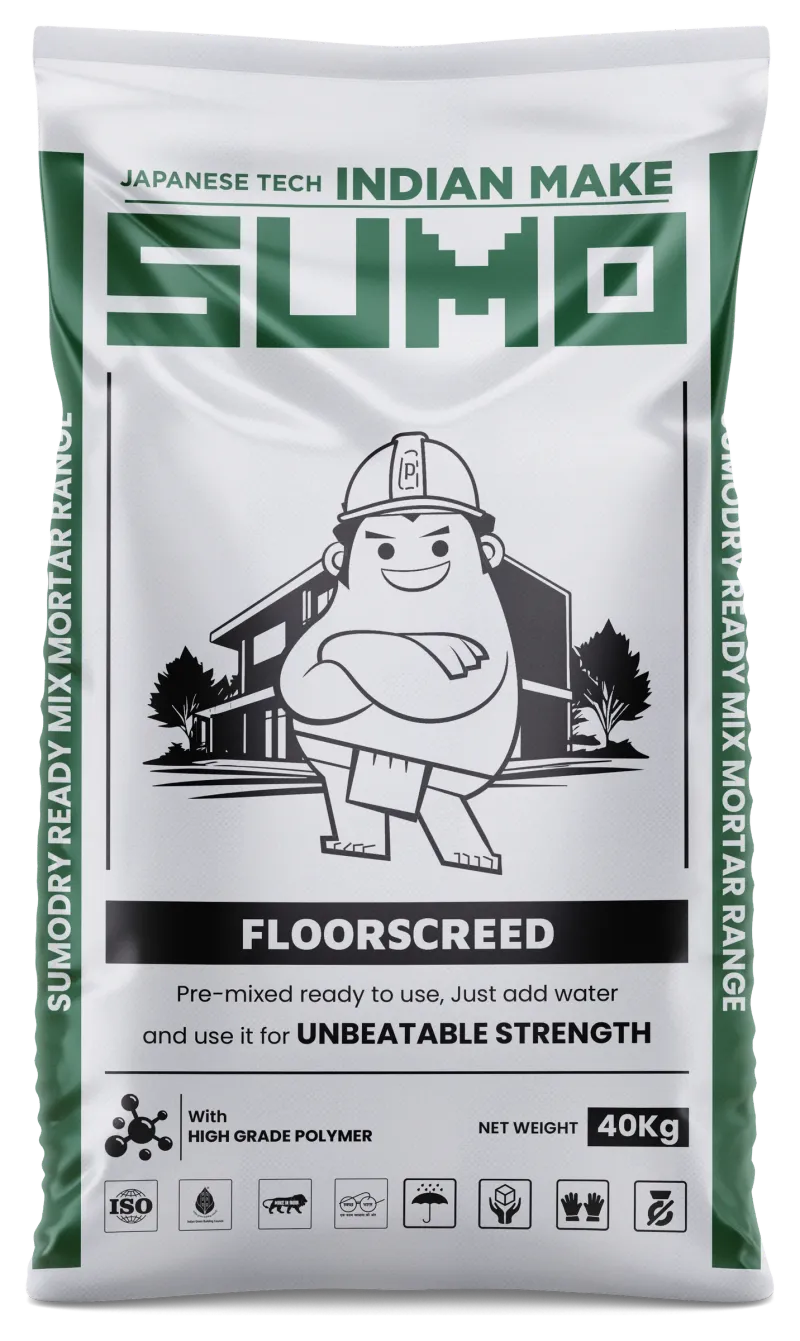
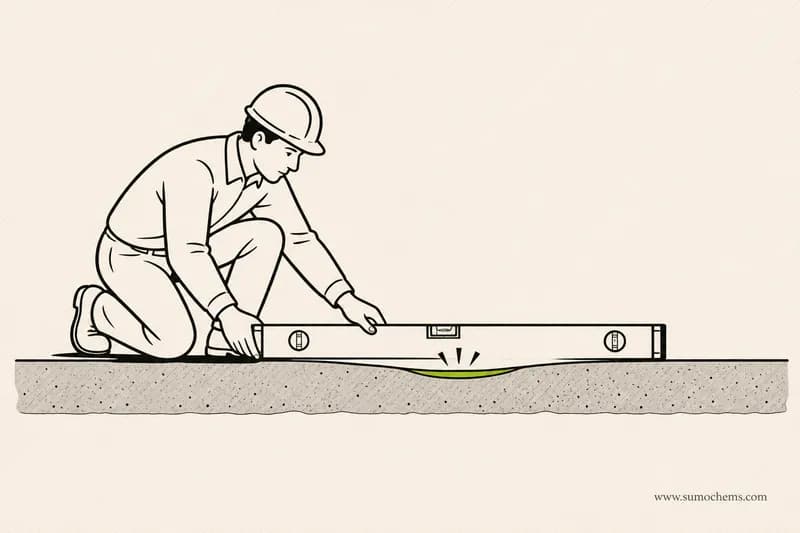
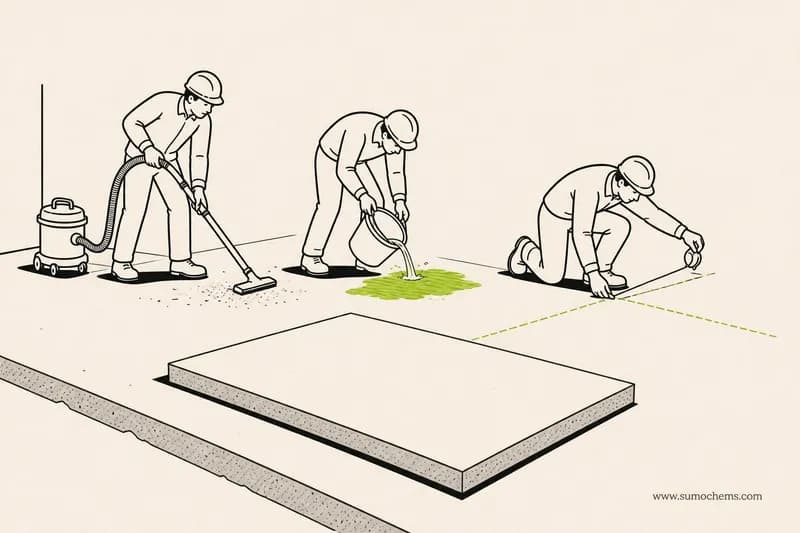
Large tiles need a flat, sound base — they won't bridge a wavy floor. Check flatness with a long straightedge (a common tolerance is ~3 mm under 2 m); where it dips or humps, level it first with SUMO Floorscreed and let it cure. The surface must be fully cured, clean and free from dust, grease and curing compounds.
Clean, dampen and set out
Vacuum all dust; dampen highly absorbent surfaces and drain the excess. Dry-lay slabs, plan the layout and snap chalk lines. Plan movement joints — at the perimeter and breaking up large fields — before you start.
Mix S03 to a smooth, firm paste
Pour two-thirds of the water in, add the powder slowly on low speed, add the remaining third, and mix to a smooth, lump-free paste that holds a ridge. Rest 2–3 minutes, then re-stir. Mix batches sized to the (extended) open time.

Comb a deep bed on the substrate
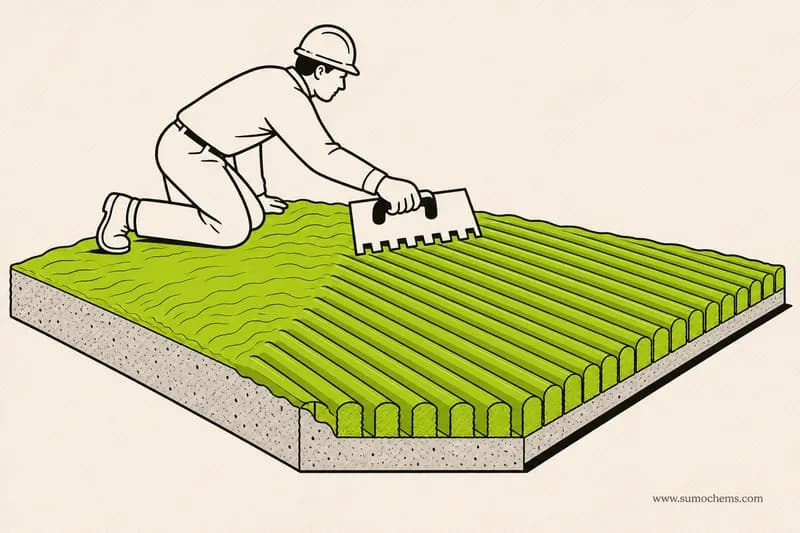
Key a firm skim onto the base with the flat trowel, then comb a deep ribbed bed with a 12 mm notch or half-trowel, in straight lines one direction. The extended open time lets you comb a larger area — but check it hasn't skinned before you place.
Back-butter the tile (always, at this size)
Skim a tight, full coat of adhesive across the back of the slab as well. Back-buttering fills the tile's bow and keyed back so you achieve a solid, void-free bed — non-negotiable for large formats, heavy stone and exteriors.

Place the slab with a beating block
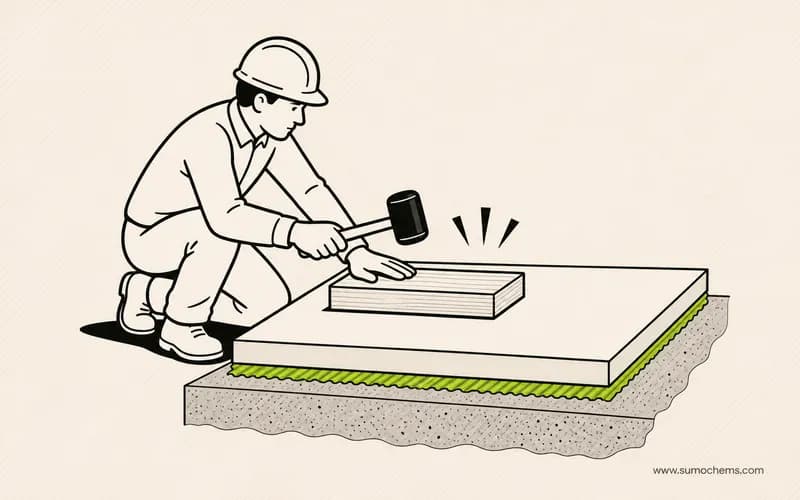
Lift the slab (use suction lifters), lower it onto the ridges just off position, then slide it a few millimetres across the ridges to collapse them. Bed it down evenly using a rubber mallet and a beating block so you don't crack the tile or create lippage.
Level with clips and a straightedge
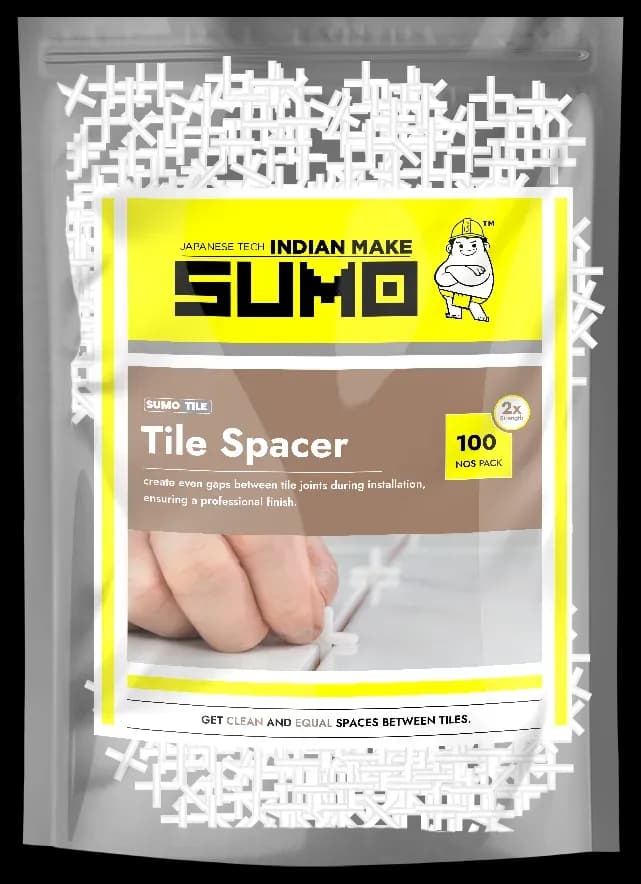
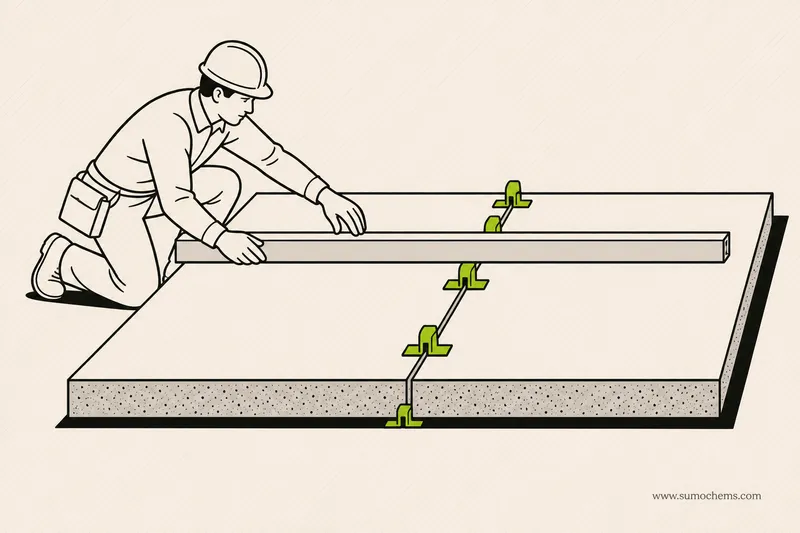
Fit tile levelling clips on all sides and run a long straightedge across adjacent tiles to eliminate lippage while the bed is fresh. Large formats show the smallest step, so take the time to get them dead flat.
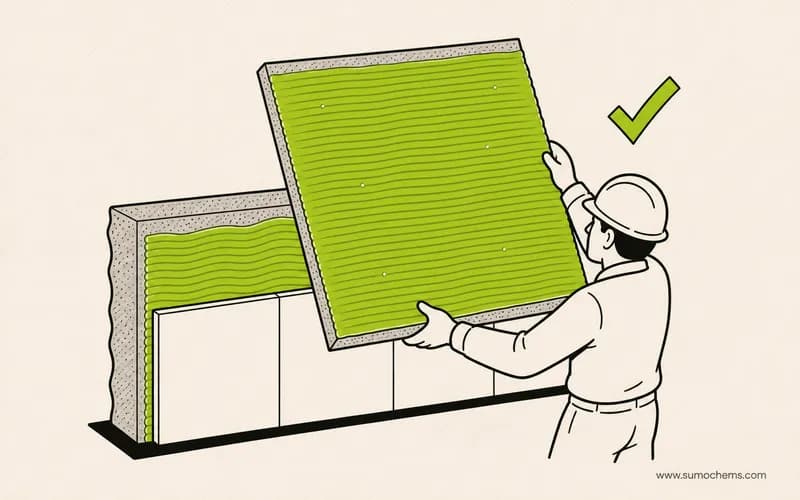
Check the coverage
Lift an early slab and confirm the adhesive covers 95% or more of the back with solid corners — for large-format and exterior work full contact is essential. If not, comb deeper and butter more, then re-check.
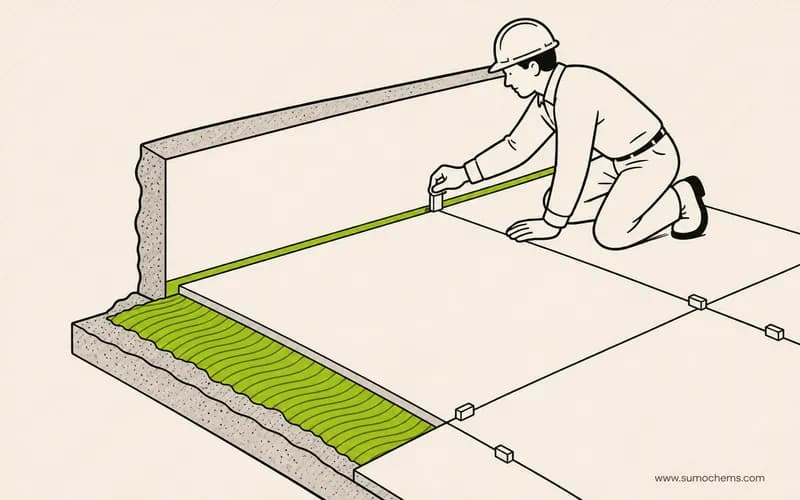
Form movement joints, then clean off
Keep the planned movement joints open (don't fill them with adhesive) and clean adhesive off the faces and out of the tile joints before it sets. Wash tools immediately.
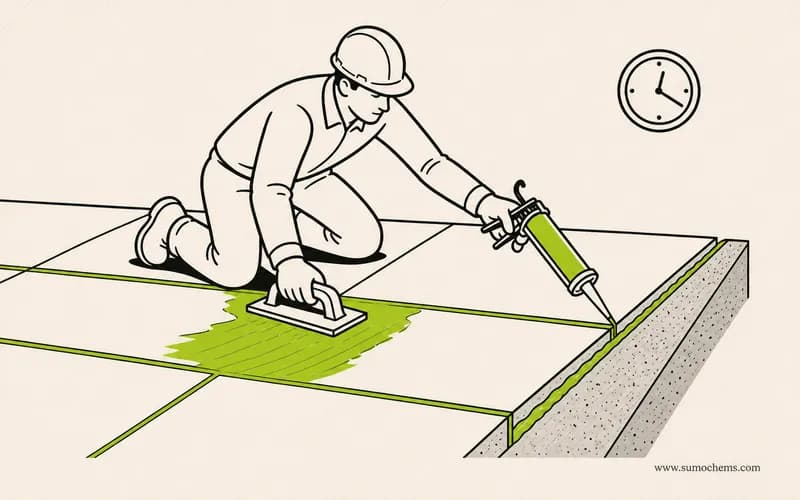
Cure, grout and seal the movement joints
Let the adhesive cure (about 24 hours, longer for big beds and cool weather) before grouting. Grout the tile joints with SUMO Sumoxy epoxy grout (2-Part, or 3-Part for larger joints) — waterproof and stain-free — fill the movement joints with a flexible sealant (not rigid grout), and cure the finished surface.
Care, tips & what to avoid
- ✓The base must be flat and sound — large tiles won't follow a wavy floor; level it first (≈3 mm under 2 m).
- ✓Always back-butter large-format tiles and heavy stone — they bow and won't make full contact otherwise.
- ✓Design in movement joints (perimeter + intermediate) and keep them clear of adhesive.
- ✓Aim for 95%+ coverage with solid corners, especially on façades and exteriors.
- ✓Comb only what you can tile before the bed skins, even with the extended open time.
- ✓Use the White grade and check moisture-sensitivity for marble and pale stone.
- ★Use levelling clips and a long straightedge to kill lippage — every step shows on a big tile.
- ★Use suction lifters and a beating block to place slabs without cracking them or trapping air.
- ★Check coverage on the first slab or two — you rarely get a second chance on a big wall.
- ★Fill movement joints with a flexible sealant, not rigid grout.
- !Tiling large formats over an unlevelled floorThey bridge and crack. Level the base first.
- !Not back-butteringLarge tiles bow — without buttering you get corner voids and hollow slabs.
- !Combing too far aheadEven with extended open time, a skinned bed won't grip. Work in reach.
- !No movement jointsBig exterior/large-format fields need perimeter and intermediate joints, filled with flexible sealant.
- !Ignoring lippageUse levelling clips and a long straightedge — every step shows on a big tile.