How to use SUMO S02 Tile & Stone Adhesive (vitrified floor tiles)
The step-by-step method for laying regular-size vitrified and ceramic floor tiles indoors with SUMO S02 — from surface prep to grouting, done the way it holds.
ON THIS PAGE
- ·What you’ll need
- 1Check the surface and clean it down
- 2Level an uneven base with Floorscreed
- 3Set out the floor
- 4Mix the adhesive
- 5Spread and comb the bed
- 6Lay and bed each tile
- 7Check the coverage on the first tiles
- 8Level, align and space
- 9Clean off as you go
- 10Let it cure, then grout
- ·Field notes — care, tips & what to avoid
- ·FAQ
- ·Products used
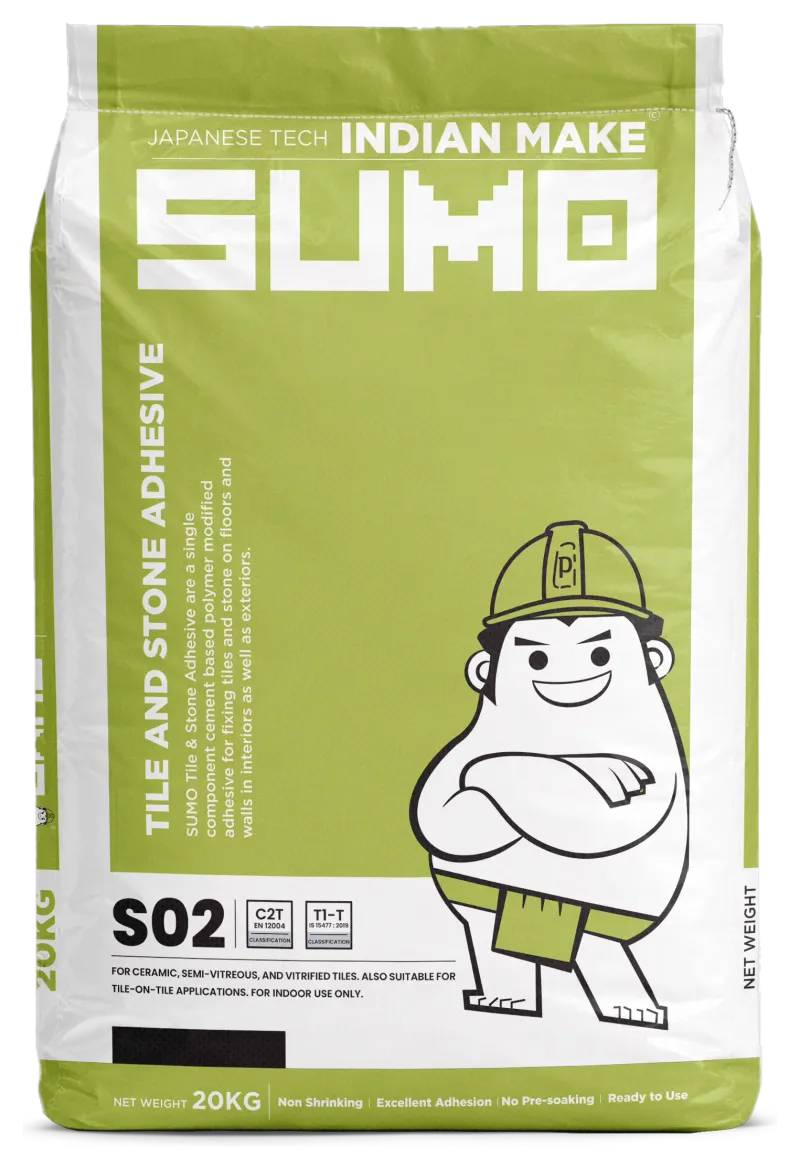
SUMO S02 Tile & Stone Adhesive is a single-component, cement-based, polymer-modified adhesive with an improved C2 bond (1.0 N/mm²). It is the everyday workhorse for fixing regular-size ceramic, semi-vitreous and vitrified tiles on interior floors and walls — and it is rated for tile-on-tile over a sound, prepared existing floor.
Use S02 for:
- Regular-size vitrified and ceramic floor tiles, indoors
- Interior wall tiling (its T rating resists slip)
- Tile-on-tile over a sound, cleaned/primed existing floor
Not for exterior work, wet areas (bathrooms, balconies, terraces), natural stone, glass mosaic or large-format tiles — for those, step up to S02+, S03 or S04. Not for metal, plywood or cement board — use FLEXIT 2K.
This guide takes you from a bare screed to a floor that stays down.
What you’ll need
Step by step
Check the surface and clean it down
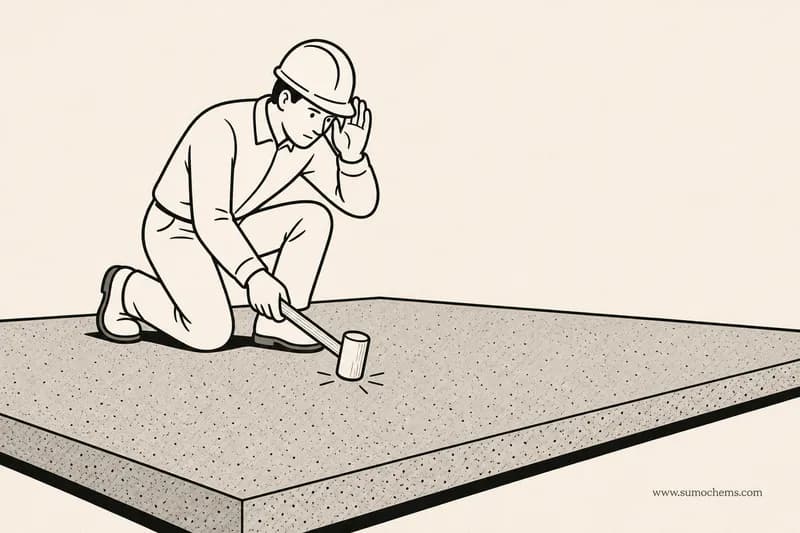
The substrate must be structurally sound and free from dust, grease, oil, paint and curing compounds. A cement screed must be fully cured and dry before tiling. Tap the floor and mark any hollow or cracked areas; repair them first. Sweep and vacuum all dust. For highly absorbent substrates, dampen with clean water and drain off the excess so the surface is damp, not wet — this stops the screed drinking the water out of your adhesive. For tile-on-tile, sound every old tile, re-fix or remove any that drum, degrease, and key the glossy glaze.
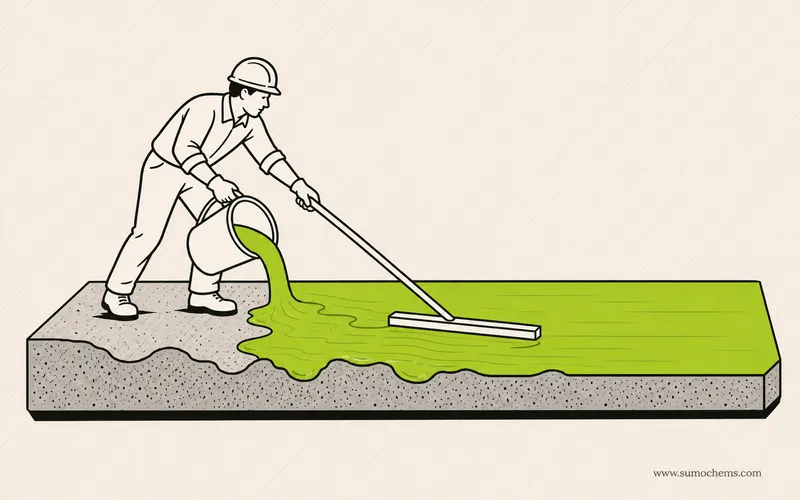
Level an uneven base with Floorscreed
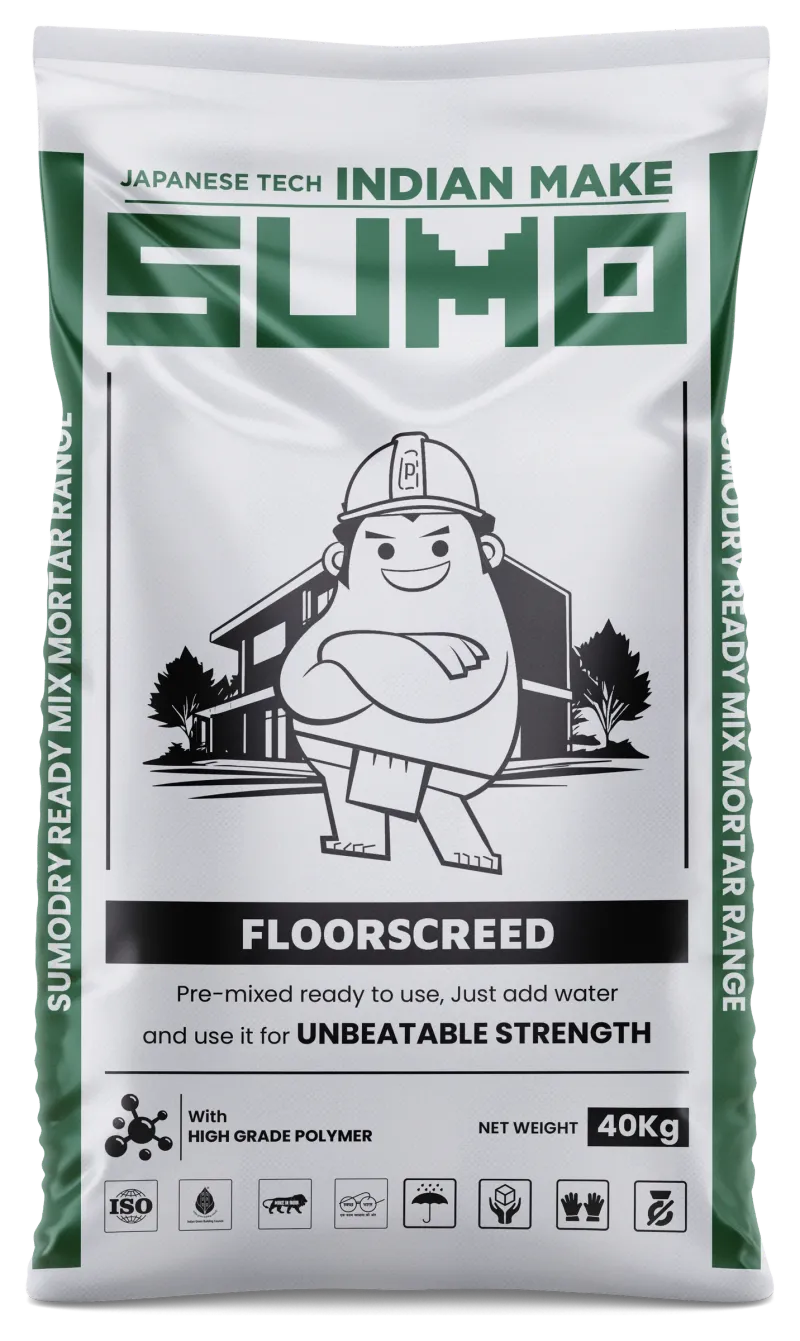
Large and regular-size tiles need a flat base. Check the floor with a long straightedge; where it dips or humps beyond tolerance, level it first with SUMO Floorscreed and let it cure and dry before tiling. A flat base is what stops lippage and hollow spots later.
Set out the floor
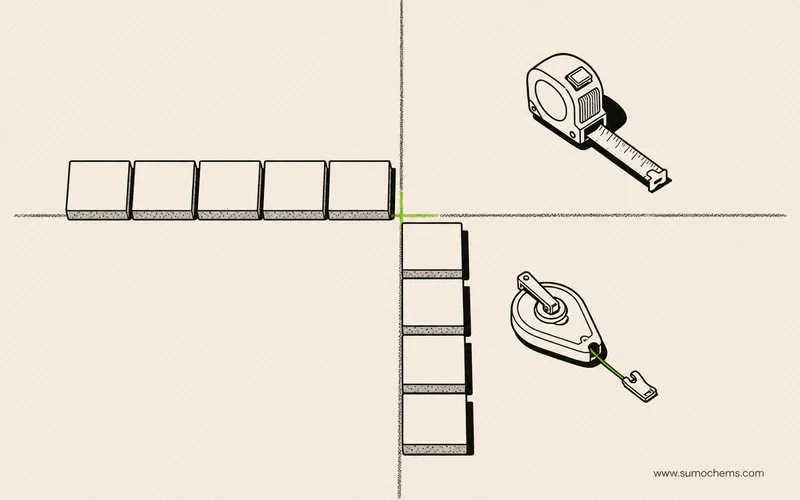
Find the centre of the room, dry-lay a row of tiles to check the layout, and snap chalk lines so cut tiles fall at the least visible edges. Decide your starting point so you tile out of a corner, never into one. Plan a consistent joint width and mark it.
Mix the adhesive
Pour about two-thirds of the clean water into the bucket, then add the S02 powder slowly while mixing with a low-speed drill and paddle. Add the remaining third of water and mix to a smooth, lump-free, creamy paste. Let it rest (slake) for 2–3 minutes, then re-stir briefly. Mix only as much as you can lay within the working time.

Spread and comb the bed
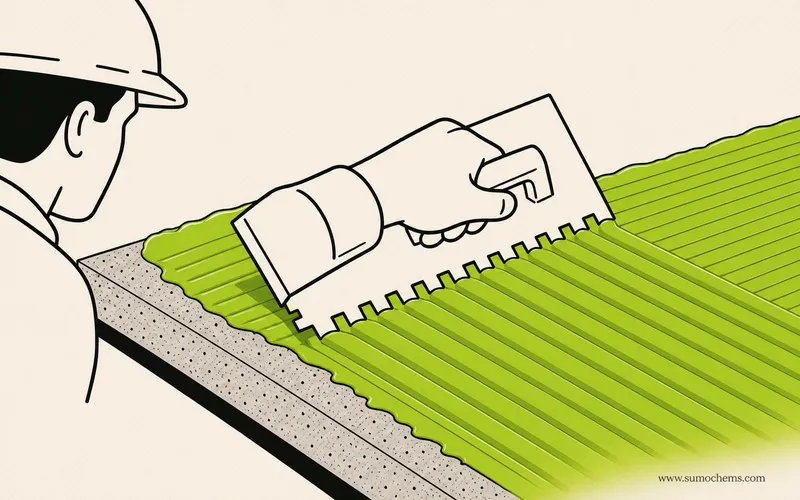
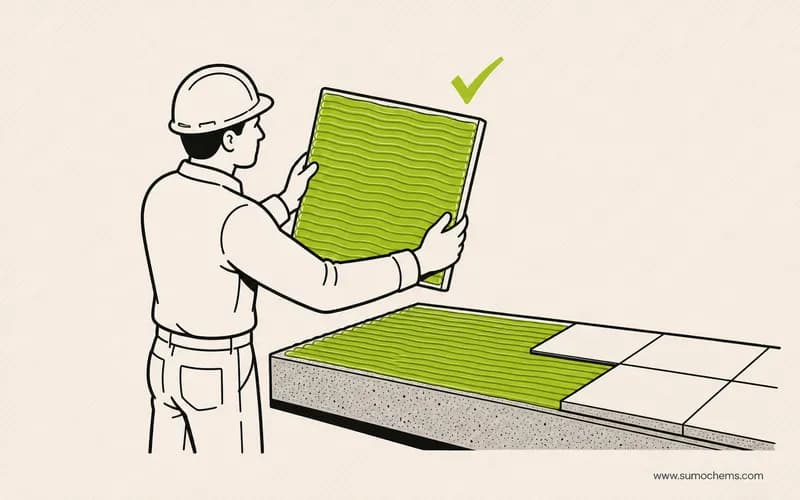
Hold the trowel's flat edge and press a thin, firm skim of adhesive onto the floor to key it in. Then comb it out with the notched edge at about 45°, in straight lines in one direction, to an even ribbed bed (up to ~6 mm). Comb only the area you can tile in about 10 minutes — before the ridges skin over.
Lay and bed each tile
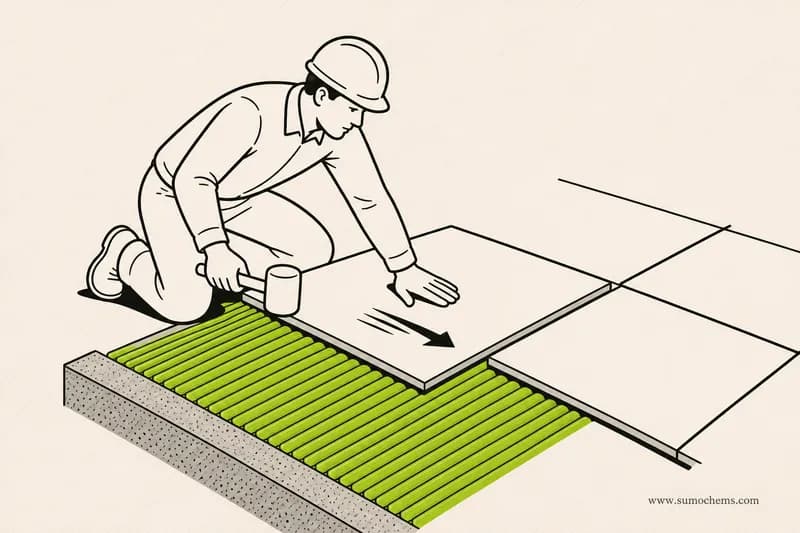
Place the tile onto the ridges just off its final position and press it down with a firm slide across the ridges to collapse them and drive out air, then nudge it home. Tap gently with a rubber mallet to bed it level. Drop in spacers and keep to the chalk lines.
Check the coverage on the first tiles
Right after bedding the first tile, lift it back up and look at the back. The flattened adhesive should cover at least 80% of the tile back for a dry interior floor, with no bare corners. If you see clean stripes, comb a deeper bed (or back-butter the tile) and re-check.
Level, align and space
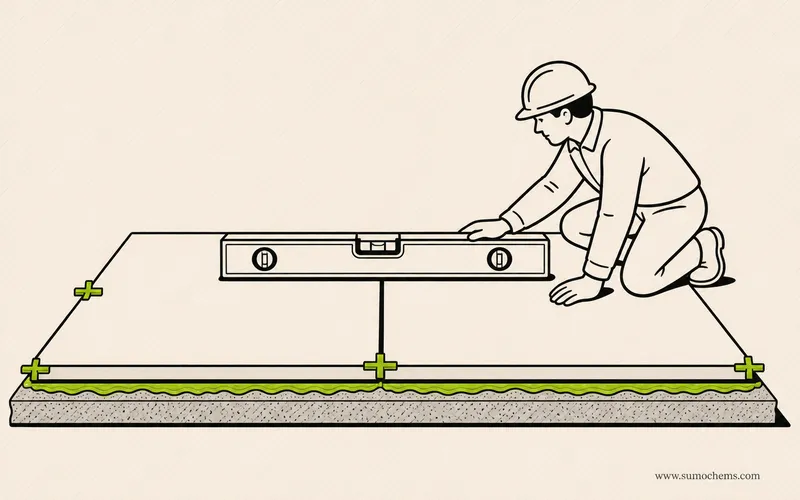
As you lay, run a straightedge or level across the tiles and adjust any high or low tile with the mallet while the bed is still fresh. Keep joints straight and consistent with spacers (or levelling clips for larger tiles). Check lippage between adjacent tiles by hand.
Clean off as you go
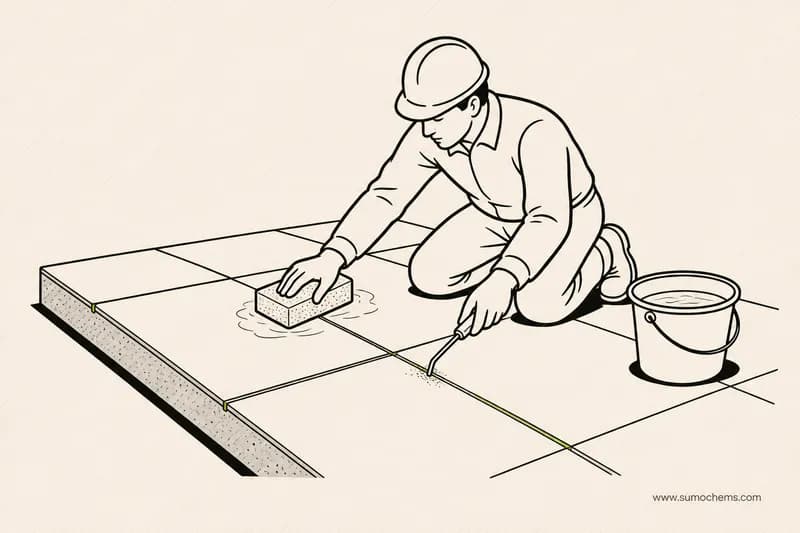
Wipe adhesive off the tile faces and rake it out of the joints before it sets — leave the joints about two-thirds deep and clear, ready for grout. Wash tools and buckets in water immediately; cured adhesive only comes off mechanically.
Let it cure, then grout
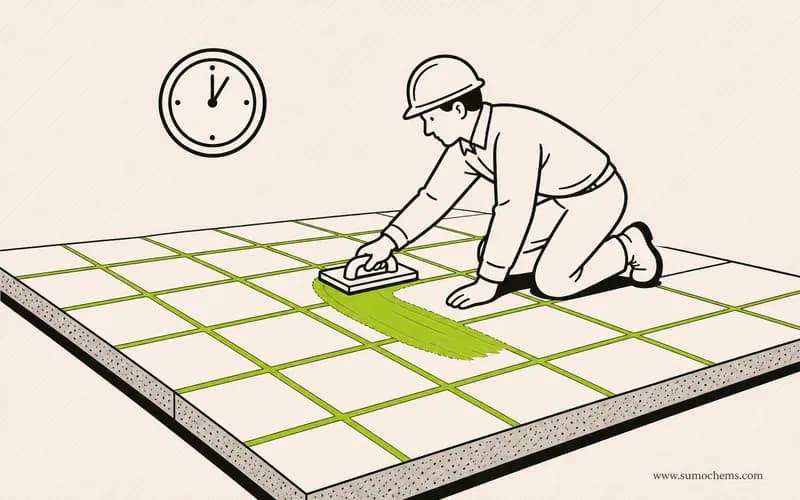
Keep foot traffic off the floor while it sets. Allow the adhesive to cure — typically around 24 hours (longer in cold or damp conditions) — before grouting. Then fill the joints with SUMO Sumoxy 2-Part epoxy grout (or Sumoxy 3-Part for larger joints) — waterproof, stain-free and hard-wearing — clean within the window, and let the finished floor cure.
Care, tips & what to avoid
- ✓The screed must be fully cured and dry before tiling — a green slab keeps shrinking under the tiles.
- ✓Keep the water ratio exactly as the bag states — extra water weakens the bond and makes the mix sag.
- ✓Match the notch to the tile (10 mm for 600×600) and keep the trowel sharp — a worn notch robs you of coverage.
- ✓Comb only the area you can tile before the bed skins — check the ridges with a fingertip in the heat.
- ✓For tile-on-tile, make sure every old tile is sound and firmly bonded, and key/abrade the glossy glaze so the adhesive can grip.
- ✓Leave the tile joints clear to two-thirds depth so there is room for grout.
- ★Lift the first two or three tiles to confirm ≥80% coverage before you commit the whole room.
- ★Hold the trowel at a steady 45° and comb in one direction for an even ribbed bed.
- ★Press and slide each tile across the ridges — don't just drop it on — to collapse the ridges and drive out air.
- ★Mix in smaller batches on hot days so nothing goes off in the bucket.
- ★Wipe faces and joints as you go; cured adhesive only comes off mechanically.
- !Spot-fixing ("five blobs")Dabbing adhesive at the corners and centre leaves voids under the tile. Always comb a full, even bed.
- !Wrong or worn notchToo small (or a rounded, worn trowel) gives a shallow bed and poor coverage. Match the notch to the tile and replace worn trowels.
- !Mixing too much at onceS02 past its pot life is dead — you can't revive it with water. Mix in batches you can lay in time.
- !Tiling on a dusty, uneven or unkeyed surfaceNo flat, clean key means poor coverage and lippage. Level with Floorscreed, clean, dampen porous surfaces, and key any glossy tile-on-tile.
- !Skipping the coverage checkYou only find out the bed was too thin when the floor sounds hollow. Lift a tile early.
- !Using S02 where it doesn't belongExterior, wet areas, large formats, stone — those need S02+, S03 or S04.