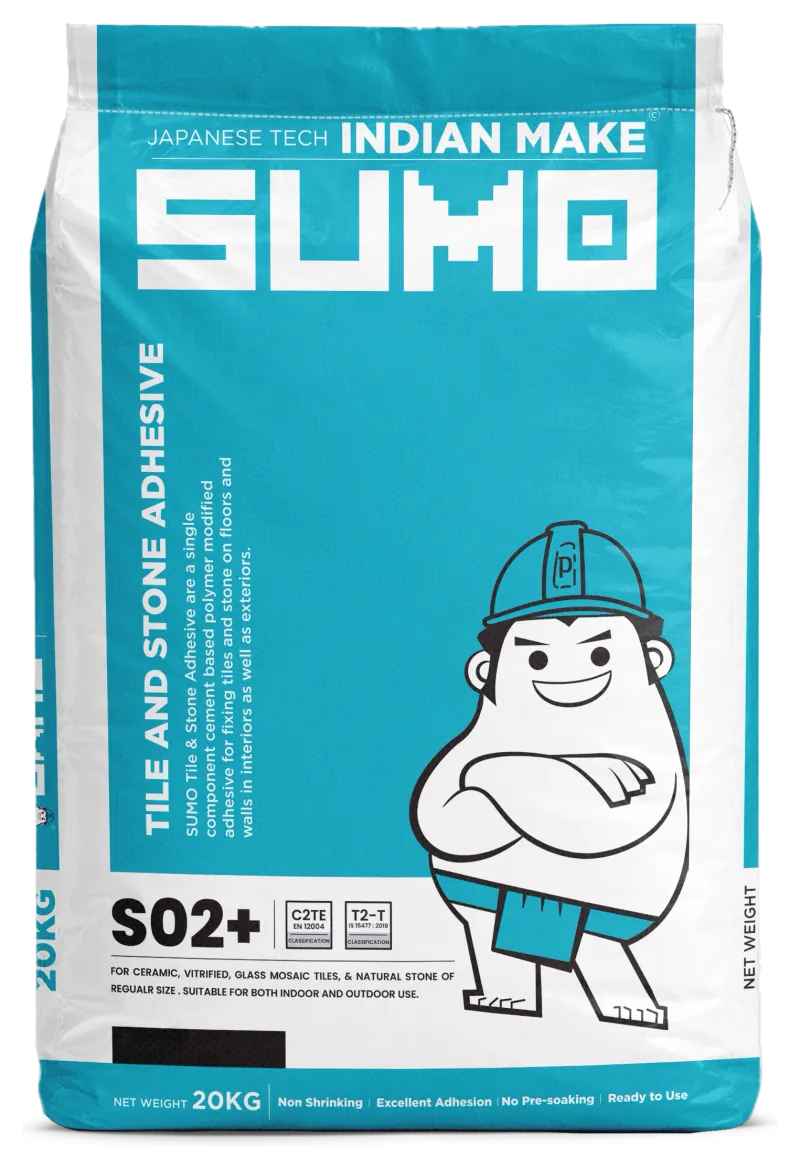
How to use SUMO S02+ Tile & Stone Adhesive (vitrified, stone & wet areas)
The step-by-step method for fixing vitrified tiles, natural stone and glass mosaic — indoors and out, including wet areas — with SUMO S02+, the extended-open-time C2TE adhesive.
ON THIS PAGE
- ·What you’ll need
- 1Prepare the substrate
- 2Dampen or prime, and plan the layout
- 3Mix S02+ to a smooth paste
- 4Comb out the bed
- 5Back-butter stone and larger tiles
- 6Place, bed and align
- 7Check the coverage
- 8Clean off and finish the joints
- 9Cure, then grout
- ·Field notes — care, tips & what to avoid
- ·FAQ
- ·Products used
SUMO S02+ Tile & Stone Adhesive is a highly polymer-modified thin-set with an improved C2 bond plus extended open time (C2TE, >1.5 N/mm²). It's sag-resistant, and water- and shock-resistant — so it works where ordinary adhesive can't: vitrified tiles, natural stone and glass mosaic, on vertical and horizontal surfaces, indoors and outdoors, including wet areas and commercial floors.
Use S02+ for:
- Vitrified and semi-vitreous tiles (regular size)
- Natural stone (regular size)
- Glass mosaic
- Wet areas — bathrooms, balconies, kitchens — and exterior walls
- Commercial floors
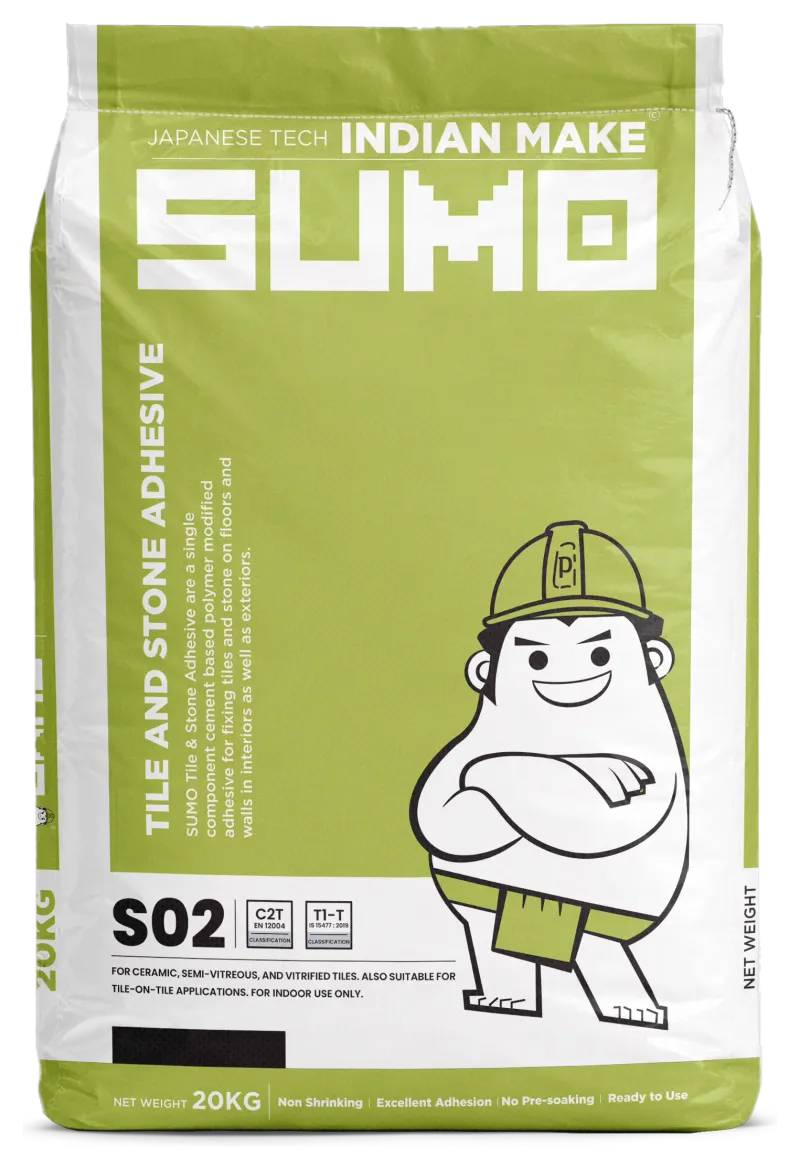
The E (extended open time) gives you a longer working window — a real advantage on big layouts and hot sites. Not for metal, plywood or cement board — use FLEXIT 2K. For large-format tiles and heavy stone, consider S03; for permanently wet zones and pools, S04.
What you’ll need
Step by step
Prepare the substrate
The substrate must be structurally sound, clean and free from dust, grease, laitance and curing compounds. In wet areas, the waterproofing must already be applied and cured before tiling. Repair hollows and cracks first.

Dampen or prime, and plan the layout
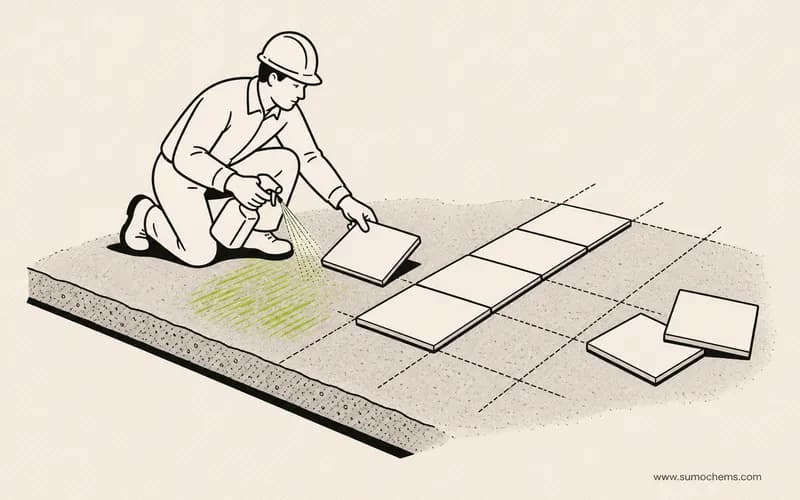
Dampen highly absorbent surfaces with clean water and drain the excess. Dry-lay and set out with chalk lines so cuts fall at discreet edges. For mosaic sheets, plan the grid so sheet joints are even.
Mix S02+ to a smooth paste
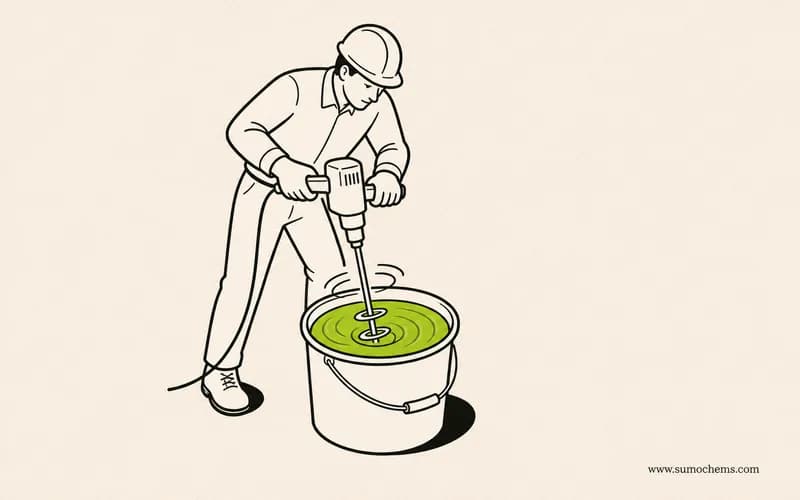
Pour two-thirds of the water into the bucket, add the powder slowly while mixing on low speed, add the remaining third, and mix to a smooth, lump-free, sag-free paste. Rest 2–3 minutes, then re-stir. Mix in batches you can lay within the (extended) open time.
Comb out the bed
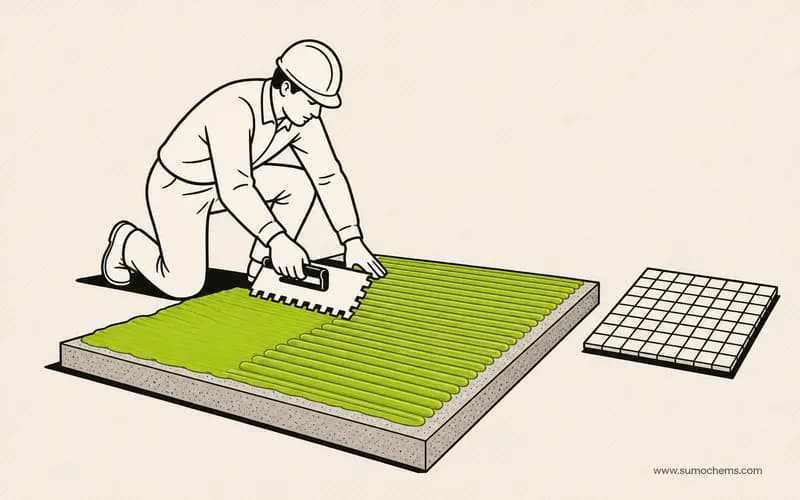
Key a firm skim onto the surface with the flat trowel edge, then comb ridges with the notched edge at ~45°. Thanks to the extended open time you can comb a slightly larger area — but still only what you can tile before the ridges skin.
Back-butter stone and larger tiles
For full adhesion on natural stone and larger tiles, apply adhesive to both the substrate and the back of the tile (back-buttering). This fills the tile's keyed back and guarantees a void-free bed — essential in wet areas.

Place, bed and align
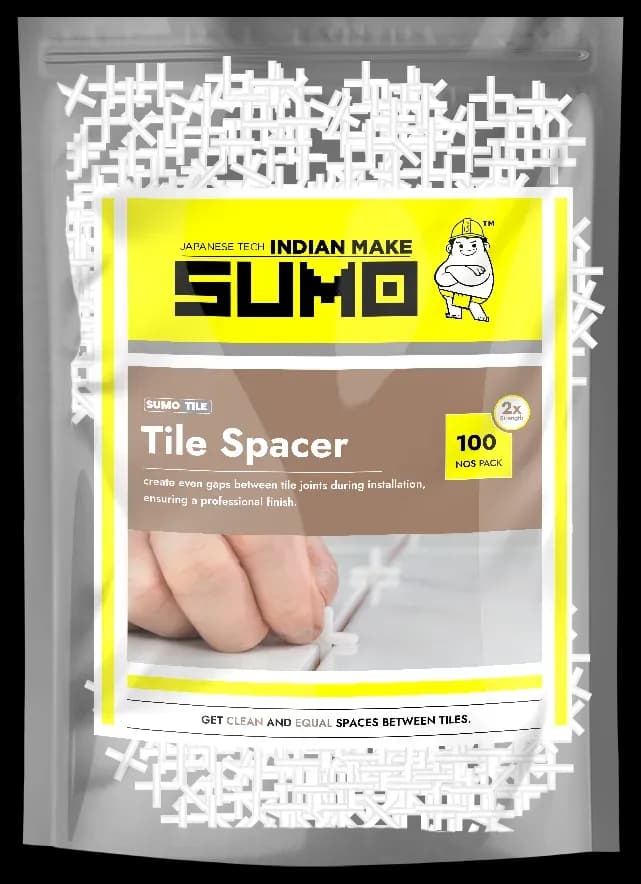
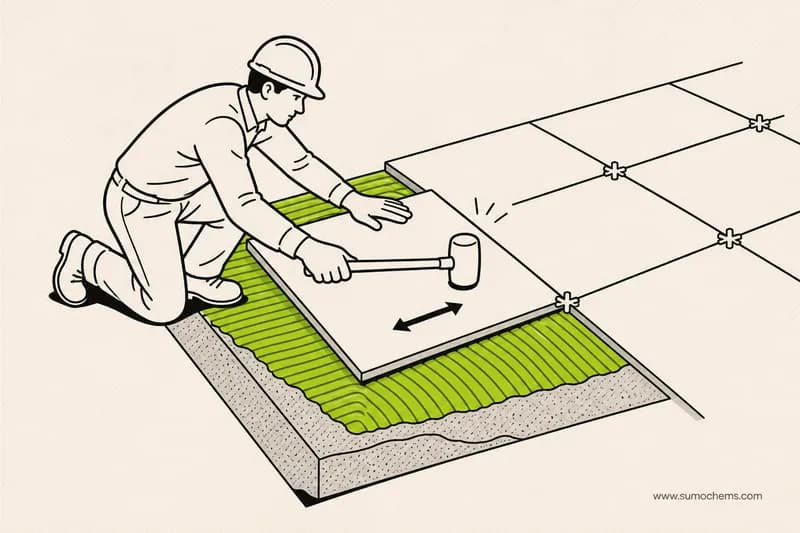
Set each tile with a slide across the ridges to collapse them, then tap level with the mallet. Use spacers (and levelling clips on larger tiles) for flat, even joints. Keep to the chalk lines and check lippage.
Check the coverage
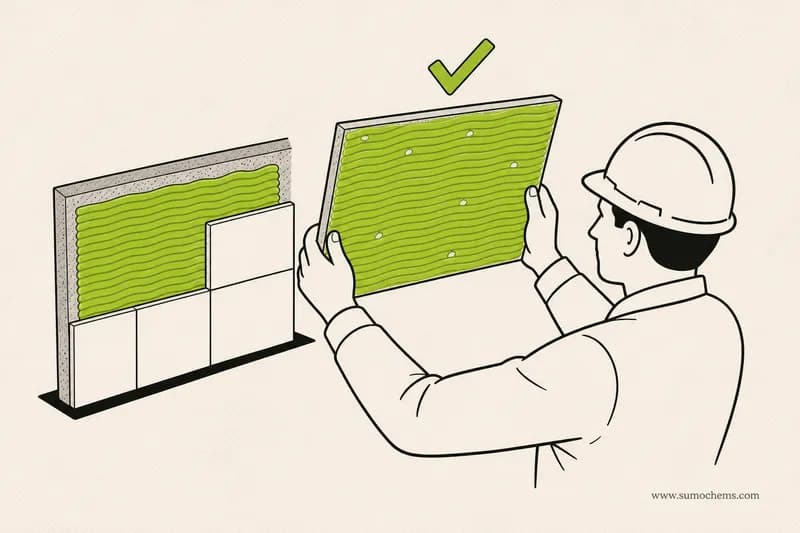
Lift the first tile — the adhesive should transfer across at least 80% of the back for dry areas, and 95% for wet areas and exteriors, with solid corners. Adjust the notch or back-butter and re-check.
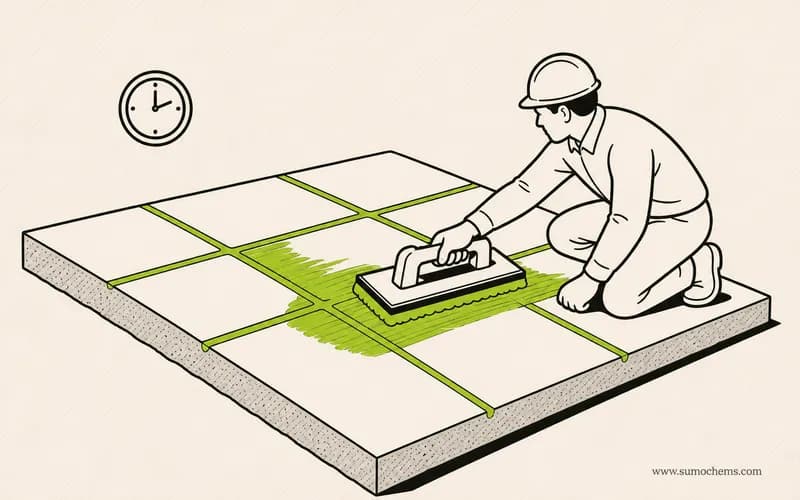
Clean off and finish the joints
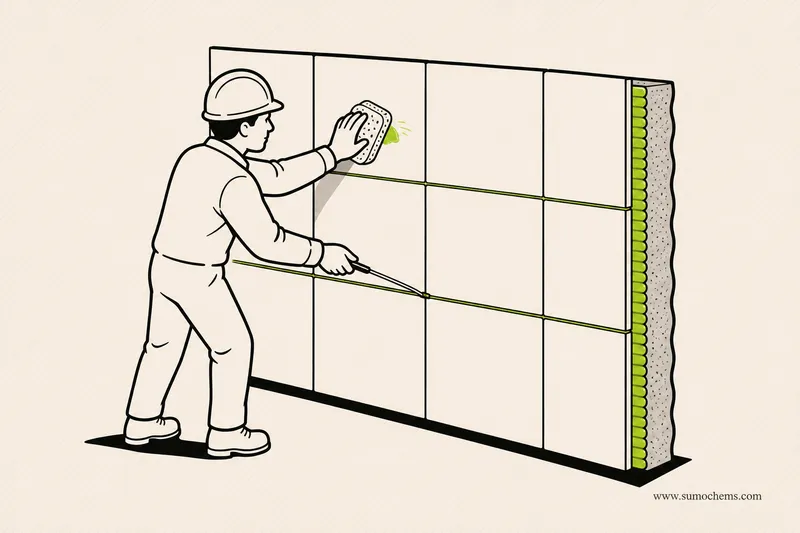
Wipe adhesive off the tile faces and rake it from the joints before it sets, leaving them clear for grout. Clean tools in water immediately.
Cure, then grout
Let the adhesive cure (about 24 hours) before grouting. Grout with SUMO Sumoxy 2-Part epoxy grout (or Sumoxy 3-Part for larger joints) — waterproof, stain-free and chemical-resistant, ideal for the wet areas and stone S02+ is used on. Cure the finished surface.
Care, tips & what to avoid
- ✓In wet areas the waterproofing must be complete and cured before you tile — S02+ bonds tiles, it does not tank the room.
- ✓Use the White grade under translucent glass mosaic and pale natural stone so no grey shows through.
- ✓Check natural stone is not moisture-sensitive before using a cementitious adhesive.
- ✓Back-butter stone and larger tiles for a full, void-free bed.
- ✓Aim for 95% coverage with solid corners in wet areas and outdoors.
- ✓Don't let the bed skin — even with extended open time, check it in the heat.
- ★For glass mosaic, use a fine notch and press sheets flat with a grout float.
- ★Apply adhesive to both the substrate and the tile back for full adhesion on stone and large tiles.
- ★Lift an early tile to check coverage before you commit the wall or floor.
- ★Grout wet areas with Sumoxy epoxy grout for a waterproof, stain-free joint.
- !Grey adhesive under glass mosaic or pale stoneIt shows through — use the White S02+.
- !Skipping back-buttering on stone/large tilesYou get voids and hollow spots; butter the back for full contact.
- !Tiling a wet area before the waterproofing is curedThe membrane must be complete and cured first.
- !Under-combing exteriors and wet areasAim for 95% coverage with solid corners.
- !Letting the bed skinEven with extended open time, check with a fingertip and re-comb if it's dried over.