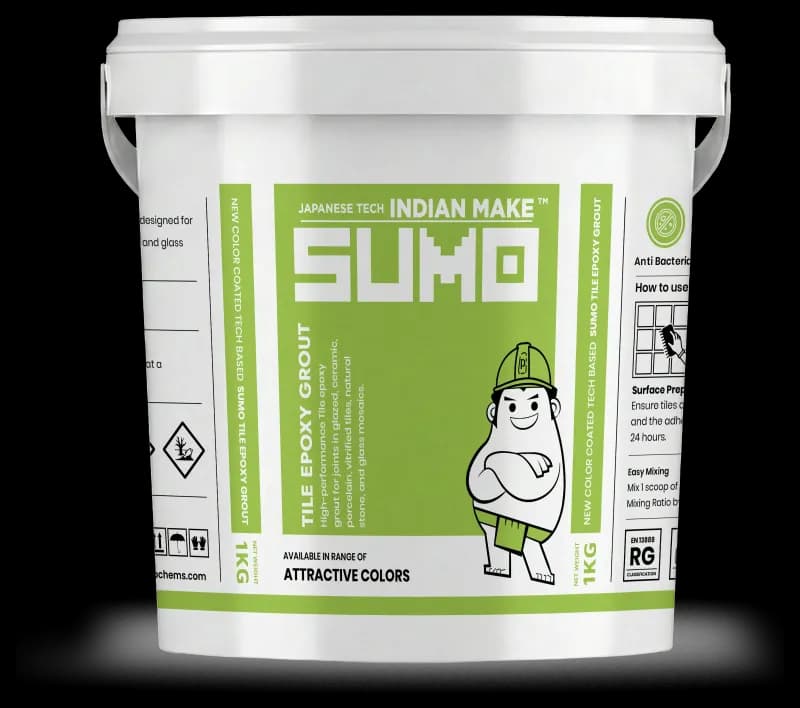
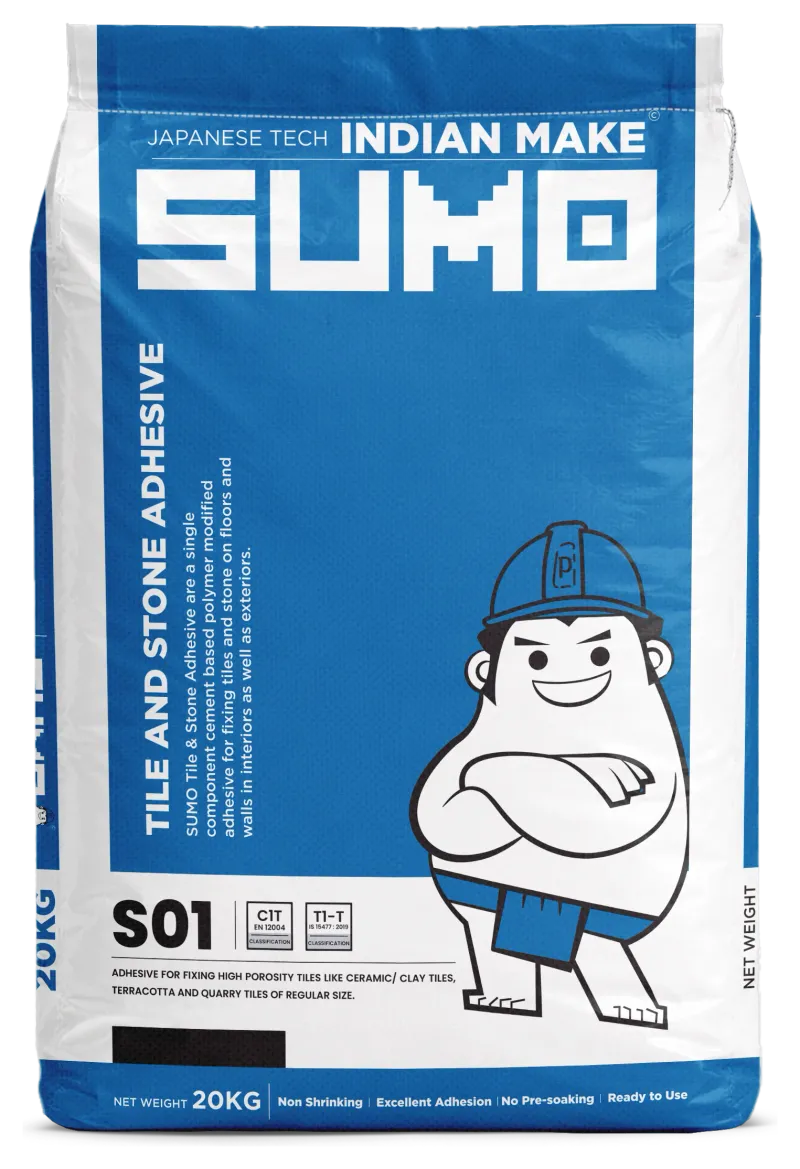
How to use SUMO S01 Tile & Stone Adhesive (ceramic & high-porosity tiles)
The correct method for fixing regular-size ceramic, terracotta and quarry tiles on interior floors and walls with SUMO S01 — the everyday, economical thin-set.
ON THIS PAGE
SUMO S01 Tile & Stone Adhesive is a single-component, cement-based, polymer-modified adhesive (EN 12004 C1T, bond 0.5 N/mm²) — the economical, everyday choice for fixing high-porosity, regular-size tiles on dry interior floors and walls over cementitious substrates.
Use S01 for:
- Ceramic and clay tiles
- Terracotta tiles
- Quarry tiles
- Other high-porosity, regular-size tiles — on interior floors and walls
Not for low-porosity vitrified tiles, exterior work, wet areas, natural stone, glass mosaic, large-format tiles or heavy commercial traffic — step up to S02, S02+, S03 or S04. Not for metal, plywood or cement board — use FLEXIT 2K.
It's a ready-to-use thin-set that needs no pre-soaking of the tiles.
What you’ll need
Step by step
Check and clean the surface
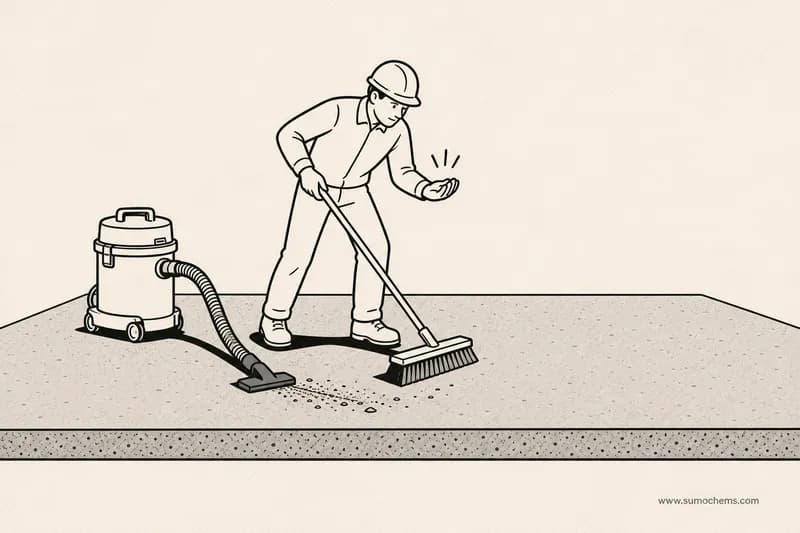
The substrate must be structurally sound and free from dust, loose particles, grease and anything that weakens adhesion. Sweep and vacuum thoroughly. A plaster or screed surface should be fully cured. Fill any large hollows or cracks and let them set first.
Dampen a thirsty surface
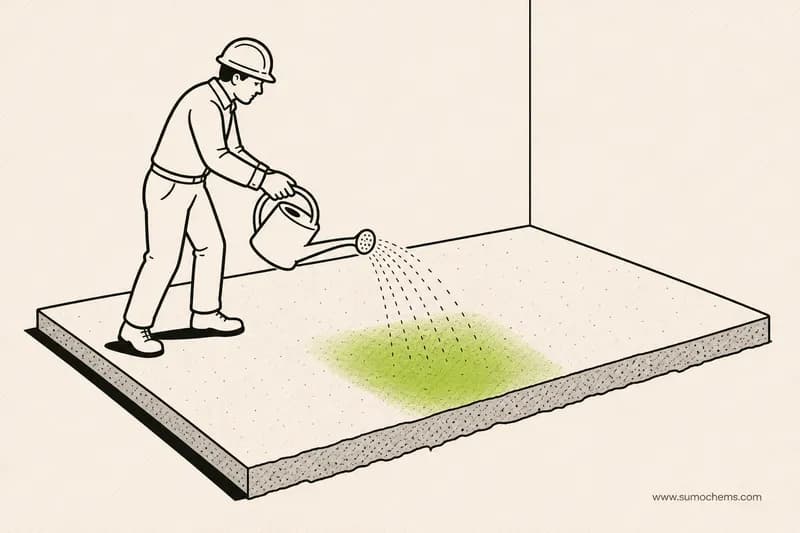
High-porosity plaster and screed pull water straight out of the adhesive. Dampen a highly absorbent surface with clean water and drain off the excess so it's damp, not wet, before you spread the adhesive.
Set out the tiles
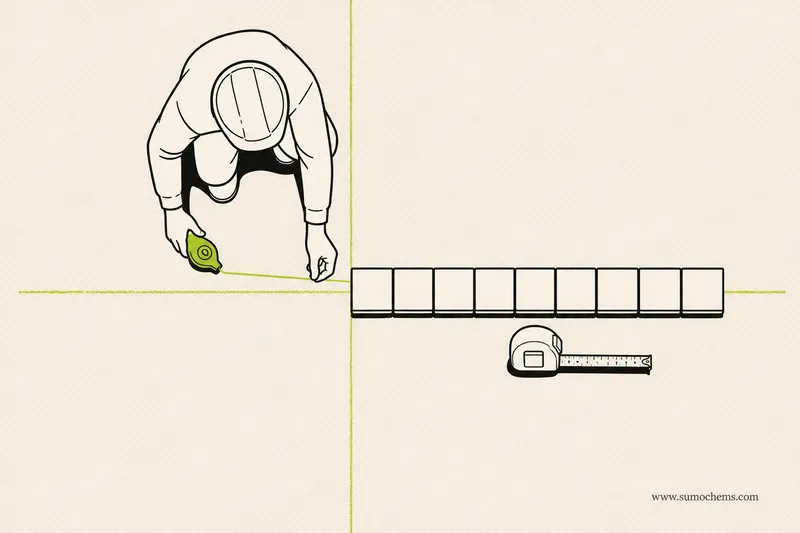
Measure the room, find the centre and dry-lay a row to plan the layout so cut tiles fall at the least visible edges. Snap chalk lines and set your starting point so you work out of the corner, not into it.
Mix the adhesive
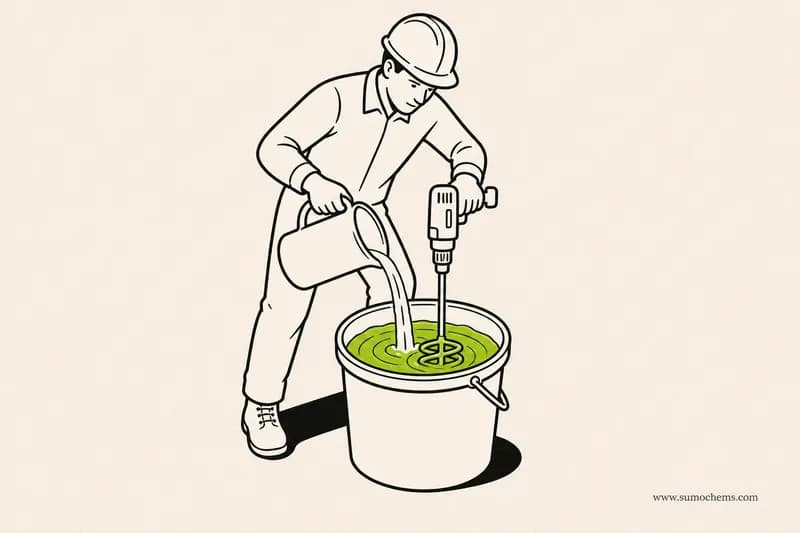
Pour about two-thirds of the clean water into the bucket, add the S01 powder slowly while mixing with a low-speed drill and paddle, then add the remaining third of water and mix to a smooth, lump-free paste. Let it rest 2–3 minutes, then re-stir. Mix only what you can lay in the working time.
Spread and comb the bed
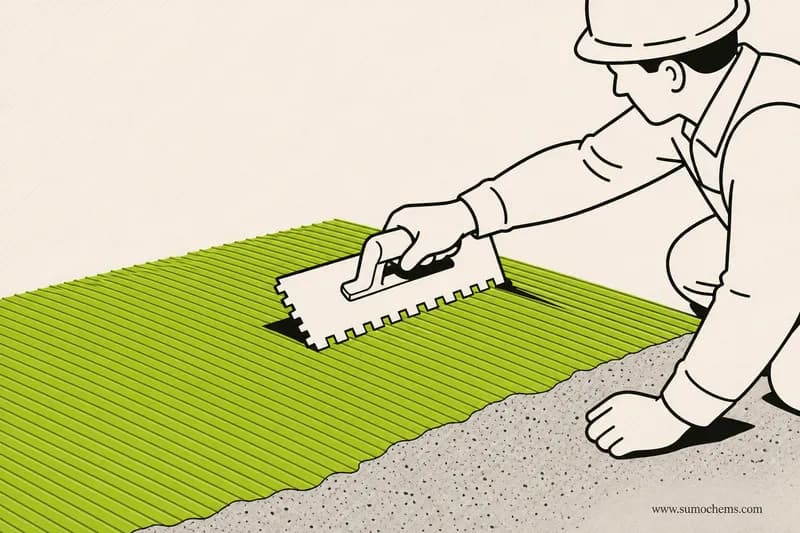
Press a firm skim of adhesive onto the surface with the flat edge of the trowel, then comb it out with the notched edge at ~45° to an even ribbed bed (up to ~6 mm). Comb only the area you can tile within about 10 minutes.
Place and press each tile
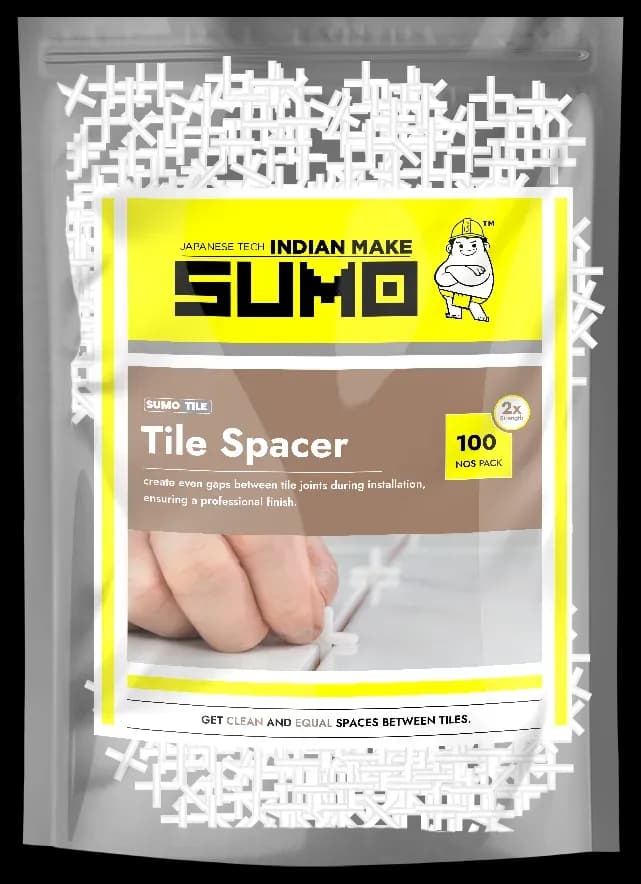
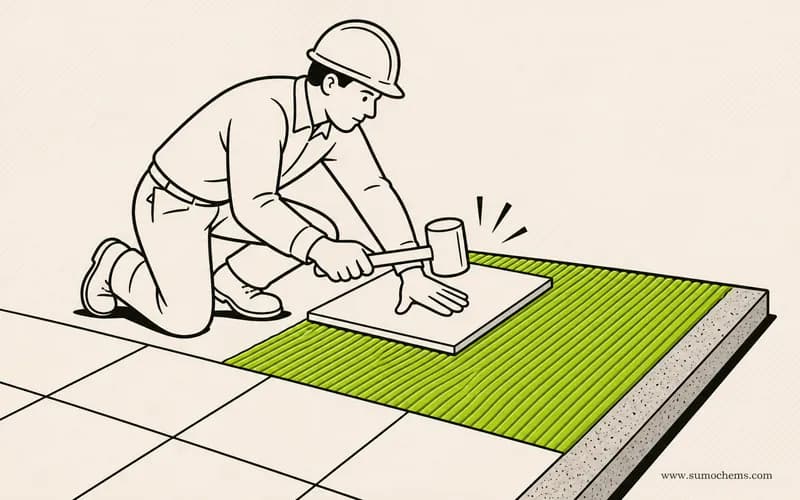
Set the tile onto the ridges and press with a short slide across them to flatten the ridges and remove air, then tap level with a rubber mallet. Add spacers and follow your chalk lines.
Check the coverage
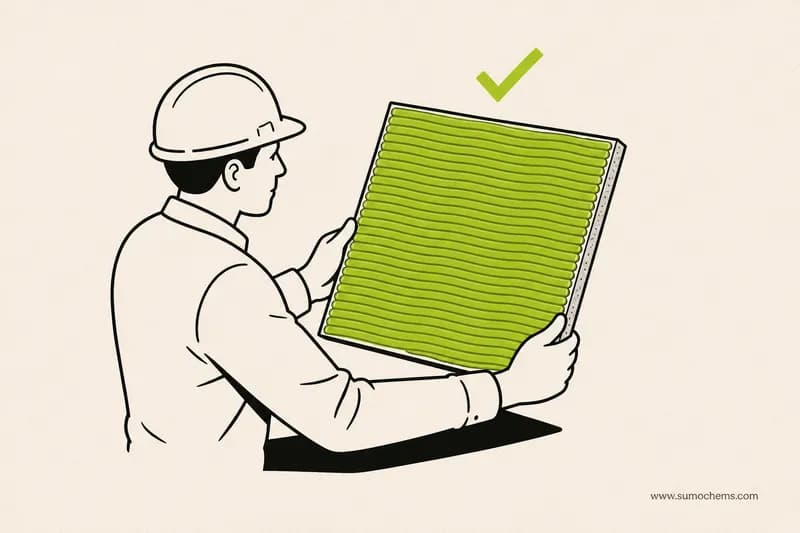
Lift the first tile and check the back — the adhesive should have spread across most of it. Ceramic tiles bed easily; if you see bare stripes, comb a fuller bed and re-check.
Align, space and clean off
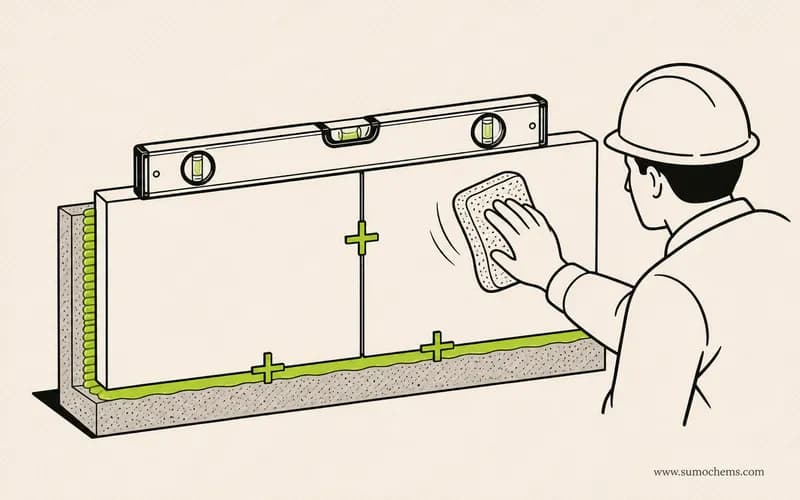
Run a level across the tiles and adjust while the bed is fresh. Keep joints straight with spacers. Wipe adhesive off the faces and rake it out of the joints before it sets; wash tools in water immediately.
Cure, then grout
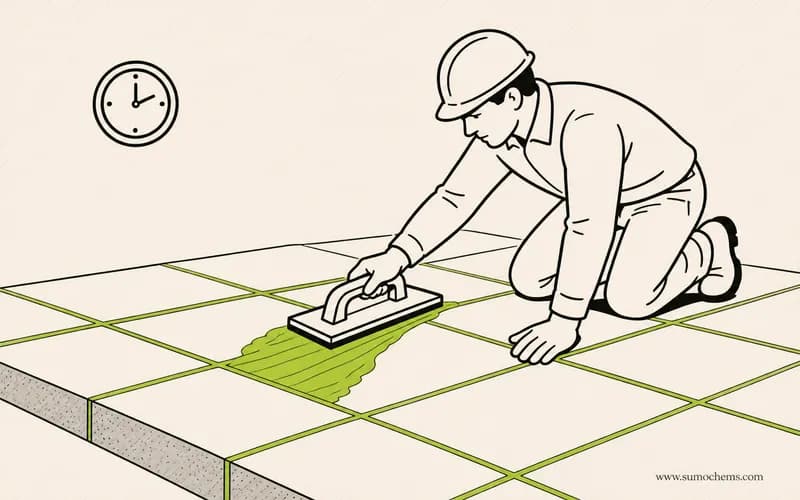
Keep off the floor while it sets, let the adhesive cure (about 24 hours), then grout the joints with SUMO Sumoxy 2-Part epoxy grout — waterproof and stain-free — and cure the finished floor.
Care, tips & what to avoid
- ✓Use S01 only for high-porosity ceramic, terracotta and quarry tiles in dry interiors — not vitrified, wet or exterior.
- ✓Clean off all dust and dampen a thirsty surface (damp, not wet) so it does not starve the adhesive.
- ✓Keep to the bag's water ratio — over-watering weakens an already-economy bond.
- ✓Comb only what you can tile in about 10 minutes before the ridges skin.
- ✓Let the plaster / screed cure before you tile over it.
- ★Lift the first tile to confirm a full bed — ceramic beds easily, but blobs still leave hollows.
- ★Comb in one direction at a steady 45° for an even ribbed bed.
- ★Keep joints straight with spacers and rake them clear for grout as you go.
- ★Wash tools in water immediately — dried adhesive only comes off mechanically.
- !Using S01 on vitrified tiles or in wet areasIt's a C1 for porous tiles in dry interiors — dense vitrified, wet or external work needs S02 and above.
- !Tiling a dusty or bone-dry surfaceClean off dust and dampen thirsty surfaces so the adhesive can cure.
- !Spot-fixingComb a full bed — blobs leave hollow, weak tiles.
- !Over-watering the mixFollow the bag ratio; extra water weakens the bond.
- !Grouting too soonGive the adhesive its curing time first.