How to use SUMO Flexit 2K PU Adhesive
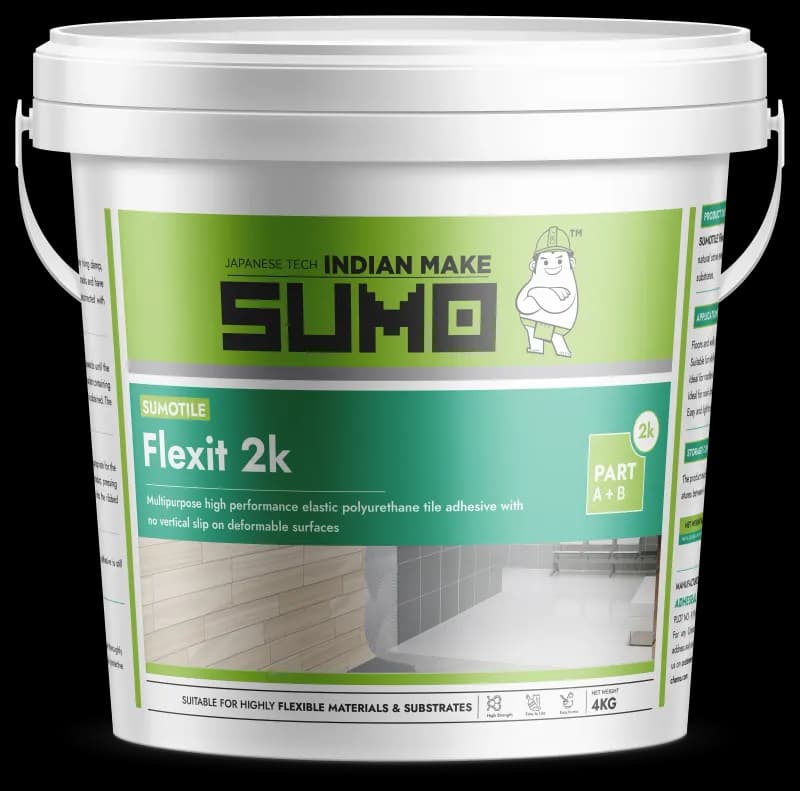
SUMO Flexit 2K is a high-strength, flexible PU adhesive for bonding to metal, plywood and boards. Here is the correct two-part application method.
ON THIS PAGE
SUMO Flexit 2K is a high-strength, highly flexible two-part polyurethane/epoxy adhesive (EN R2T) for versatile, demanding bonding. It fixes tiles and stones to substrates that cement adhesives struggle with — metal, plywood, cement boards and engineered stone — and absorbs the movement of flexible bases.
Being a reaction-cured 2-part product, it is mixed and applied differently to a cement adhesive. Coverage is around 8–10 sq.ft per 4 kg at a 3 mm bed.
What you’ll need
Step by step
Prepare the surface
The substrate must be structurally sound, cured, clean and free of dust, oil, laitance, paint or curing compound. Fill large hollows and level out-of-tolerance areas first.
Dampen very absorbent backgrounds (do not soak) so they do not pull water from the adhesive.
Mix Flexit 2K to a smooth paste
Add the Flexit 2K powder to clean water (powder into water) and mix with a slow-speed paddle to a lump-free, firm but trowelable paste. Let it slake for a few minutes, then remix briefly.
Mix only what you can use within the pot life, and do not over-water — a wetter mix spreads easily but bonds weaker.
Comb out a ribbed bed
Key the surface with the flat trowel edge, then comb straight ridges in one direction with the right notch size for the tile. Only spread what you can tile within the open time so the bed does not skin over.
Place, and back-butter larger tiles
Press each tile firmly into the ridges and slide slightly across them to flatten. For large or heavy tiles, also back-butter the tile for full contact and beat it in from the centre with a rubber mallet.
Flexit 2K is two-part: combine Part A and Part B in the correct ratio and mix to a uniform colour before applying — it cures by reaction, so mix only what you can use in the working time.
Ensure the substrate (metal, ply, board) is clean, sound and prepared per guidance so the adhesive keys properly.
Space, clean and cure before grouting
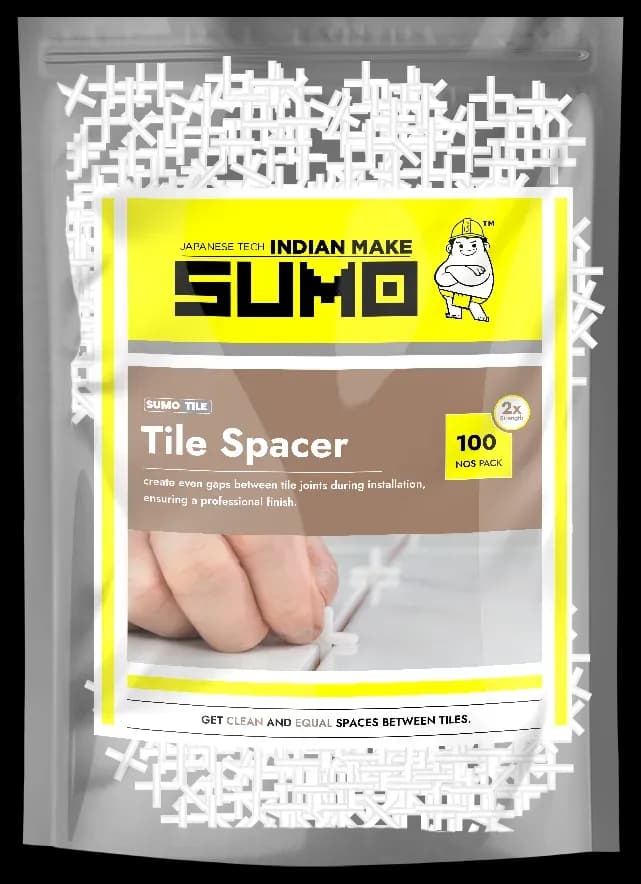
Set spacers for even joints, check level and lippage with a straightedge, and sponge off adhesive before it sets. Let the bed cure per the datasheet before grouting or trafficking.